Key Highlights
- Understanding the roof installation process is vital for homeowners.
- Hiring a professional roofing contractor ensures a safe and efficient installation.
- Proper roof preparation, including inspection and repairs, is essential.
- Step-by-step installation involves underlayment, shingles, flashing, and ridge caps.
- Regular maintenance and timely repairs can extend the lifespan of your roof.
Introduction
Embarking on a roofing project for the first time can seem like a daunting task. However, with a clear understanding of the roofing process and careful planning, you can ensure a successful project. This beginner’s guide will walk you through the essential steps of roof installation, from understanding the basics to the final inspection.
Understanding Roof Installation

Roof installation involves much more than simply placing new shingles on top of your home. It requires a comprehensive approach that includes careful planning, selection of appropriate roofing materials, and adherence to local building codes. Whether you are dealing with asphalt shingles, metal roofing, or other materials, the process involves several crucial steps to guarantee a long-lasting and weathertight roof.
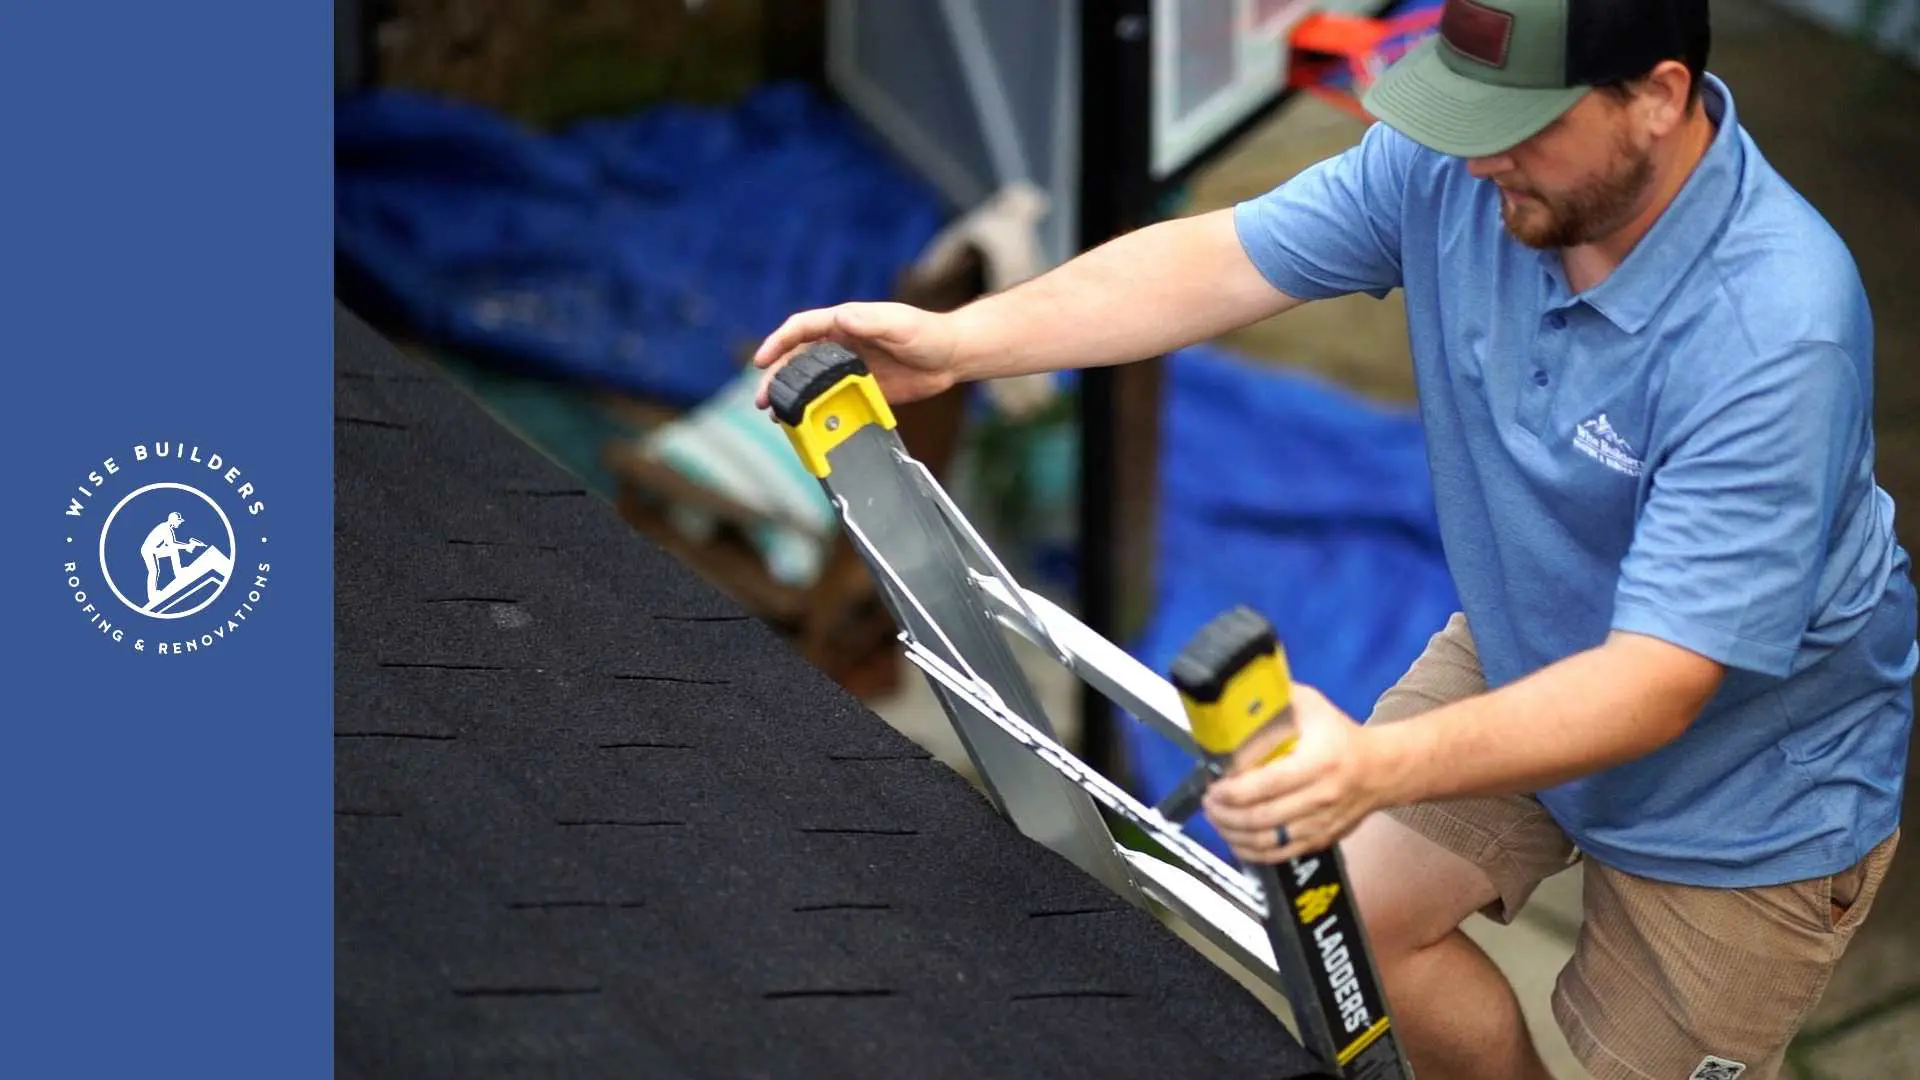
A key aspect of roof installation is hiring a qualified roofing contractor. Look for experienced professionals with a proven track record in your area. A reliable contractor will guide you through the process, ensuring your new roof meets the highest industry standards.
Importance of Professional Roofing Services in Mobile, AL-Pensacola (Ft. Walton Beach), FL
Professional roofing services in Mobile, AL-Pensacola (Ft. Walton Beach), FL are crucial for ensuring a successful roofing project. Hiring a skilled roofing contractor guarantees that your new roof is installed following local regulations, providing additional protection against water damage. Their expertise in the roof installation process ensures a solid foundation, from the roof deck to the edges of the roof, resulting in a nice finished look. Trusting a roofing team means peace of mind, knowing that your roof replacement is in the best hands.
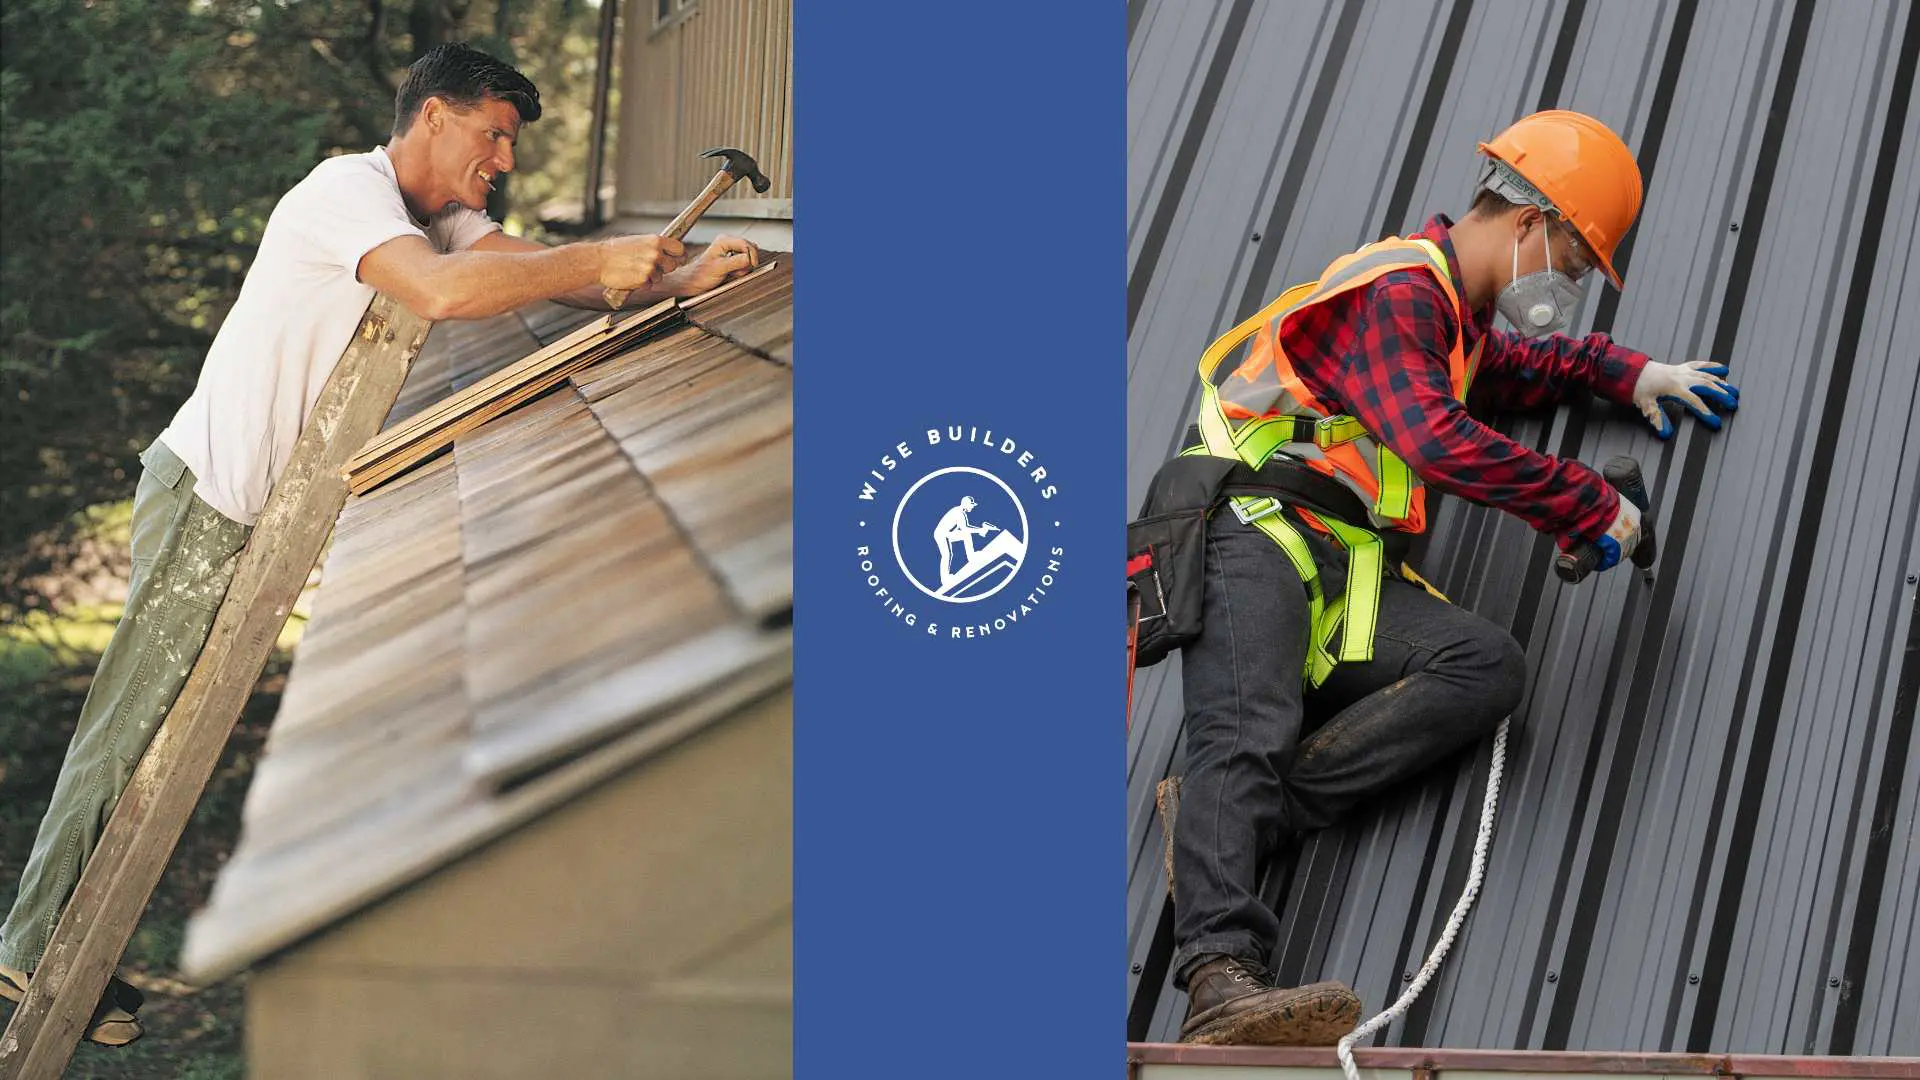
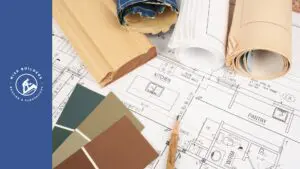
Types of Roofing Materials Suitable for Your Home
Selecting the right roofing materials is crucial for your home’s aesthetics and longevity. Consider factors such as budget, climate, and architectural style.
| Roofing Material | Pros | Cons |
|---|---|---|
| Asphalt Shingles | Affordable, easy to install | Less durable than other materials |
| Metal Roofing | Long-lasting, fire-resistant | Can be more expensive |
| Slate | Elegant, fireproof | High cost, requires specialized installation |
Asphalt shingles are popular for their affordability. Alternatively, metal roofing offers exceptional durability, while slate provides timeless elegance. Each option has its pros and cons, so research thoroughly to determine the best fit for your home and budget.
Preparing for Your Roof Installation Project
Before the actual roof installation begins, proper preparation is essential. This involves evaluating your current roof condition and selecting a qualified roofing contractor. Taking the time to address these aspects will save you potential headaches and ensure your roofing project goes as smoothly as possible.
Begin by thoroughly inspecting your existing roof and identifying any damage or areas requiring attention. This initial assessment will help you and your chosen contractor determine the project’s scope and address any underlying issues before installing the new roof.
Evaluating Your Current Roof Condition
Inspecting your old roof is crucial to determine the extent of damage and necessary repairs. Look for missing or damaged shingles, cracked flashing, or signs of water damage, such as stains on your ceiling. Addressing these issues before installing the new roof is essential to prevent further damage and ensure a solid foundation.
If you notice significant water damage or extensive deterioration of your old roof, consider consulting a professional roof inspector. They can provide a detailed assessment of the condition, identify hidden problems, and offer recommendations for repair or replacement. Addressing these concerns during the preparation phase ensures a successful and long-lasting roof installation.
Selecting the Right Roofing Contractor
Choosing the right roofing contractor is paramount for a successful roofing project. As a homeowner, research and selects reputable contractors in your area with valid licenses and insurance. Request quotes from multiple contractors, compare their services, and inquire about warranties offered.
Don’t hesitate to ask for references and check online reviews to gauge their reputation and customer satisfaction. Remember, clear communication and a thorough understanding of the contract terms, including payment schedules and project timelines, are crucial for a smooth and hassle-free experience.
A Step-by-Step Guide to Roof Installation

Understanding the different stages of roof installation can help you appreciate the complexity of the process. While a professional roofing team handles the technical aspects, familiarizing yourself with each step provides valuable insight. Let’s take a closer look.
From securing the necessary permits to the final cleanup, each step in the process contributes to a successful roof installation. By understanding the procedures involved, you can better communicate with your contractor and ensure the project stays on track.
Step 1: Secure Necessary Permits and Documentation
Before starting any roofing work, ensure you have the required permits and documentation. Local regulations may vary, so contact your local building department to obtain the necessary approvals. Failure to comply with local regulations could lead to fines or delays in your project.
Additionally, inform your contractor of your homeowner’s insurance policy and any potential coverage related to roofing projects. This ensures everyone is on the same page and avoids unexpected expenses if unforeseen circumstances arise during the installation.
Step 2: Remove Existing Roofing Material
The next step involves carefully removing your old roofing material, including shingles, flashing, and underlayment. Roofers typically use specialized tools to pry off existing shingles and dispose of them properly. Protecting your landscaping and surrounding areas during the removal process is essential.
Contractors typically use tarps or plywood to shield plants, shrubs, and landscaping features from falling debris. A designated dumpster is also crucial for containing old roofing materials, ensuring a clean and organized worksite throughout the project.
Step 3: Inspect and Repair Roof Deck
With the old roofing material removed, your contractor can inspect the roof deck for any damage or deterioration. The roof deck, the structural foundation of your roof, needs to be in good condition to support the new roofing system. It involves checking for rotten wood, loose boards, or signs of insect infestation.
If any damage is found, repairs must be made before proceeding. This may include replacing damaged sections of the roof deck, reinforcing weak areas, or treating any signs of infestation. This step is crucial because a strong and stable roof deck is the foundation for a durable and long-lasting roof.
Step 4: Install Underlayment and Water Shields
Once the roof deck is prepped, a layer of underlayment, typically a waterproof barrier like felt paper, is installed. Underlayment provides additional protection against moisture and acts as a secondary defense against leaks. It is installed directly over the roof deck and secured with nails or staples.
In addition to underlayment, water shields, also known as ice and water shields, are installed in specific areas prone to water intrusion, like valleys, eaves, and around penetrations. These self-adhesive membranes offer extra protection in vulnerable spots, preventing leaks and damage.
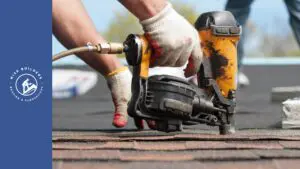
Step 5: Laying New Shingles or Roofing Material
Now comes the visible transformation – laying the new shingles or chosen roofing material. Starting from the bottom edge, your roofing contractor will carefully install each row, ensuring proper overlap and alignment.
They will use a chalk line to maintain straight lines and install a drip edge along the roof edges for a nice, finished look. Each shingle is secured with nails, and special attention is paid to corners, edges, and areas around vents or chimneys to ensure a watertight seal.
Step 6: Final Inspection and Cleanup
After the new roofing material is in place, a final inspection is conducted to ensure everything is correctly installed. The contractor will check for any loose shingles, ensure proper flashing installation, and inspect the ridge cap for a secure fit. They will also ensure all roofing debris is removed from the roof and surrounding areas.
A thorough cleanup of your property, including removing debris from gutters, walkways, and landscaping, is the final step in the process. Reputable contractors take pride in leaving your property clean and ensuring your complete satisfaction with the finished product.
Conclusion
In conclusion, the roof installation process is a crucial aspect of maintaining your home’s integrity and safety. By understanding the steps involved, selecting the right materials, and working with professional roofing services, you can ensure a successful project. Whether you are evaluating your current roof condition or laying new shingles, each step plays a vital role in the longevity of your roof. Remember to secure necessary permits, conduct thorough inspections, and prioritize proper installation techniques to achieve a durable and aesthetically pleasing result. If you have any further questions or need guidance, feel free to explore our FAQs section for additional insights.
At Wise Builders, We ensure our clients receive the best possible outcomes. Our commitment to quality workmanship and customer satisfaction is unwavering, making us the top choice for residential Roofing services in our community.
Frequently Asked Questions
What is the Best Time of Year for Roof Installation in Mobile, AL-Pensacola (Ft. Walton Beach), FL?
The best time for roof installation in Mobile, AL-Pensacola (Ft. Walton Beach), FL, is typically during the dry season between late spring and early fall. This period ensures optimal conditions for roofing work with minimal risk of weather-related delays.
How Long Does the Roof Installation Process Take?
The roofing process timeline varies depending on factors like the project size, complexity of the new roof, and the size and efficiency of the roofing team. An average-sized roof can typically be completed within a few days.
Can I Stay in My Home During Roof Installation?
While it is generally safe to stay at home, discuss the implications of roofing work with your contractor. Factors such as safety, noise levels, and the duration of the project may influence your decision to stay or temporarily relocate.