Key Highlights
- Roof flashing is crucial in preventing water damage, acting as a barrier at vulnerable areas like chimneys and vents.
- Damaged flashing can lead to leaks, mold growth, and costly repairs if left unaddressed.
- Recognizing signs like rust, cracks, or leaks is key to early intervention.
- While minor repairs can be tackled with the right tools and guidance, professional help is recommended for complex situations.
- Regular inspections and maintenance are essential to prolong the life of your roof flashing.
Introduction
Roof flashing might not be the most glamorous part of your home, but this often-overlooked component plays a vital role in protecting against water damage. When functioning correctly, roof flashing acts as a watertight seal around vulnerable areas, such as chimneys, skylights, and vent pipes. This guide will provide you with the essential knowledge to understand, identify, and potentially address cracked flashing, helping you safeguard your home and avoid costly repairs. However, remember that while this guide offers valuable information for minor repairs, seeking assistance from professional roofers is advisable for more complex issues.
Understanding Roof Flashing: The First Line of Defense Against Water Damage

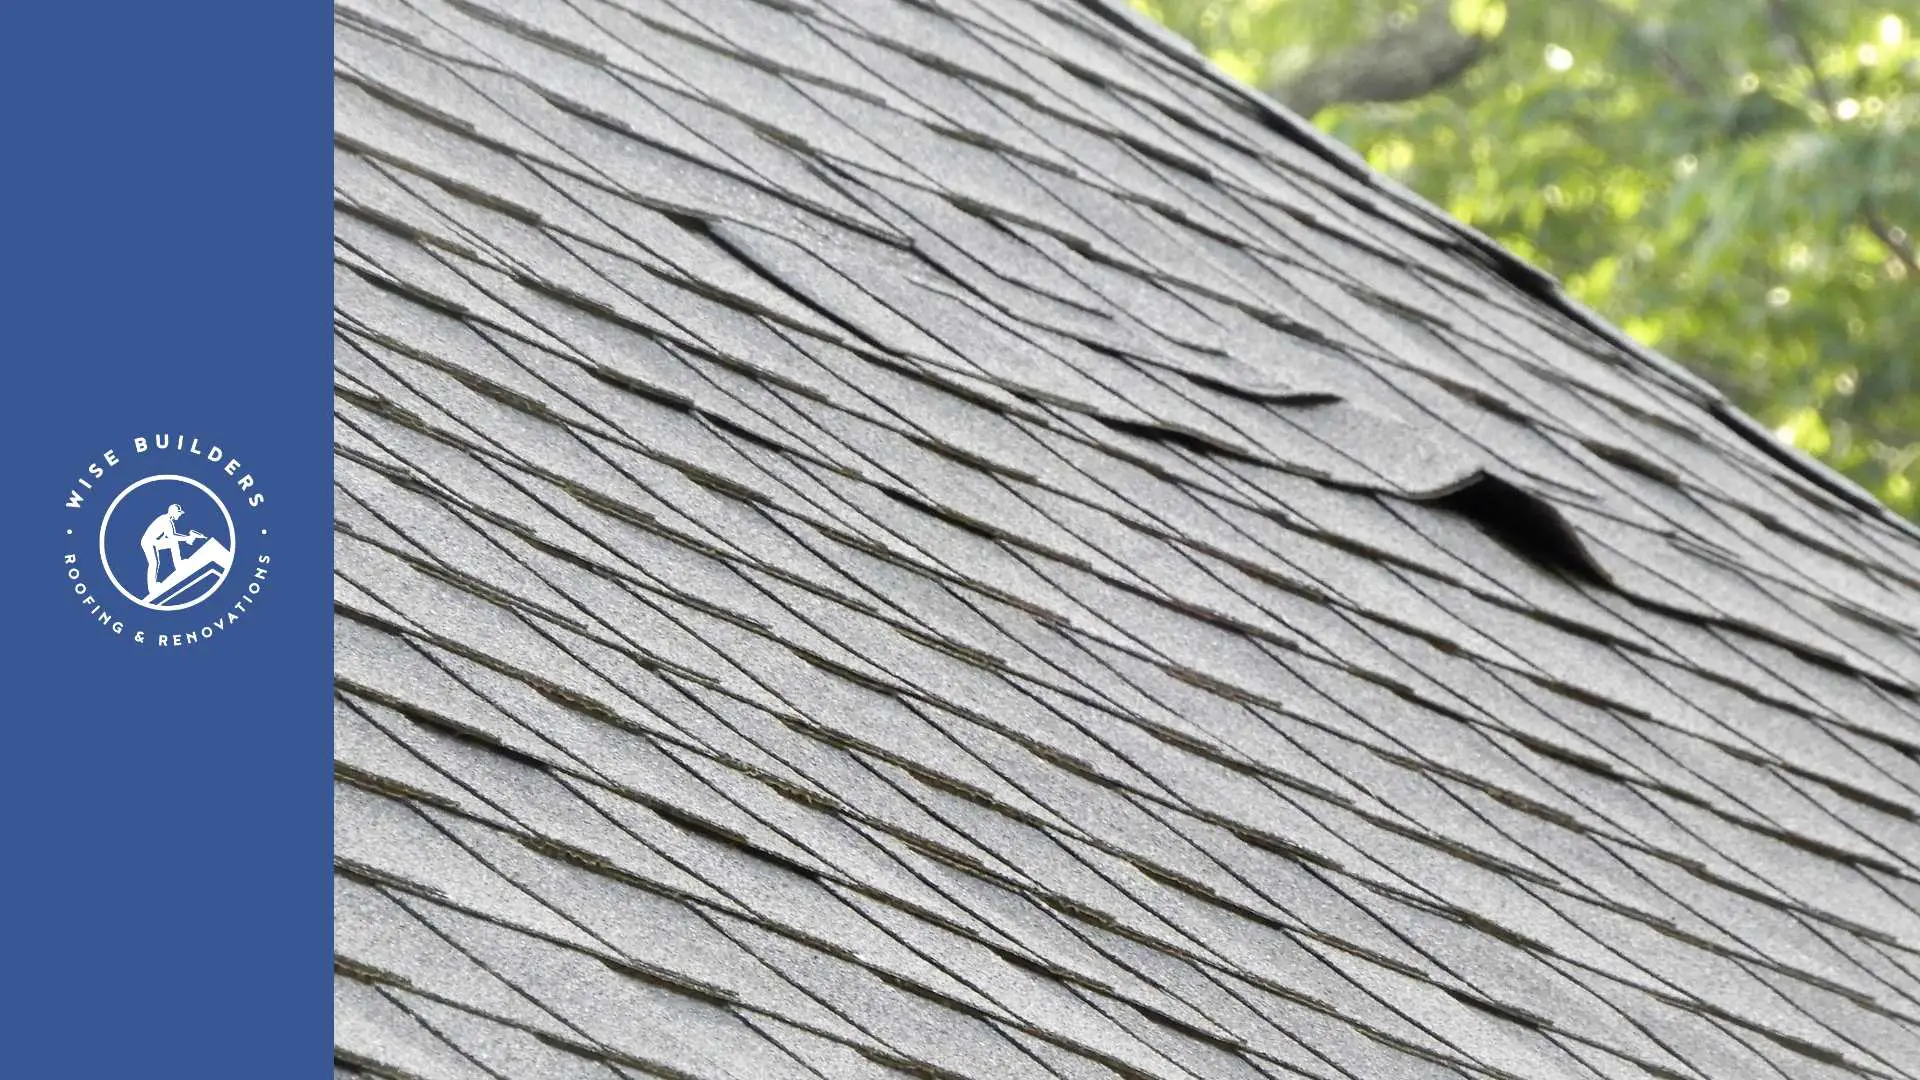
We’ve all experienced the inconvenience and worry a leaky roof brings. Now, imagine that leak stemming from a hidden culprit, slowly causing damage without you even knowing it. That’s where roof flashing comes in. It acts as a silent guardian against water intrusion, protecting the most vulnerable areas of your roof.
This essential roofing component forms a watertight barrier at points where the roof structure changes or meets other elements, like chimneys or skylights. Essentially, it ensures that water runoff is directed away from these critical junctions, preventing it from seeping into your home and causing damage.
Defining Roof Flashing and Its Importance
Roof flashing typically consists of thin, durable material, commonly metal, installed beneath your roof shingles and around protruding elements. It acts as a secondary, waterproof layer that directs water flow away from areas prone to leakage. Imagine it as a shield, deflecting water runoff and guiding it toward your gutters instead of letting it seep into your home.
These vulnerable areas include the perimeter of chimneys, the base of vent pipes, skylights, dormers, and the valleys where different roof slopes converge. Water naturally tends to pool or flow more rapidly in these areas, making them prime targets for leaks if not adequately protected.
Properly installed and maintained roof flashing is crucial for several reasons. Most importantly, it prevents water damage, which can lead to costly repairs, structural issues, and even health hazards if mold develops. Its presence safeguards your home from the inside out, ensuring your peace of mind.
Common Materials Used in Roof Flashing
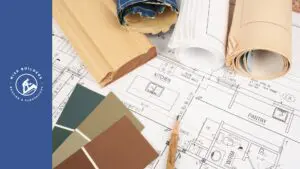
A variety of roofing materials can be used for flashing, each with its own set of pros and cons. The most common include aluminum, galvanized steel, copper, and less frequently, rubber or plastic membranes. The choice of material often depends on the specific application, budget considerations, and the overall aesthetic of the roof.
Metal flashing, particularly aluminum and steel, is popular for its durability and cost-effectiveness. Copper, while more expensive, offers exceptional longevity and a distinctive aesthetic appeal. However, susceptibility to corrosion is a factor to consider with certain metals, especially in areas with high humidity or saline air.
Each material possesses different levels of malleability and resistance to the elements. For instance, while copper is highly resistant to corrosion, steel may require additional protective coatings. Understanding the characteristics of different flashing materials will allow you to make informed decisions when it comes to repairs or replacements.
Recognizing the Signs of Cracked Flashing
While flashing is designed to withstand the elements, it’s not invincible. Over time, factors like weather exposure, age, and even improper installation can take their toll. This makes knowing the signs of compromised flashing essential for prompt intervention and prevention of further damage.
Fortunately, learning to spot these warning signs is relatively straightforward. A keen eye and a bit of knowledge about what to look for can go a long way in protecting your home and potentially saving you from costly repairs down the road.
Visible Damage and Leaks: What to Look For
One of the most obvious signs of flashing trouble is the presence of roof leaks. While not all roof leaks originate from faulty flashing, it’s a common culprit worth investigating. Keep an eye out for water stains on your ceiling or walls, particularly after heavy rainfall or snowmelt.
During your roof inspections, (always prioritize safety by taking precautions or hiring a professional), be on the lookout for these telltale signs:
- Missing flashing: Sections that have become dislodged or blown off, leaving vulnerable areas exposed.
- Rust or corrosion: Particularly on metal flashing, indicating deterioration and potential weakening of the material.
- Cracks, gaps, or holes: Compromising the watertight seal and allowing water to penetrate.
- Buckling or lifting: Suggesting improper installation or movement in the roofing structure.
If you notice any of these signs, it’s crucial to address the issue promptly. Ignoring the problem will only allow it to worsen, potentially leading to more extensive and costly repairs later on.
The Consequences of Ignoring Cracked Flashing
What might seem like a minor flashing issue can quickly snowball into a major headache if left unaddressed. The longer damaged flashing goes unrepaired, the greater the risk of extensive damage to your home. Water infiltration doesn’t stop at a damp spot on your ceiling; it can lead to a cascade of problems.
Unattended leaks can cause significant structural damage by rotting wood framing, damaging insulation, and compromising the integrity of your roof. Mold growth, a serious health hazard, can also occur in damp, poorly ventilated spaces. Beyond the structural issues, water damage can ruin your belongings, leading to costly replacements and emotional distress.
By addressing cracked flashing promptly, you not only prevent these potential disasters but also ensure the longevity and performance of your roof. Consider it an investment in the safety, health, and overall value of your home.
Preparing to Fix Cracked Flashing
While contacting a professional roofing contractor is always recommended for more complex repairs, minor flashing fixes are often manageable for those comfortable with DIY roofing tasks. However, even minor roof repairs require careful preparation to ensure the job is done correctly and safely.
Before you grab your tool belt and head for the roof, gather the necessary materials and familiarize yourself with the steps involved. Proper planning and having the right tools on hand can make the task significantly easier and ensure successful results.
Tools and Materials You Will Need
Having the right tools and materials is essential for a successful flashing repair. Gather these items before starting to ensure you have everything on hand:
| Tool | Purpose |
|---|---|
| Roofing hammer | Driving nails, removing old flashing |
| Pry bar | Lifting shingles, removing nails |
| Utility knife | Cutting flashing material, scoring lines |
| Tin snips | Cutting metal flashing precisely |
| Caulking gun | Applying roofing cement or sealant |
| Measuring tape | Measuring flashing for replacement |
In addition to tools, gather these materials:
- Replacement flashing (matching the existing material and type)
- Roofing nails (galvanized for corrosion resistance)
- Roofing cement or sealant (for a watertight seal)
- Waterproof underlayment (if needed for added protection)
Remember, quality materials specifically designed for roofing applications ensure a longer-lasting and more reliable repair.
Safety Precautions Before You Start
Working on a roof can be hazardous, so prioritize safety before even gathering your tools. Always wear appropriate safety gear, including sturdy shoes with good traction, gloves, and eye protection. A safety harness and a secure ladder are non-negotiable, especially for steeper roofs.
Consider the weather conditions as well. Avoid working on your roof in wet or windy conditions, as this significantly increases the risk of accidents. If you’re uncomfortable working at heights, have any doubts about your ability, or the repair seems too complex, don’t hesitate to call in professional help.
Regular inspections of your roof and flashing can catch minor issues before they escalate. By addressing problems promptly and prioritizing safety, you can ensure your roof remains in top condition for years to come.
Step-by-Step Guide to Fixing Cracked Flashing

Now that you understand the importance of roof flashing and have gathered the necessary tools and taken safety precautions, let’s walk through a step-by-step guide to fixing cracked flashing. Remember, this is a simplified guide, and if you encounter complexities, it’s always best to consult a professional.
By following these steps, you can successfully address minor flashing issues and extend the life of your roof, protecting your home from water damage and ensuring its structural integrity.
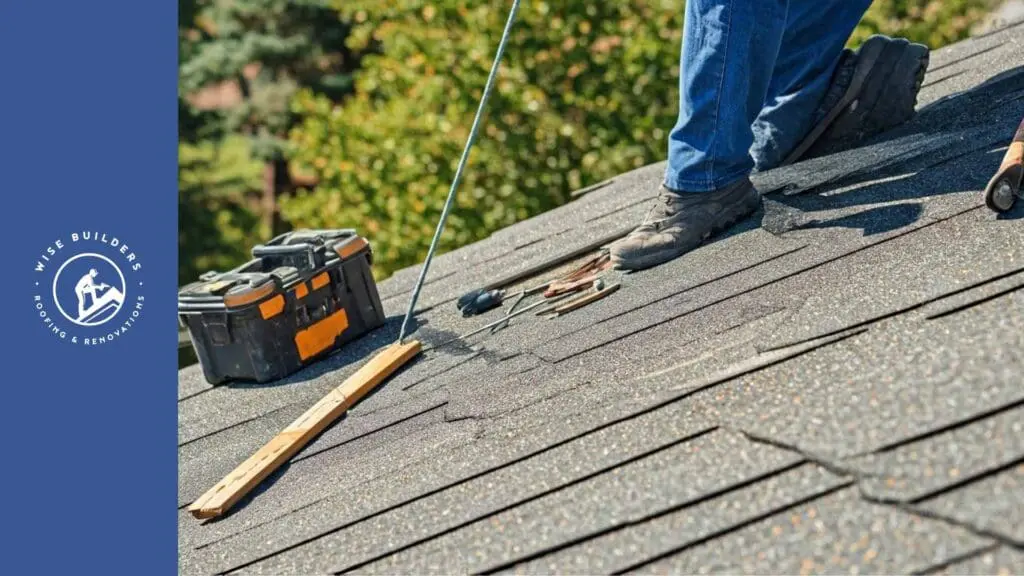
Step 1: Inspecting the Damaged Area
The first step to fixing cracked flashing is to thoroughly inspect the affected area. During regular inspections, you may have noticed signs of damage, such as rust, cracks, or lifting. Begin by visually assessing the damaged section and the surrounding area.
Carefully examine the flashing around chimneys, vents, skylights, and dormers, as these areas are particularly vulnerable to wear and tear. If shingles overlap the flashing, gently lift them using a pry bar to expose the flashing underneath for a more in-depth inspection.
This initial inspection helps you determine the extent of the damage and decide if it’s a repair you feel comfortable tackling or if it requires the expertise of a professional roofer.
Step 2: Removing Old or Damaged Flashing
Once you’ve identified the damaged section, it’s time to remove the old flashing. Start by carefully lifting any overlapping shingles with a pry bar, being cautious not to tear or damage them. Use the pry bar to remove any visible roofing nails securing the flashing in place.
If the flashing is around a vent pipe or other protrusion, carefully work your way around the perimeter, loosening and removing the old flashing. This process might require patience and a bit of maneuvering, especially if the flashing is brittle or stuck due to sealant.
As you remove the old flashing, dispose of it properly, and take this opportunity to clear away any debris, such as leaves or loose granules, from the area. This ensures a clean and stable surface for the new flashing.
Step 3: Cutting and Fitting New Flashing
With the old flashing removed, it’s time to cut and fit the new piece. Measure the area where the flashing will be installed, ensuring the new piece is slightly larger to accommodate for adequate overlap. Using tin snips for metal flashing, carefully cut the flashing to size, following the contours of the roof and any protrusions.
Test-fit the new flashing to ensure a snug fit. It should lay flat against the roof surface and fit seamlessly around any obstacles, such as vent pipes or chimneys. If necessary, trim the flashing for a precise fit, being careful not to make it too small.
A properly fitted flashing is crucial for a watertight seal. Pay close attention to the overlapping sections, ensuring they’re positioned to direct water flow over the lower piece, preventing any potential leaks.
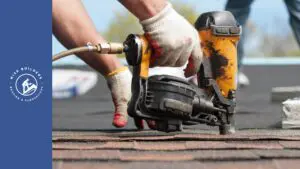
Step 4: Securing and Sealing the New Flashing
Once you’re satisfied with the fit, it’s time to secure and seal the new flashing in place. Depending on the type of flashing, this might involve using roofing nails, screws, or specialized adhesives. Ensure the fasteners are compatible with the flashing material and provide a secure hold.
After securing the flashing, apply a generous bead of roofing cement or sealant along all edges and seams. This creates a watertight barrier, preventing water from seeping beneath the flashing. For added protection, consider applying a layer of sealant over the nails or screws as well.
If you encountered extensive damage or are dealing with a complex area, such as a chimney, it’s highly recommended to consult a professional roofer for peace of mind. They have the expertise to ensure the repair is comprehensive and long-lasting.
Conclusion
In conclusion, fixing cracked flashing is crucial to prevent water damage and maintain the integrity of your roof. By understanding the signs of cracked flashing and following the step-by-step guide provided, you can effectively address this issue. Remember to prioritize safety precautions and use the necessary tools and materials for a successful repair. Taking prompt action to fix cracked flashing will help protect your home from potential leaks and structural damage. Stay proactive in maintaining your roof’s flashing to ensure long-lasting durability and protection against the elements.
At Wise Builders, We ensure our clients receive the best possible outcomes. Our commitment to quality workmanship and customer satisfaction is unwavering, making us the top choice for residential Roofing services in our community.