Key Highlights
- Roof flashing is essential for preventing water damage, extending your roof’s lifespan, and ensuring homeowner satisfaction.
- Proper installation is key. This involves selecting the right materials, preparing the roof surface, and ensuring a watertight seal.
- Different types of flashing are used for various roofing elements like chimneys, vents, skylights, and dormers.
- Regular inspection and maintenance, including prompt repairs, can significantly extend the life of your roof flashing.
- When in doubt, consult a qualified roofing professional for assessment and repairs.
Introduction
Roof flashing, a critical element of any roofing system, often gets overlooked. However, this thin, waterproof material plays a vital role in preventing water damage and ensuring the longevity of your roof. By creating a watertight seal around critical areas of the roof like vents, chimneys, and skylights, professional roofers use roof flashing to redirect water away from vulnerable joints and seams, protecting your home from leaks and moisture intrusion.
Understanding Roof Flashing Basics

Roof flashing is a crucial component of your roofing system, acting as a first line of defense against water intrusion. It comprises thin, impermeable material strategically placed at joints, seams, and protrusions in your roof, where leaks are most likely to occur.
From chimneys and skylights to dormers and vent pipes, flashing effectively diverts water away from these vulnerable areas, including any protrusions from the side of the house. This safeguards your home’s structure, prevents costly repairs, and extends the lifespan of your roof. Understanding the basics of roof flashing is essential for homeowners to make informed decisions about their roofing systems and ensure optimal protection against the elements.
The Role of Flashing in Roofing Systems
Flashing serves as a critical component of a complete and effective roofing system, acting as a primary defense against water damage. Its primary function is to form a watertight seal at any point where a vertical surface meets a roof plane, or where two roof planes intersect, effectively preventing water from seeping into your home.
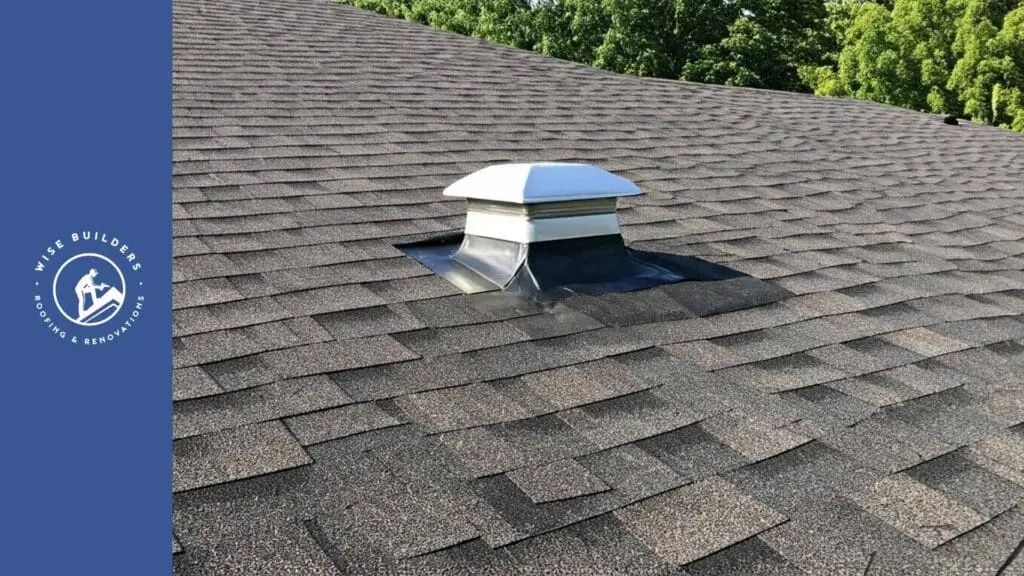
This includes areas around chimneys, dormers, skylights, vent pipes, and other roof penetrations. Flashing acts as a barrier, redirecting water runoff away from these vulnerable areas and into the gutters, ensuring that your home remains safe from leaks and moisture-related issues.
By bridging gaps and creating a continuous waterproof layer, flashing plays a crucial role in maintaining the structural integrity of your roof and protecting your home’s interior from costly water damage.
Common Types and Materials of Roof Flashing
Understanding the different types of flashing and their applications is crucial for effective roof protection. Various types of flashing, including sidewall flashing, are designed for specific purposes, ensuring a watertight seal in critical areas. For instance, step flashing, one of the most common types, is installed along walls or dormers, with each piece layered over the shingle below.
Valley flashing, as its name suggests, is used in roof valleys, channeling water down the edge of the roof slope. Other types of flashing include chimney flashing, vent pipe flashing, and drip edge flashing, each serving a particular purpose.
Metal flashing, typically made of aluminum, galvanized steel, or copper, is popular for its durability and resistance to corrosion. Other materials, like PVC or rubber, offer flexibility and ease of installation. Continuous flashing, such as counter flashing, is a secondary flashing installed over base flashing for added protection, while apron flashing acts as a protective barrier where the roof meets a vertical wall.
Preparing for Roof Flashing Installation
Before embarking on the installation process, adequate preparation is necessary to ensure optimal results. Begin by inspecting your roof meticulously to identify areas that require flashing. Look for signs of wear and tear on existing flashing or any gaps and vulnerable spots where water could potentially penetrate, including the application of tar if necessary.
Next, gather all the necessary tools and materials, including roofing nails, a utility knife, roofing cement, sealant, and the appropriate type of flashing for your needs. Having everything prepared will streamline the installation process and contribute to a successful outcome.
Tools and Materials Needed for the Job
Gathering the necessary tools and materials beforehand is key to a smooth roof flashing installation. Having everything on hand streamlines the process and ensures accurate and efficient work. Here’s a checklist of essential items:
• Roofing nails: These specialized nails, often galvanized for corrosion resistance, are designed to secure flashing materials to the roof deck and other surfaces.
• Utility knife: A sharp utility knife is indispensable for cutting flashing materials to size and achieving precise fits.
• Roofing cement: This adhesive compound creates a watertight bond between the flashing and the roof deck, preventing water from seeping underneath.
Additional tools you might require include a tape measure, caulking gun, tin snips for cutting metal flashing, a hammer, and safety glasses. Remember always to wear appropriate safety gear when working on your roof.
Safety Measures and Precautions
Ensuring safety during roof flashing installation is paramount. Working on a roof can be hazardous, so taking the necessary precautions is vital for preventing accidents and injuries. Before starting any work, make sure your ladder is in good condition and positioned on a stable, level surface. Wear appropriate safety gear, including non-slip shoes with good traction, gloves for hand protection, and safety glasses to shield your eyes from debris.
Consider using a safety harness, especially when working on steep roofs or at significant heights. Having a helper present is also beneficial for assistance and in case of emergencies.
Furthermore, it’s crucial to be mindful of weather conditions. Avoid working during rain, high winds, or extreme heat, as these factors can create treacherous conditions on the roof. Prioritizing safety throughout the entire area and the installation process will help ensure a successful and accident-free project.
Step-by-Step Guide to Installing Roof Flashing

While the specific steps for installing roof flashing may vary depending on its type and the area of application, a general step-by-step guide can provide a basic framework. Remember, accurately following these steps helps ensure a watertight seal and prolongs the life of your roof.
First and foremost, begin by preparing the installation area, ensuring it’s clean, dry, and free of debris. This crucial step allows for proper adhesion and a secure fit. Now, let’s examine the detailed steps for installing the first piece of step flashing and kickout flashing as examples.
Step 1: Inspect and Prepare the Roof Area
Thoroughly inspect the roof deck around the area where you’ll be installing flashing for any damage or rot. Address any issues before moving forward to ensure a clean and solid foundation for the flashing. If any old flashing exists, carefully remove it, taking care not to further damage the surrounding roofing materials. This will likely involve prying up shingles or other roofing materials, so be sure to avoid causing further damage.
Once the old flashing is removed, thoroughly clean the area of any debris, such as nails, sealant remnants, or loose pieces of roofing material. A clean surface is crucial for proper adhesion of the new flashing.
If necessary, use a broom, brush, or even a shop vacuum to ensure all debris is removed. After cleaning, allow the area to dry completely before proceeding with installation. This ensures optimal adhesion of sealants and prevents moisture from becoming trapped beneath the flashing.
Step 2: Measure and Cut Flashing Material
Once you have a clean and prepared roof area, it’s time to measure and cut the flashing material for a precise fit. Accurate measurements, typically in inches, are essential for ensuring each piece of flashing properly overlaps and creates a continuous water barrier. Use a tape measure to determine the required length of each flashing piece, factoring in overlaps with adjacent shingles or other flashing components.
When cutting the flashing, use the appropriate tool for the material, such as tin snips for metal or a utility knife for rubber or plastic flashing. Ensure straight, clean cuts, as rough edges can compromise the flashing’s effectiveness.
Mark your cutting lines carefully, and always err on the side of cutting slightly larger initially. You can always trim a piece of flashing down for a better fit, but it’s nearly impossible to add material once it’s been cut too short.
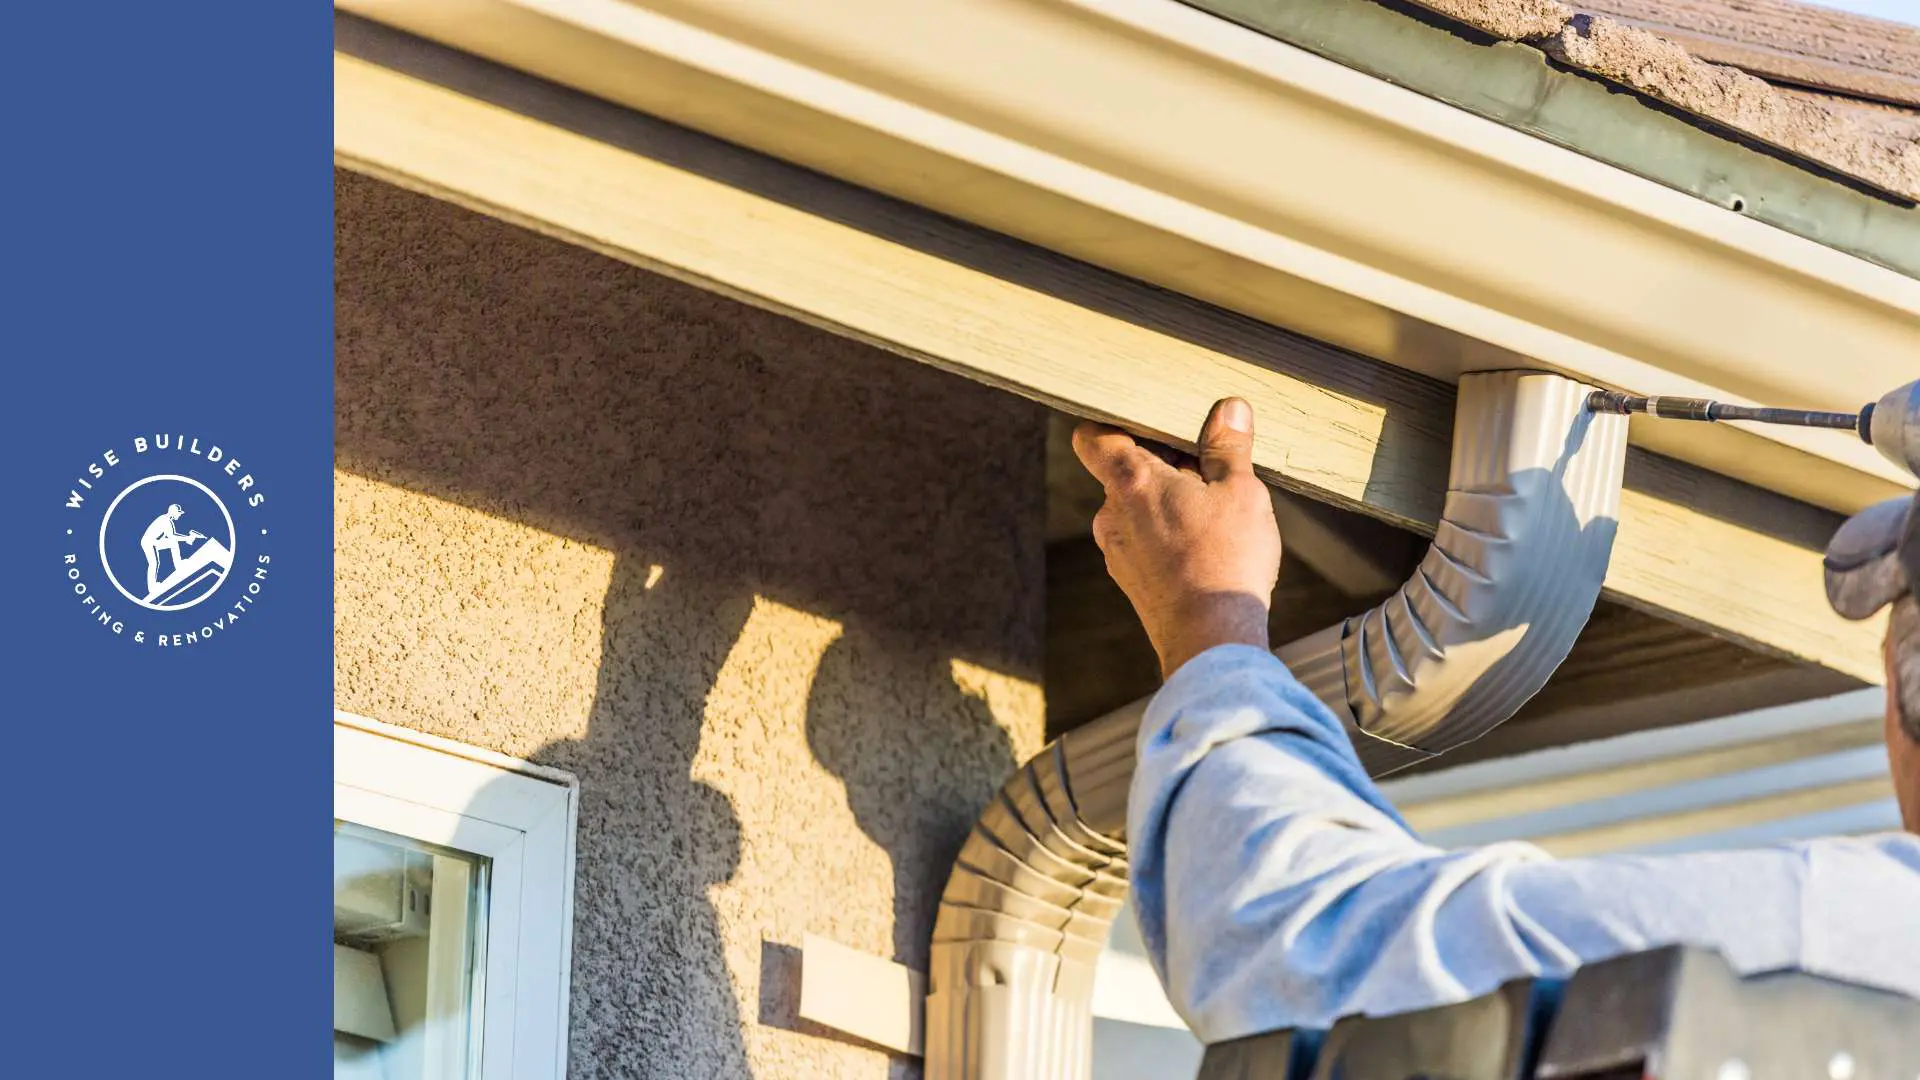
Step 3: Secure Flashing in Place
After carefully cutting the flashing to size, the next step is to secure it firmly in place. The method of securing the flashing may vary depending on the type of flashing and the roofing material. However, roofing nails are commonly used to attach the flashing to the roof and to the top of the roof deck.
When using roofing nails, it’s crucial to select the appropriate size and type for your particular application. Drive the nails straight and flush with the flashing surface, avoiding any over-driving that could damage the material.
Remember that the goal is to create a watertight seal, so ensure the flashing lies flat against the roof deck without any gaps or bulges. Equally important in the installation process is the proper placement of nails. Space them evenly along the flashing edges, ensuring a secure hold that can withstand wind uplift and other weather elements.
Step 4: Apply Sealant and Waterproofing
Once the flashing is securely fastened, it’s crucial to apply sealant for enhanced waterproofing. This step reinforces the flashing’s ability to prevent water intrusion and ensures a lasting seal. Make sure that the top of the flashing is properly sealed while choosing a high-quality roofing sealant that’s compatible with the flashing material and your roof type.
Apply a continuous bead of sealant along all seams, joints, and nail heads, creating a watertight barrier. Pay close attention to corners and areas where different flashing pieces overlap, as these are prime spots for potential leaks.
Ensure the sealant is evenly applied and adheres well to both the flashing and the roofing material. Depending on the type of sealant used, you may need to allow adequate drying or curing time before exposing it to moisture.
Tips for Ensuring Longevity of Roof Flashing
Extending the life of your roof flashing involves a combination of preventative measures and timely maintenance. While high-quality flashing materials and meticulous installation practices set the foundation for durability, regular inspection and prompt addressing of issues are equally important.
Inspect your flashing periodically, especially after severe weather events, for any signs of damage, such as cracks, gaps, corrosion, or loose nails. Clear away debris like leaves, dirt, and twigs, which can trap moisture and accelerate wear. Address any identified problems promptly to prevent minor issues from escalating into major leaks and costly repairs, ultimately maximizing the lifespan of your roof.
Regular Inspection and Maintenance Tips
Regular inspection and timely maintenance are vital for preserving the integrity of your roof flashing and, consequently, the life of your roof. Aim to inspect your roof at least twice a year, ideally during spring and fall, when the weather is mild and conducive to outdoor work.
During these inspections, pay close attention to the flashing around chimneys, dormers, vents, skylights, and any other roof penetrations. Look for any signs of rust, corrosion, cracks, gaps, or loose nails. Remove any debris that may have accumulated around the flashing, as this can trap moisture and contribute to premature deterioration.
Inspect the sealant around the flashing edges, ensuring it remains intact and firmly adhered. If you notice any signs of sealant cracking or pulling away, apply a fresh bead to maintain a watertight seal. Remember, early detection and swift action are key to preventing minor issues from escalating into major problems.
Identifying and Addressing Common Issues
Identifying and promptly addressing common roof flashing issues can save you from costly repairs down the line. Water leaks are a telltale sign of compromised flashing, often appearing as water stains on ceilings or walls, particularly after rainfall. Check your attic for any signs of water damage, which can manifest as dampness, discoloration, or even mold growth.
Loose or missing nails are another frequent culprit behind flashing failures. Inspect the nail heads around the flashing for any signs of rust, corrosion, or lifting. If you come across loose nails, replace them with new ones of the appropriate size and type.
Damaged or deteriorated flashing may require patching or complete replacement, depending on the severity of the damage. For minor cracks or holes, you can use roofing cement or specialized flashing repair tape as a temporary fix. However, it’s advisable to contact a qualified roofing professional for a thorough assessment and professional repair, especially for extensive damage or if you’re unsure about the extent of the issue.
Conclusion
In conclusion, flawless roof flashing installation is crucial for maintaining the integrity of your roofing system. By understanding the basics, preparing adequately, and following a step-by-step guide, you can ensure a durable and watertight solution. Regular inspection and maintenance, along with addressing issues promptly, will contribute to the longevity of your roof flashing. Remember, safety measures are paramount during installation. For a comprehensive guide to a successful roof flashing project, refer back to this article. If you encounter signs of failing roof flashing, seek professional assistance promptly to prevent further damage.
At Wise Builders, We ensure our clients receive the best possible outcomes. Our commitment to quality workmanship and customer satisfaction is unwavering, making us the top choice for residential Roofing services in our community.
Frequently Asked Questions
What are the signs of failing roof flashing?
Common signs of failing roof flashing include water stains on interior ceilings or walls, a musty odor in the attic, visible rust or corrosion on flashing material, and a roof flashing leak. These indicate possible water penetration and the need for immediate attention to prevent further damage.