Key Highlights
- Discover the importance of drip edges in safeguarding your home against water damage.
- Learn about the essential tools and materials needed for a successful drip edge installation.
- Follow our comprehensive step-by-step guide to install a drip edge with confidence.
- Understand the common mistakes to avoid during the installation process.
- Find answers to frequently asked questions about drip edge installation.
- Equip yourself with the knowledge to protect your investment and ensure the longevity of your roof.
Introduction
Embarking on a drip edge installation journey may seem daunting, but fear not! This comprehensive guide will walk you through the entire process, providing valuable insights and practical tips for a successful installation. From understanding the importance of drip edges to mastering each step, we’ll equip you with the knowledge and confidence to tackle this project like a seasoned pro.
Understanding the Importance of Drip Edge Installation
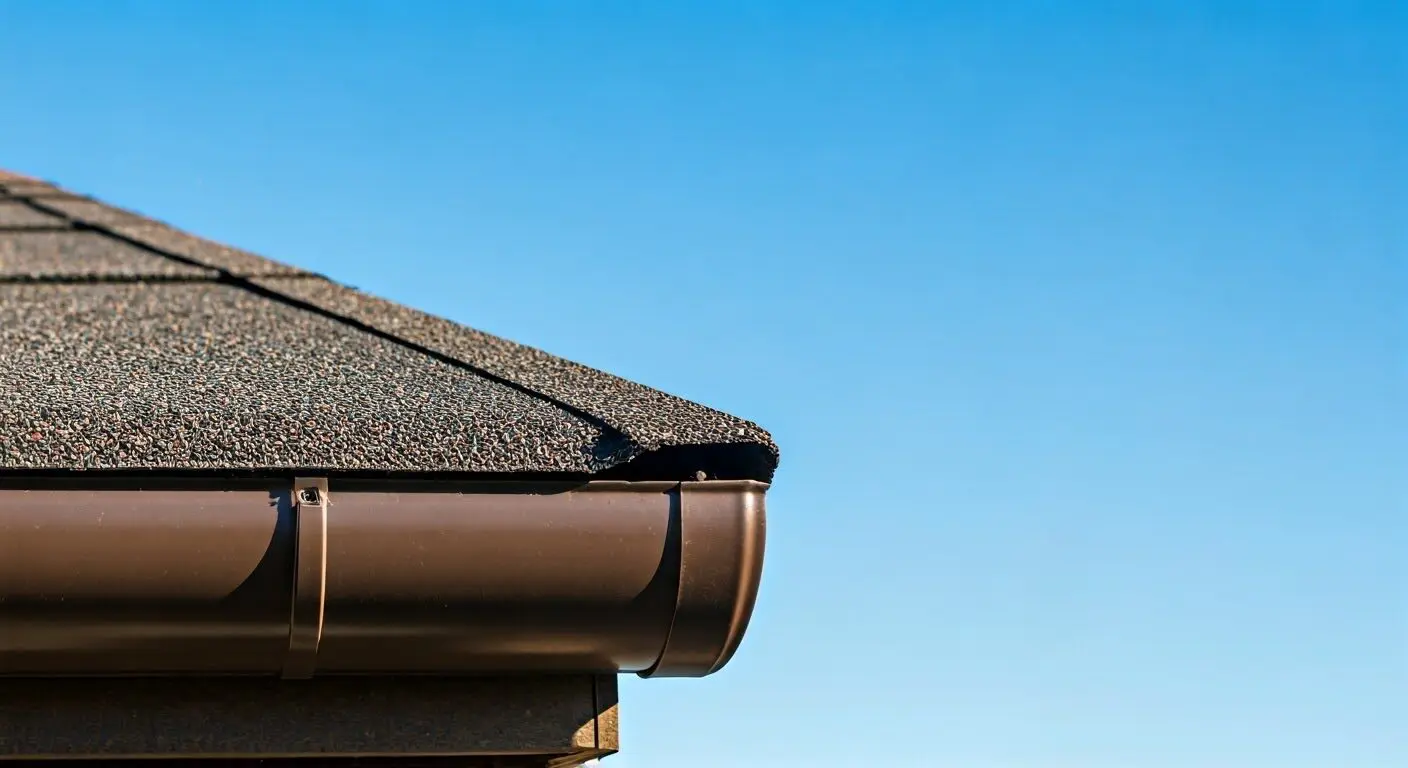
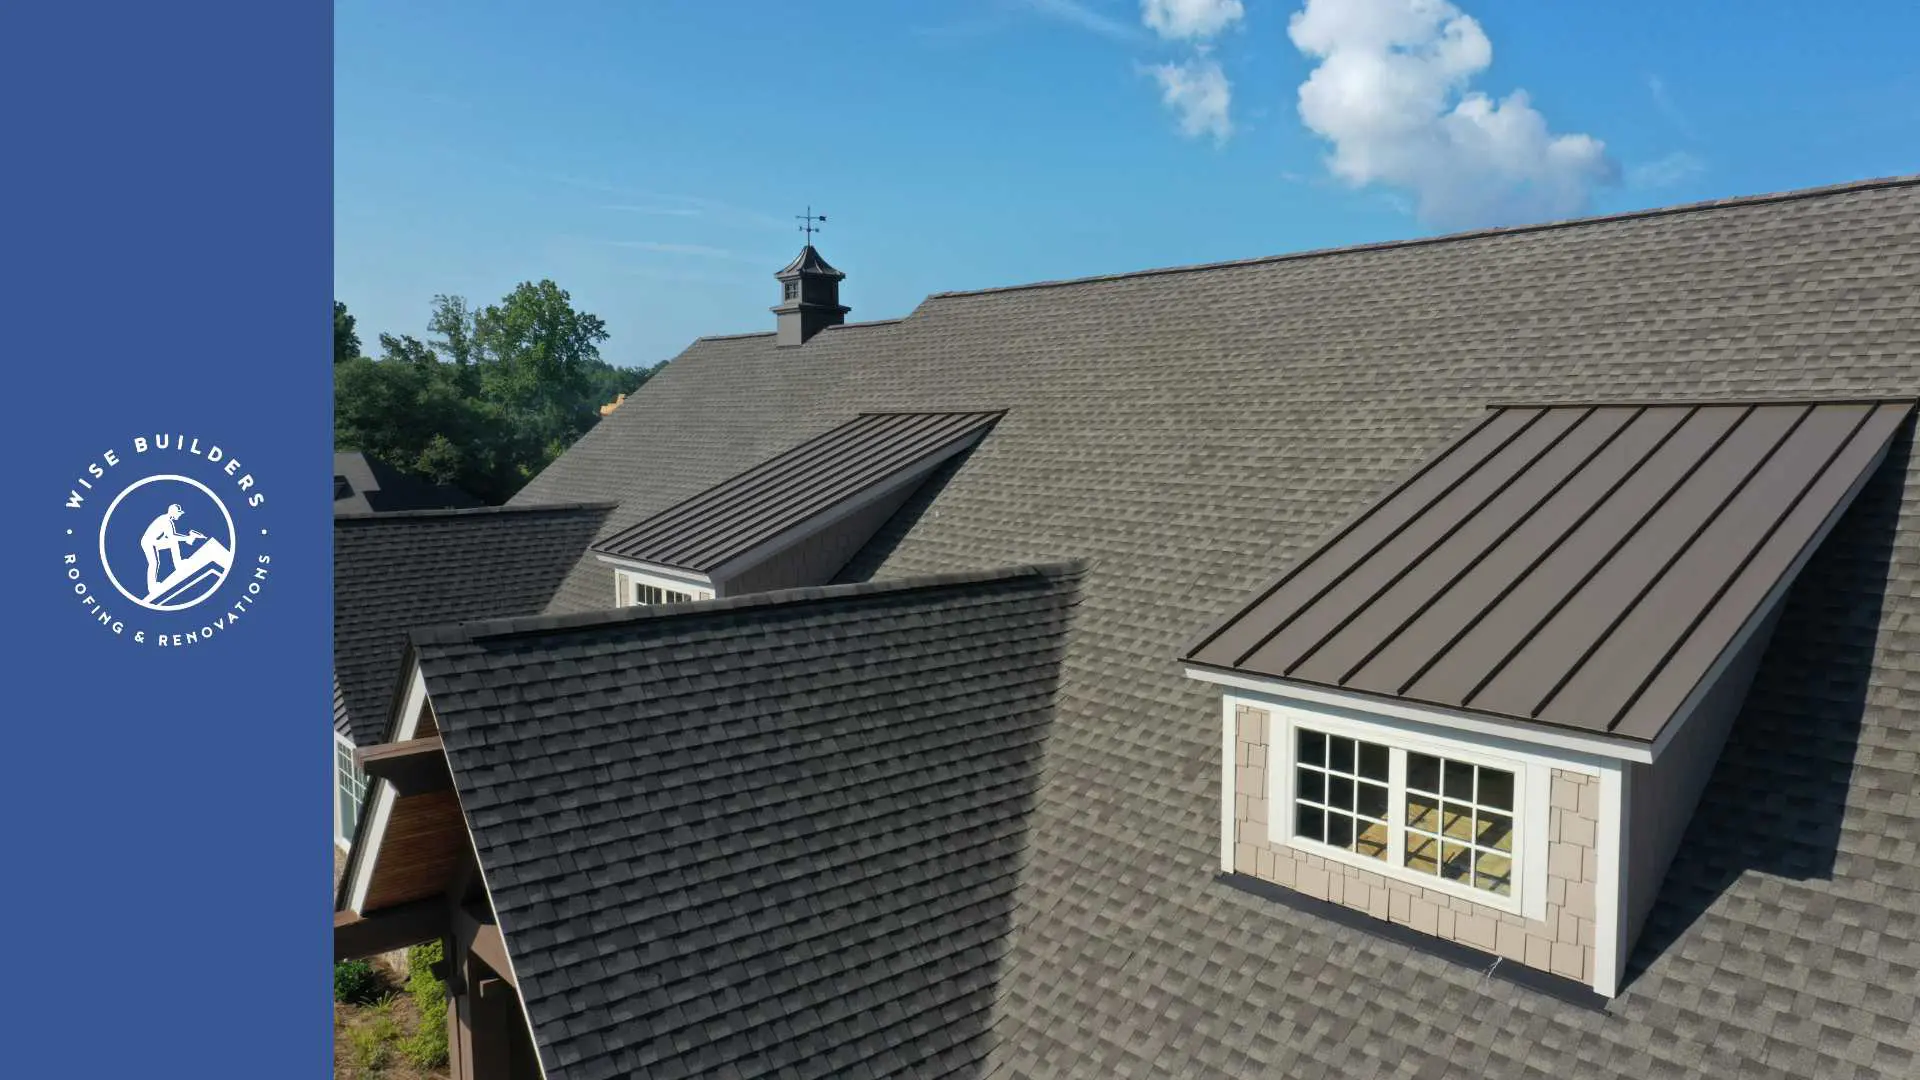
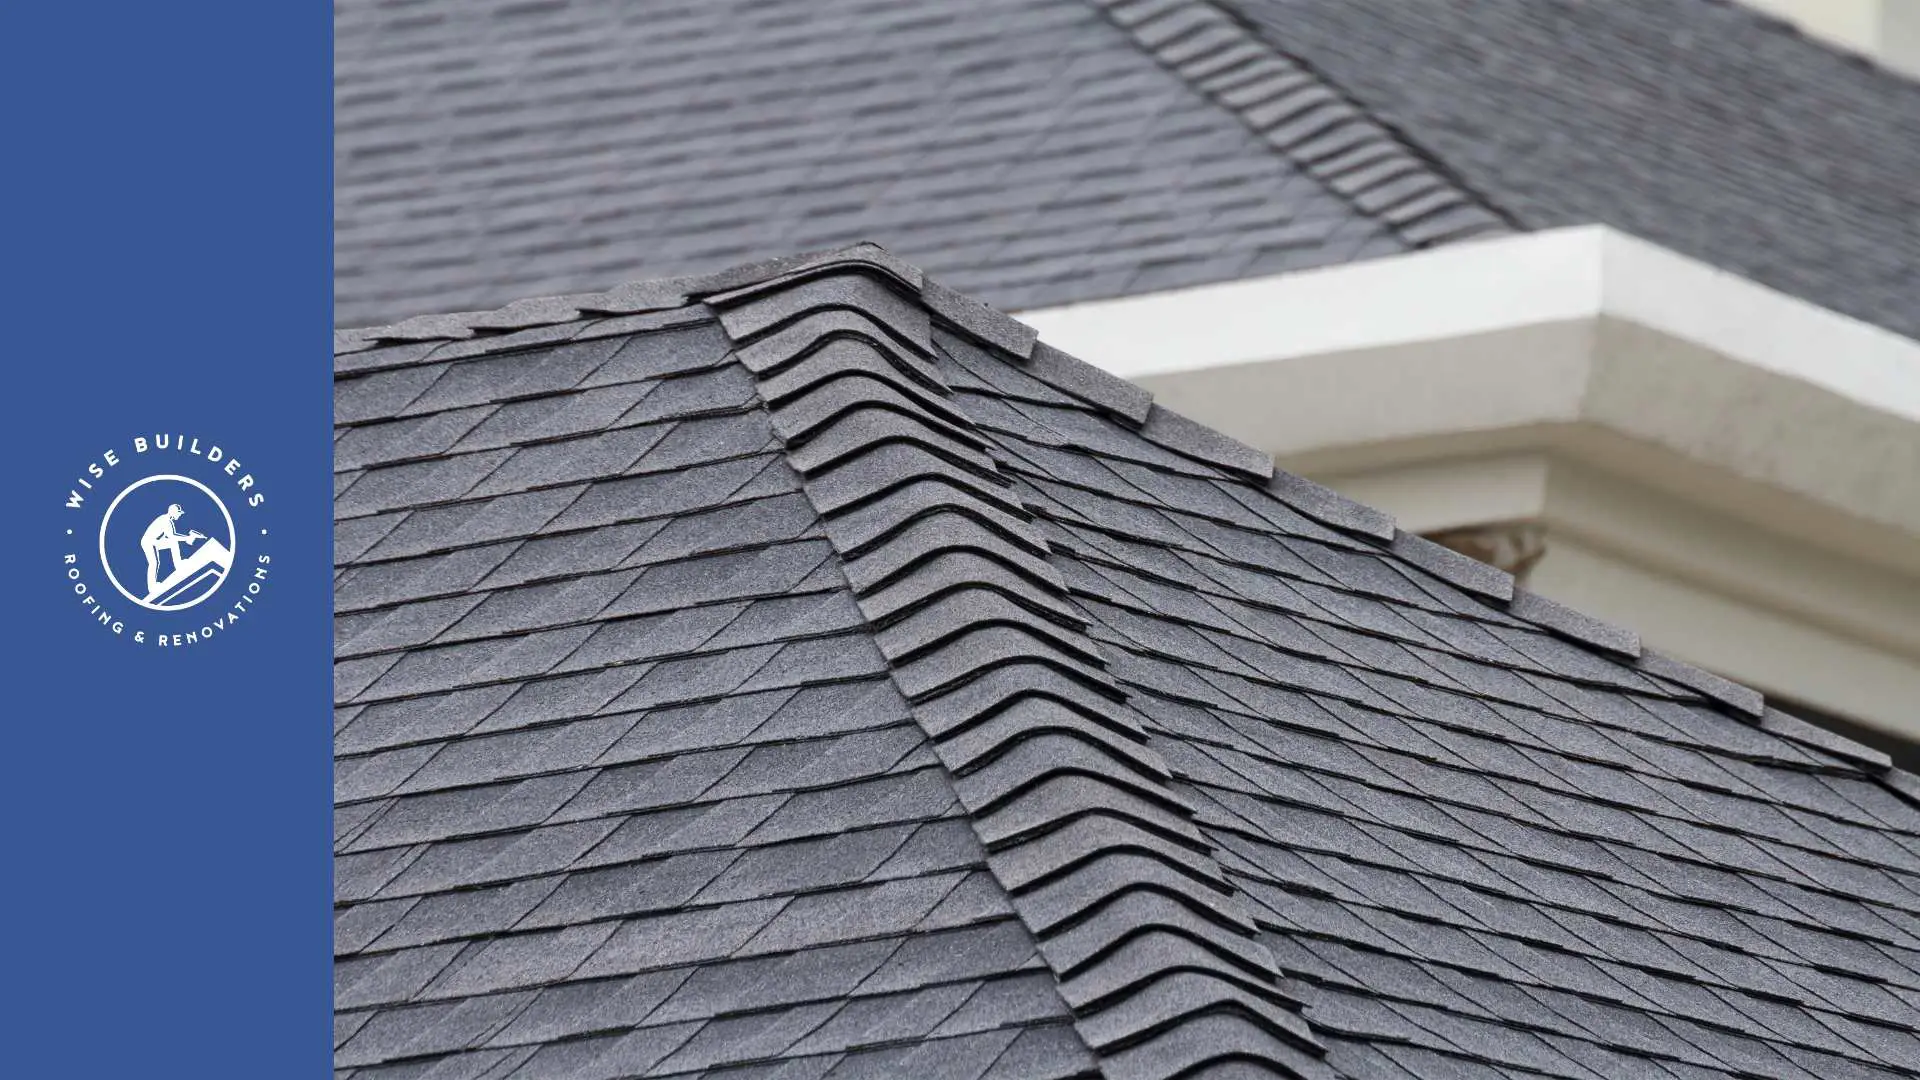
A drip edge is a metal or plastic strip installed along the roof edge, acting as a first line of defense against water damage.It channels water away from the fascia board and into the gutters, preventing it from seeping under the roofing materials and causing costly damage.
By directing water away from vulnerable areas, drip edges protect your home from a range of potential problems, including wood rot, mold growth, and compromised insulation. This simple yet effective component plays a vital role in maintaining the structural integrity and longevity of your roof.
How a Drip Edge Protects Your Home
Imagine a drip edge as a water shield for your roof. Installed at the eaves, it prevents water from backing up under the shingles and infiltrating your home. This protection extends to the fascia, the exposed board along the roof edge, safeguarding it from rot and decay.
Furthermore, a properly installed drip edge prevents water from seeping into the soffits, the underside of your roof overhang. This protection is crucial for maintaining proper ventilation in your attic and preventing moisture-related issues.
By channeling water away from these vulnerable areas, the drip edge acts as a barrier, preserving the integrity of your roofing system and preventing potential water damage.
The Role of Drip Edges in Roofing Systems
A drip edge forms an integral part of a comprehensive roofing system. Installed beneath the shingles and over the underlayment, it provides an additional layer of protection against water infiltration. The drip edge ensures that even if water penetrates the shingles, it is directed away from the roof deck.
At the rakes, the sloped edges of your roof, the drip edge is installed over the roofing felt, preventing wind-driven rain from entering under the shingles. This strategic placement creates a watertight barrier, protecting the most vulnerable areas of your roof.
Overall, the drip edge works in harmony with other roofing components to create a robust and weather-resistant system. It’s a small investment that pays off by preventing significant water damage and extending the life of your roof.
Preparing for Drip Edge Installation
Prior to commencing your drip edge installation, it’s crucial to gather the necessary tools and materials. Having everything on hand ensures a smooth and efficient process.
Additionally, take the time to inspect your roof for any damage or debris. Address any underlying issues and ensure a clean and stable surface for the drip edge to adhere to.
Essential Tools and Materials
Gathering the right tools and materials is essential for a successful drip edge installation. Here’s a checklist to ensure you’re well-prepared:
- Drip Edge Material: Opt for a durable material such as galvanized steel, aluminum, or copper, considering factors like climate and aesthetics.
- Roofing Nails: Choose corrosion-resistant roofing nails of appropriate length to secure the drip edge firmly.
- Safety Gear: Prioritize safety by wearing gloves, safety glasses, and sturdy footwear to protect yourself during the installation process.
- Measuring Tape: Accurate measurements are crucial, so have a reliable measuring tape on hand.
- Tin Snips: These are essential for cutting the drip edge to the required lengths.
- Hammer: Use a hammer to drive the roofing nails into place, ensuring a secure attachment.
- Having these essential tools and materials readily available will streamline the installation process and contribute to a successful outcome.
Safety Measures and Best Practices
When it comes to working on your roof, safety should always be your top priority. Before you begin, ensure you have a stable ladder and consider using a safety harness, especially if you’re working on a steep roof.
Always wear appropriate safety gear, including gloves, safety glasses, and sturdy footwear. Roofing materials can be sharp, so protecting your hands and eyes is crucial. Additionally, wear a dust mask when cutting metal drip edges to avoid inhaling metal particles.
Remember, if you’re uncomfortable working on your roof, it’s best to hire a qualified roofer. They have the experience and equipment to perform the installation safely and efficiently.
Step-by-Step Guide to Installing a Drip Edge
Now that you’ve prepared your roof and gathered the necessary tools, we’ll guide you through the step-by-step process of installing your drip edge. Follow these instructions carefully to ensure a secure and watertight installation.
Remember to double-check measurements and take your time with each step. A precise and meticulous approach will yield the best results.
Step 1: Measuring Your Roof
Begin by accurately measuring the length of each roof edge where you’ll be installing the drip edge. Use a measuring tape and record the measurements in inches.
If you have a complex roof with multiple angles or dormers, divide it into smaller, more manageable sections. Measure each section individually to ensure accurate drip edge lengths.
This careful measurement process will help you determine the total length of drip edge material required and ensure a snug fit along all roof edges.
Step 2: Cutting the Drip Edge to Size
Once you have your measurements, use tin snips to cut the drip edge material to the desired lengths. When cutting, ensure clean, straight edges to prevent water from seeping through any gaps.
Remember to factor in overlaps at corners. Overlapping sections ensure a watertight seal at these vulnerable points. Here’s a table to guide you on how much to overlap different types of drip edges.
| Type of Drip Edge | Overlap |
| Standard Drip Edge | 2 inches |
| Wide Drip Edge | 3 inches |
By following these guidelines, you’ll create a seamless and effective drip edge installation.
Step 3: Securing the Drip Edge to Your Roof
Start by positioning the drip edge along the edge of the roof, ensuring the extended flange goes under the first course of shingles. Apply a continuous bead of roofing cement along the top of the drip edge to create a watertight seal.
Next, use roofing nails to secure the drip edge in place. Space the nails approximately every 12 inches, driving them straight and flush with the drip edge surface.
Ensure that the nails penetrate the roofing deck for a secure attachment. Continue this process along all roof edges, overlapping sections at corners as needed.
Conclusion
In conclusion, understanding the importance of drip edge installation is crucial for protecting your home from potential water damage and maintaining the integrity of your roofing system. By following the step-by-step guide provided and ensuring you have the necessary tools and materials, you can effectively install a drip edge to enhance the functionality and longevity of your roof. Remember, safety measures and best practices are key during the installation process. If you have any questions or need further assistance, feel free to explore our FAQ section for more insights on the purpose and benefits of a drip edge in roofing.
At Wise Builders, We ensure our clients receive the best possible outcomes. Our commitment to quality workmanship and customer satisfaction is unwavering, making us the top choice for residential Roofing services in our community.
Frequently Asked Questions
What is the purpose of a drip edge in roofing?
A drip edge is a metal or plastic strip installed at the roof edge to protect the fascia board from water damage. It channels water away from the roof and into the gutters, preventing rot and other moisture-related issues.