Key Highlights
- Knowing the roofing installation process helps you understand the complexities involved and make informed decisions.
- From removing the existing roof to installing new shingles, underlayment, and flashing, each step is crucial for a successful roofing project.
- Hiring a reputable roofing contractor ensures proper installation, warranty protection, and peace of mind.
- Regular maintenance, including inspections and timely repairs, extends the lifespan of your new roof.
- This comprehensive guide provides valuable insights for homeowners, equipping them with the knowledge needed for a smooth and successful roofing experience!
Introduction
A new roof is a significant investment for any homeowner. It not only protects your home from the elements but also enhances its curb appeal and energy efficiency. Understanding the roof installation process is essential for a successful outcome, whether you’re considering a DIY project or hiring a professional roofing contractor. This beginner’s guide will walk you through the step-by-step process of installing a new roof, covering everything from choosing the right roofing material to ensuring proper installation.
Understanding the Basics of Roofing Installation

Roof installation might seem straightforward, but it involves a series of crucial steps that ensure your new roof’s longevity and effectiveness. Before diving into the details, it’s helpful to grasp the basic components of a roof and their role in the installation process.
The process begins with preparing the roof deck—the structural foundation for your roofing material. Next comes the underlayment, a water-resistant barrier that adds an extra layer of protection. The drip edge, installed at the edges of the roof, helps channel water away from the house. Flashing, usually made of metal, is installed around roof features like chimneys and vents to prevent water seepage. And finally, the chosen roofing material, such as shingles or metal panels, is applied to provide the final protective layer.
The Importance of Quality Roofing
A quality roof is an integral part of a well-maintained home. It goes beyond just aesthetics, playing a vital role in protecting your investment and ensuring a safe and comfortable living environment.
First and foremost, a properly installed roof with quality materials ensures the integrity of your roof. It acts as a shield against harsh weather conditions like rain, snow, wind, and UV radiation, preventing costly water damage and structural issues.
Beyond structural support, a new roof can significantly enhance the curb appeal of your home. New roof shingles or a sleek metal roof can instantly modernize your property’s look and feel. An appealing roof can boost your home’s value if you plan to sell in the future.
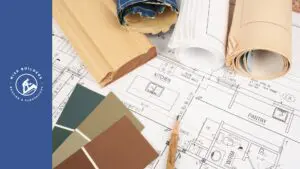
Types of Roofing Materials and Their Advantages
Choosing the right roofing material depends on your budget, aesthetic preferences, and the climate you live in. Each type of roofing material has its pros and cons. Here’s a quick comparison:
| Material | Pros | Cons |
| Asphalt Shingles | Affordable; easy to install; comes in various colors and styles | Less durable than other options; susceptible to wind damage |
| Metal Roof | Long-lasting (50+ years); energy-efficient; fire-resistant; lightweight | Can be noisy during rainstorms; prone to dents |
Whether you opt for the classic look of asphalt shingles or the durability of a metal roof, ensuring compatibility with your local climate and home’s structure is crucial. Regardless of your final decision, installing a quality water barrier underneath your roofing material is a must to prevent leaks and damage.
Preparing for Your Roof Installation

A smooth roof installation begins with proper preparation. Taking the time to assess your current roof’s condition and addressing any underlying issues will save you time, money, and potential headaches down the road.
This prep work includes inspecting the roof deck for damage, ensuring proper ventilation, and choosing the right roofing contractor for your needs. Remember, a successful roof installation is a collaborative effort between the homeowner and the roofing professional.
Assessing Your Current Roof Condition
Before scheduling a roof installation, take some time to visually inspect your old roof for any visible signs of damage. Look for missing, cracked, or curled shingles, as these are often the first indicators of a roof nearing the end of its lifespan.
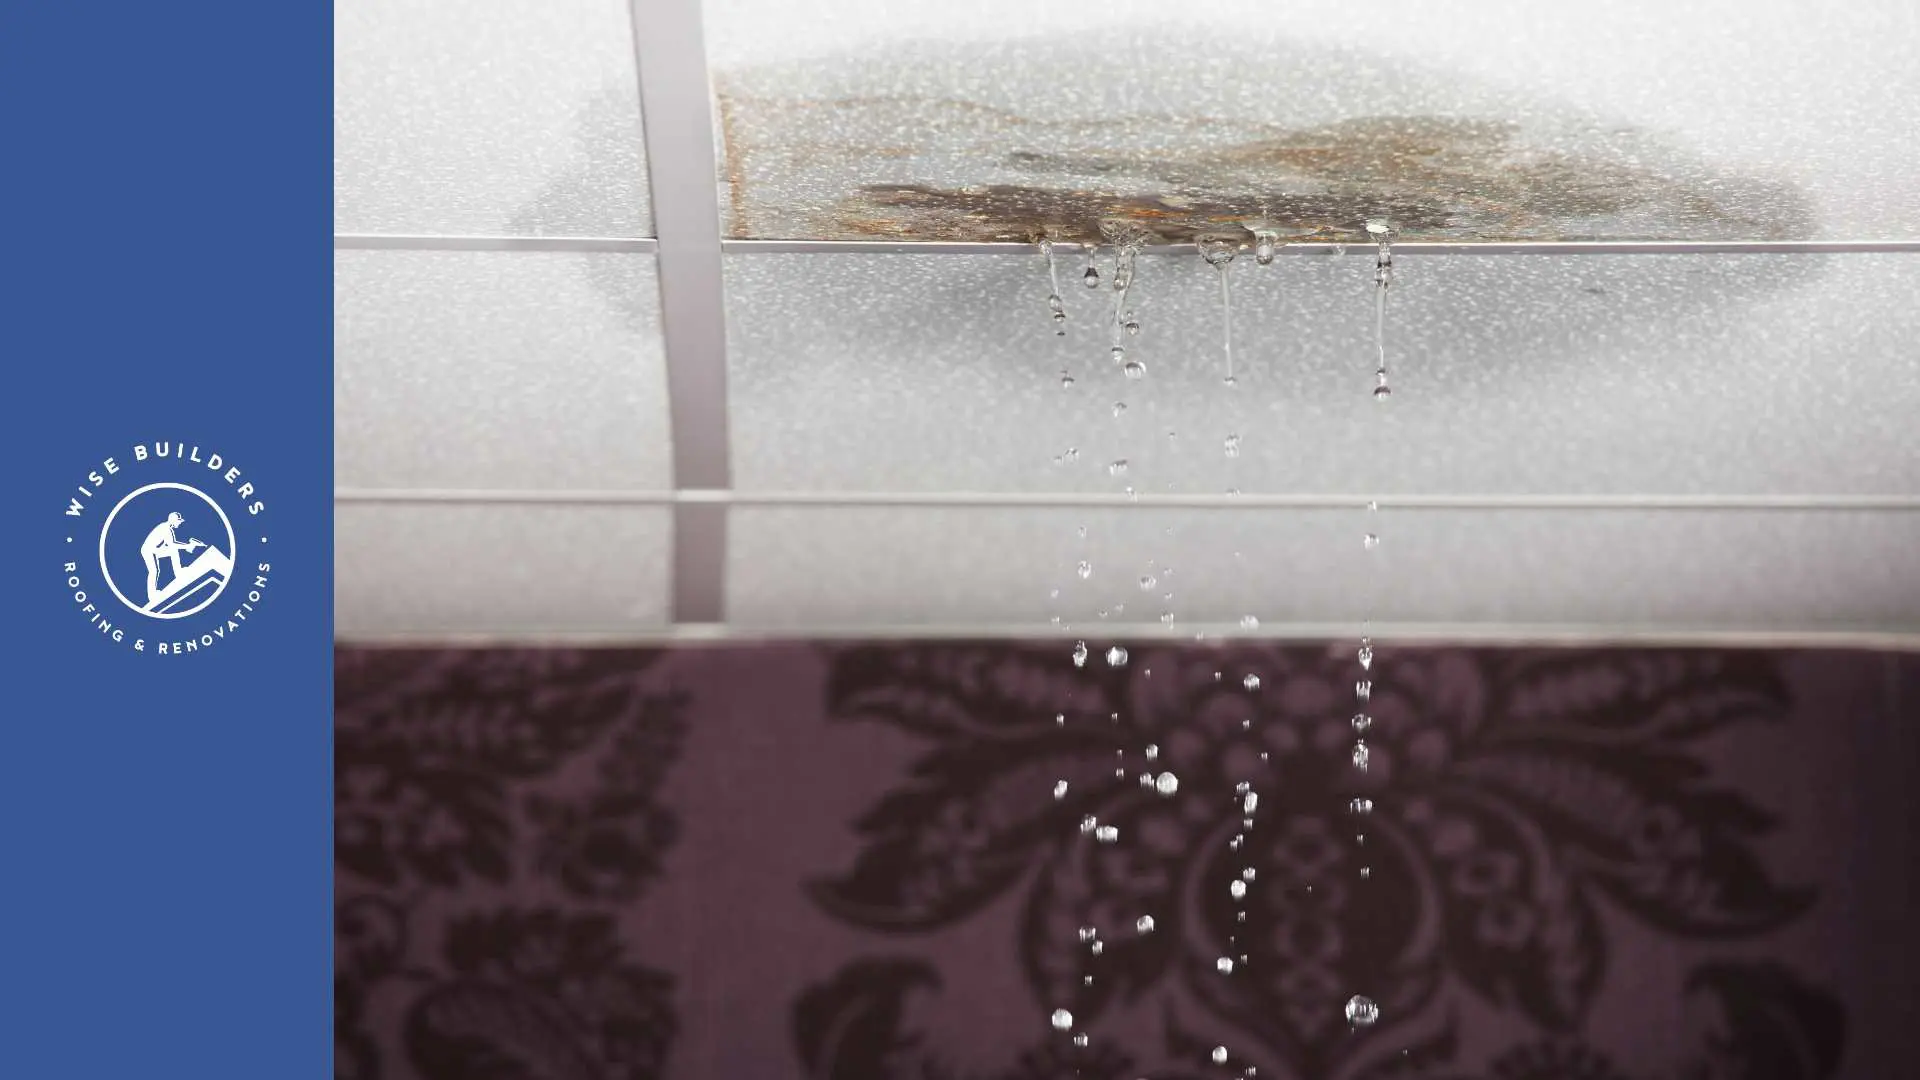
Check your attic for signs of water damage, such as water stains, mold growth, or sagging insulation. These could indicate leaks in your existing roof that need immediate attention. It’s better to catch these issues early on to prevent further damage.
If your old roof seems to be in relatively good shape, consider its age. Asphalt shingles typically last around 20 years, while metal roofs can last for decades with proper care. Keep in mind that even if your roof appears fine, age alone can be a deciding factor in whether or not to replace it.
Choosing the Right Roofing Material for Your Home
With a plethora of roofing material options available in the market, choosing the best fit for your home can seem daunting. Consider your budget, desired aesthetic, and the specific needs of your house. Asphalt shingles are often the most budget-friendly option, while metal roofs offer greater longevity.
If curb appeal is a top priority, explore the various colors, textures, and styles of roofing material to complement your home’s architectural design. Slate tiles, for instance, offer a sophisticated and upscale look but come with a higher price tag.
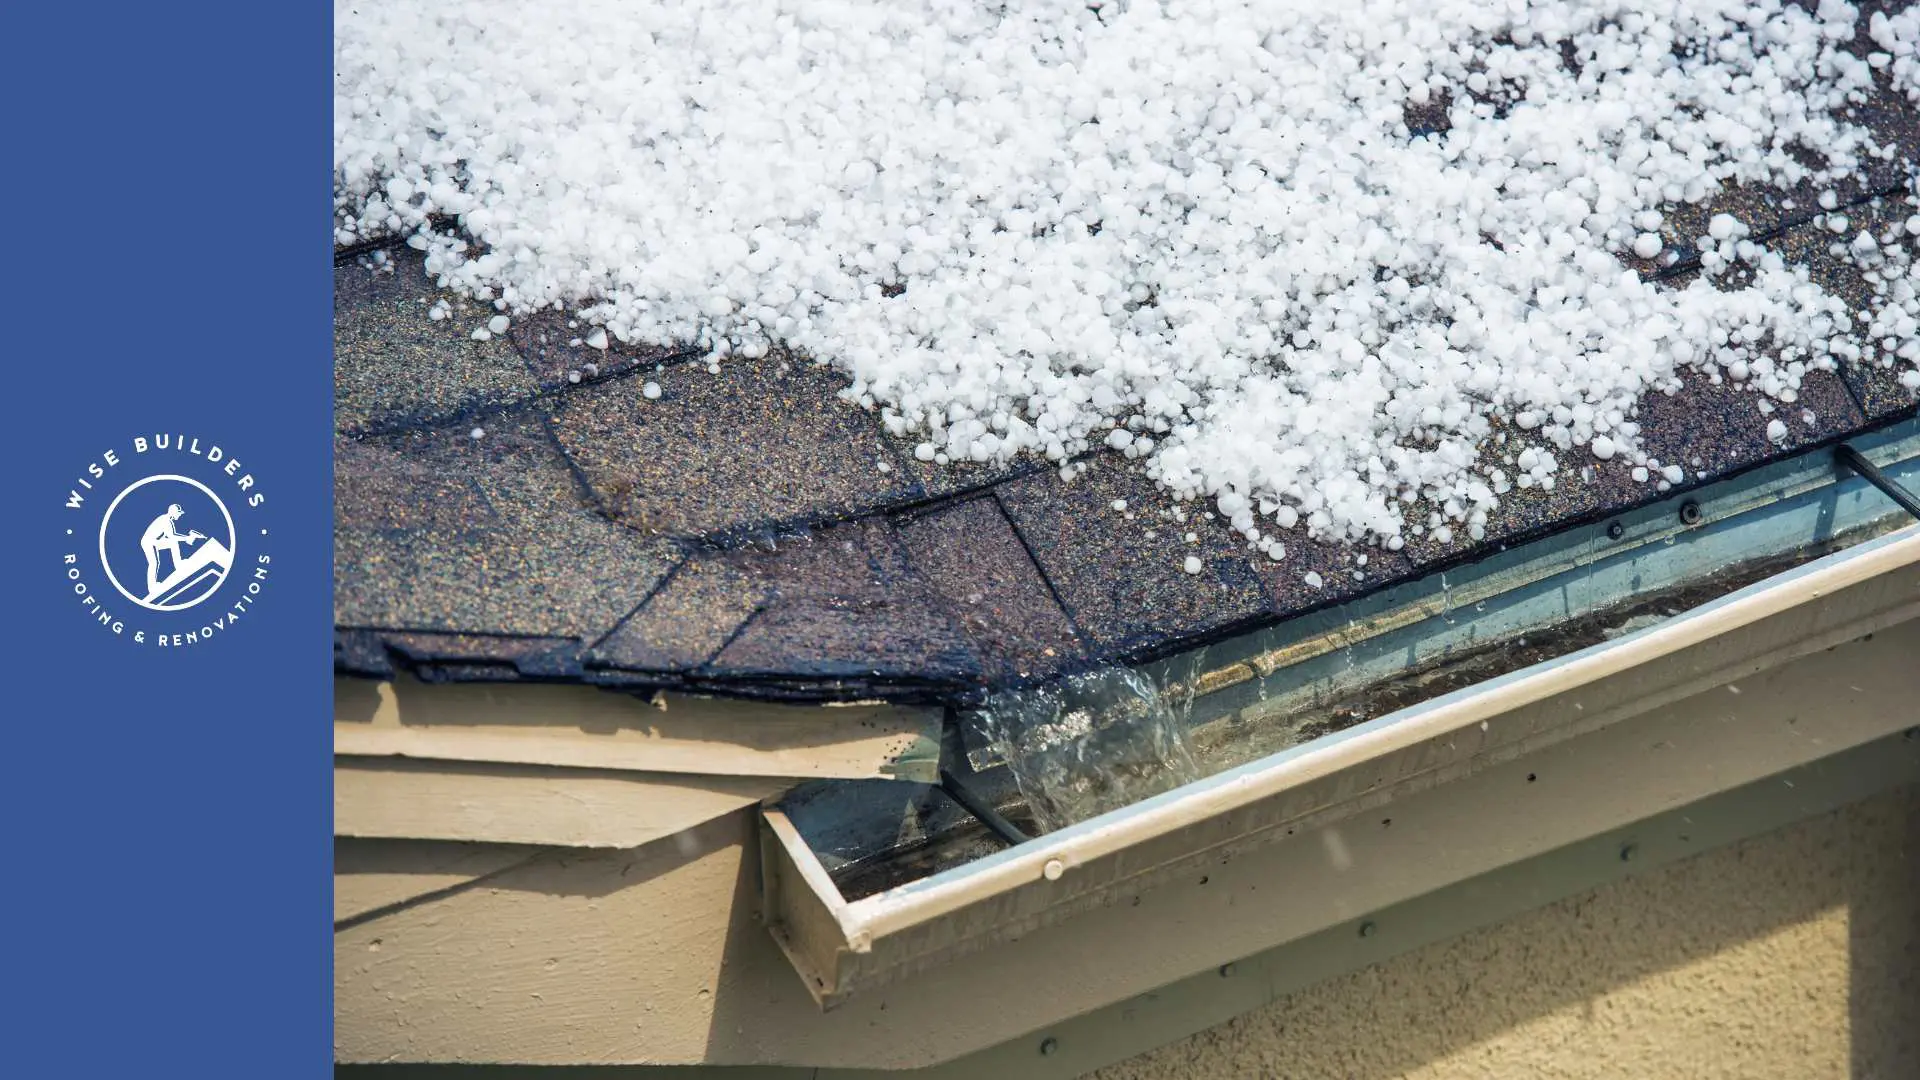
Don’t forget to factor in your local climate. If you live in an area prone to extreme cases of hailstorms, impact-resistant shingles or a metal roof might be more suitable. A professional roofing contractor can guide you through these considerations and recommend the most practical and aesthetically pleasing options for your home.
Finding a Reputable Roofing Contractor
Unless you have prior roofing experience, hiring a reputable roofing contractor, for your new roof installation is highly recommended. Selecting the right professional ensures that the job is completed with expertise and adherence to safety standards.
When choosing a roofing contractor, look for experience, proper licensing, insurance, and a track record of quality work. Request quotes from multiple contractors and inquire about their warranties on both labor and materials. Don’t hesitate to ask for references from past clients to gauge their satisfaction.
A reliable roofing contractor will have a team of experienced professionals who are equipped with the necessary knowledge and tools to tackle your roofing project efficiently and effectively. They should prioritize clear communication, address any concerns you may have, and keep you informed throughout the entire installation process.
The Step-by-Step Guide to Roofing Installation

Now that you understand the importance of preparation and finding the right contractor, let’s dive into the step-by-step roofing installation process. From removing the old shingles to laying down the new ones, each stage requires precision and expertise.
Remember, this guide outlines the general process, and the specific steps might vary slightly depending on the type of roof you’re installing and the existing roof structure.
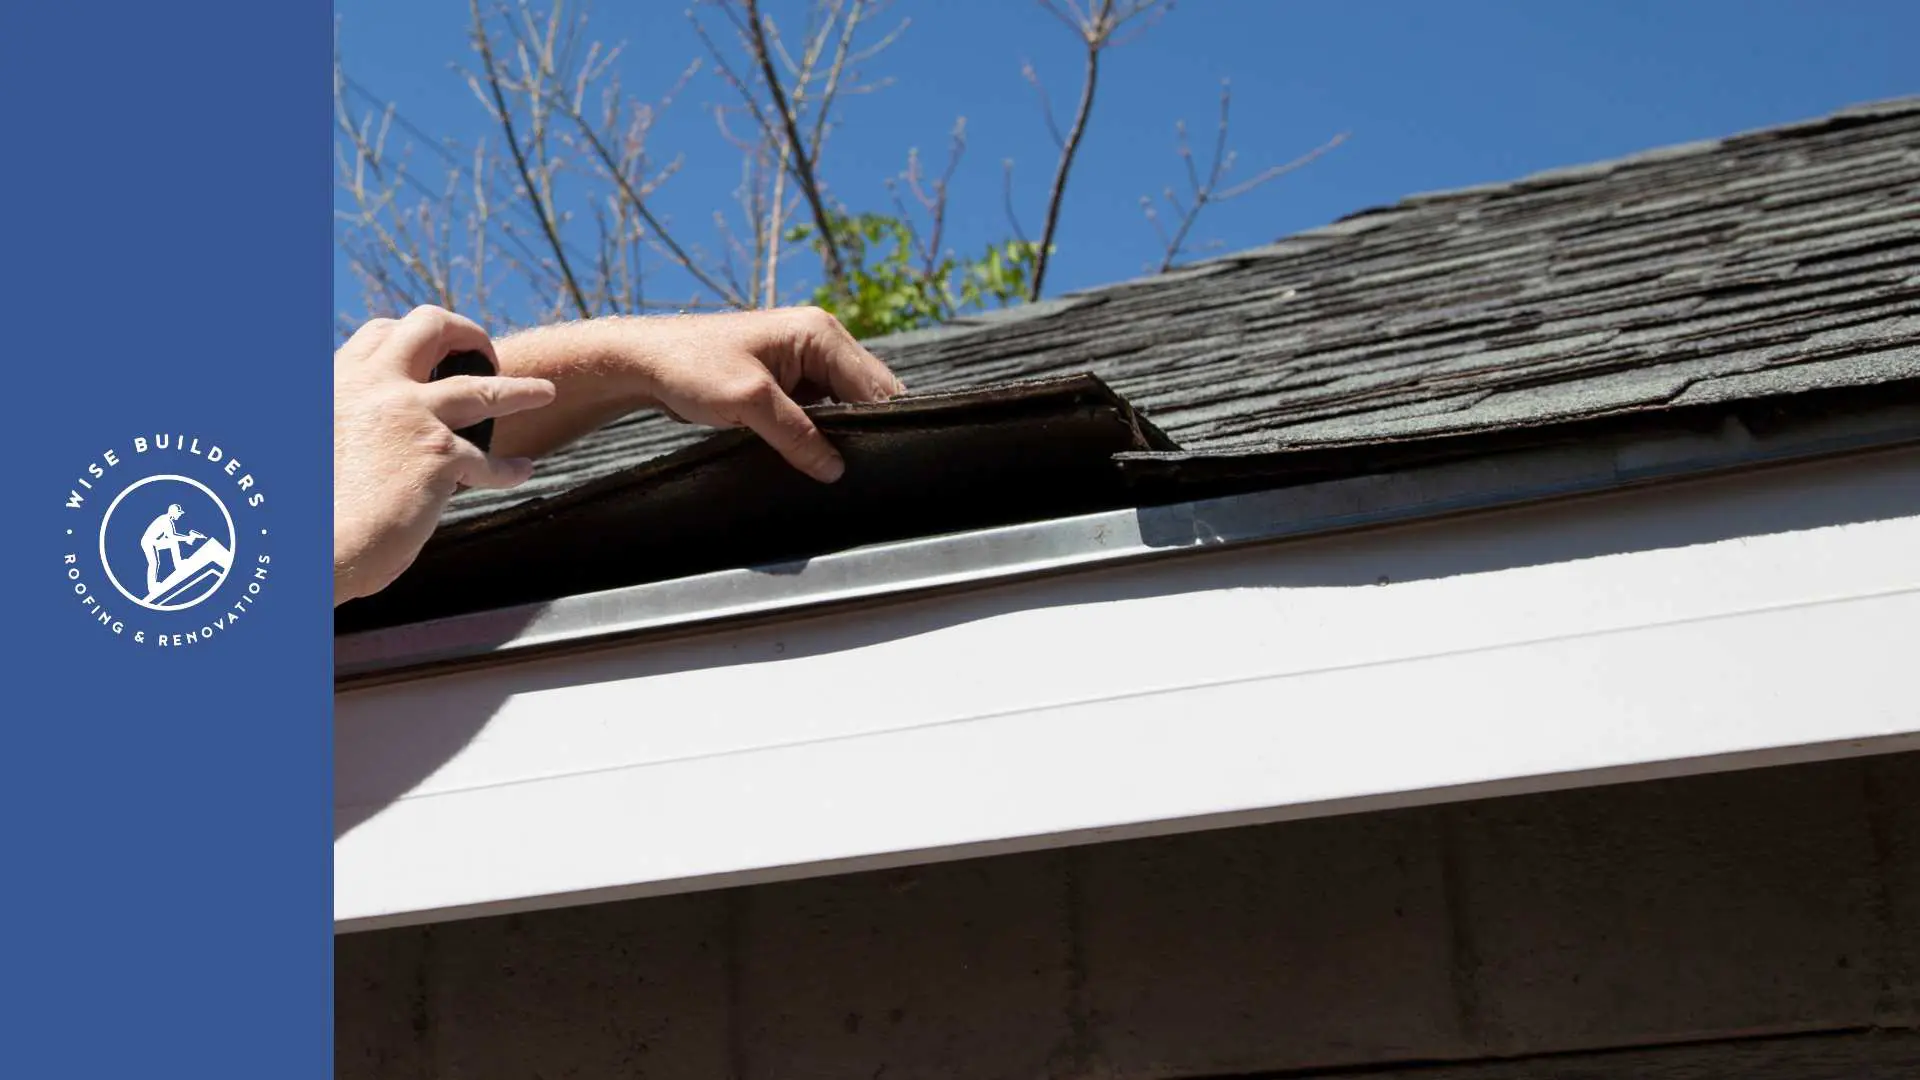
Step 1: Removing the Existing Roof
The first step in any roofing project involves carefully removing the old roof. This is a labor-intensive process, requiring the use of specialized tools like pry bars, shovels, and in some cases, even power tools. The old shingles, underlayment, and flashing need to be completely removed to expose the roof deck for inspection.
Proper disposal is crucial during this step. Your roofing contractor should have a plan to haul away the old roofing debris, usually using a dumpster placed strategically on your property. Ensure that they adhere to local regulations for safe and responsible disposal.
Removing the old roof also provides an opportunity to address any underlying issues with the roof deck. Rotted wood, damaged boards, or structural problems can be identified and fixed before the new roof is installed, ensuring a solid foundation for years to come.
Step 2: Inspecting and Preparing the Roof Deck
Once the old roofing is gone, your contractor will thoroughly inspect the roof deck for any signs of damage. This includes looking for rotten wood, loose boards, or structural damage that might have occurred over time due to water seepage or wear and tear.
If any issues are found, they’ll need to be addressed before proceeding. This might involve replacing damaged boards, reinforcing weak spots, or treating the wood with a sealant to prevent further decay. A solid roof deck is crucial for the overall integrity and longevity of your new roof.
The roof deck should also be clean and free of debris before moving on to the next step. This ensures that the underlayment will be installed smoothly, creating a uniform and effective water barrier.
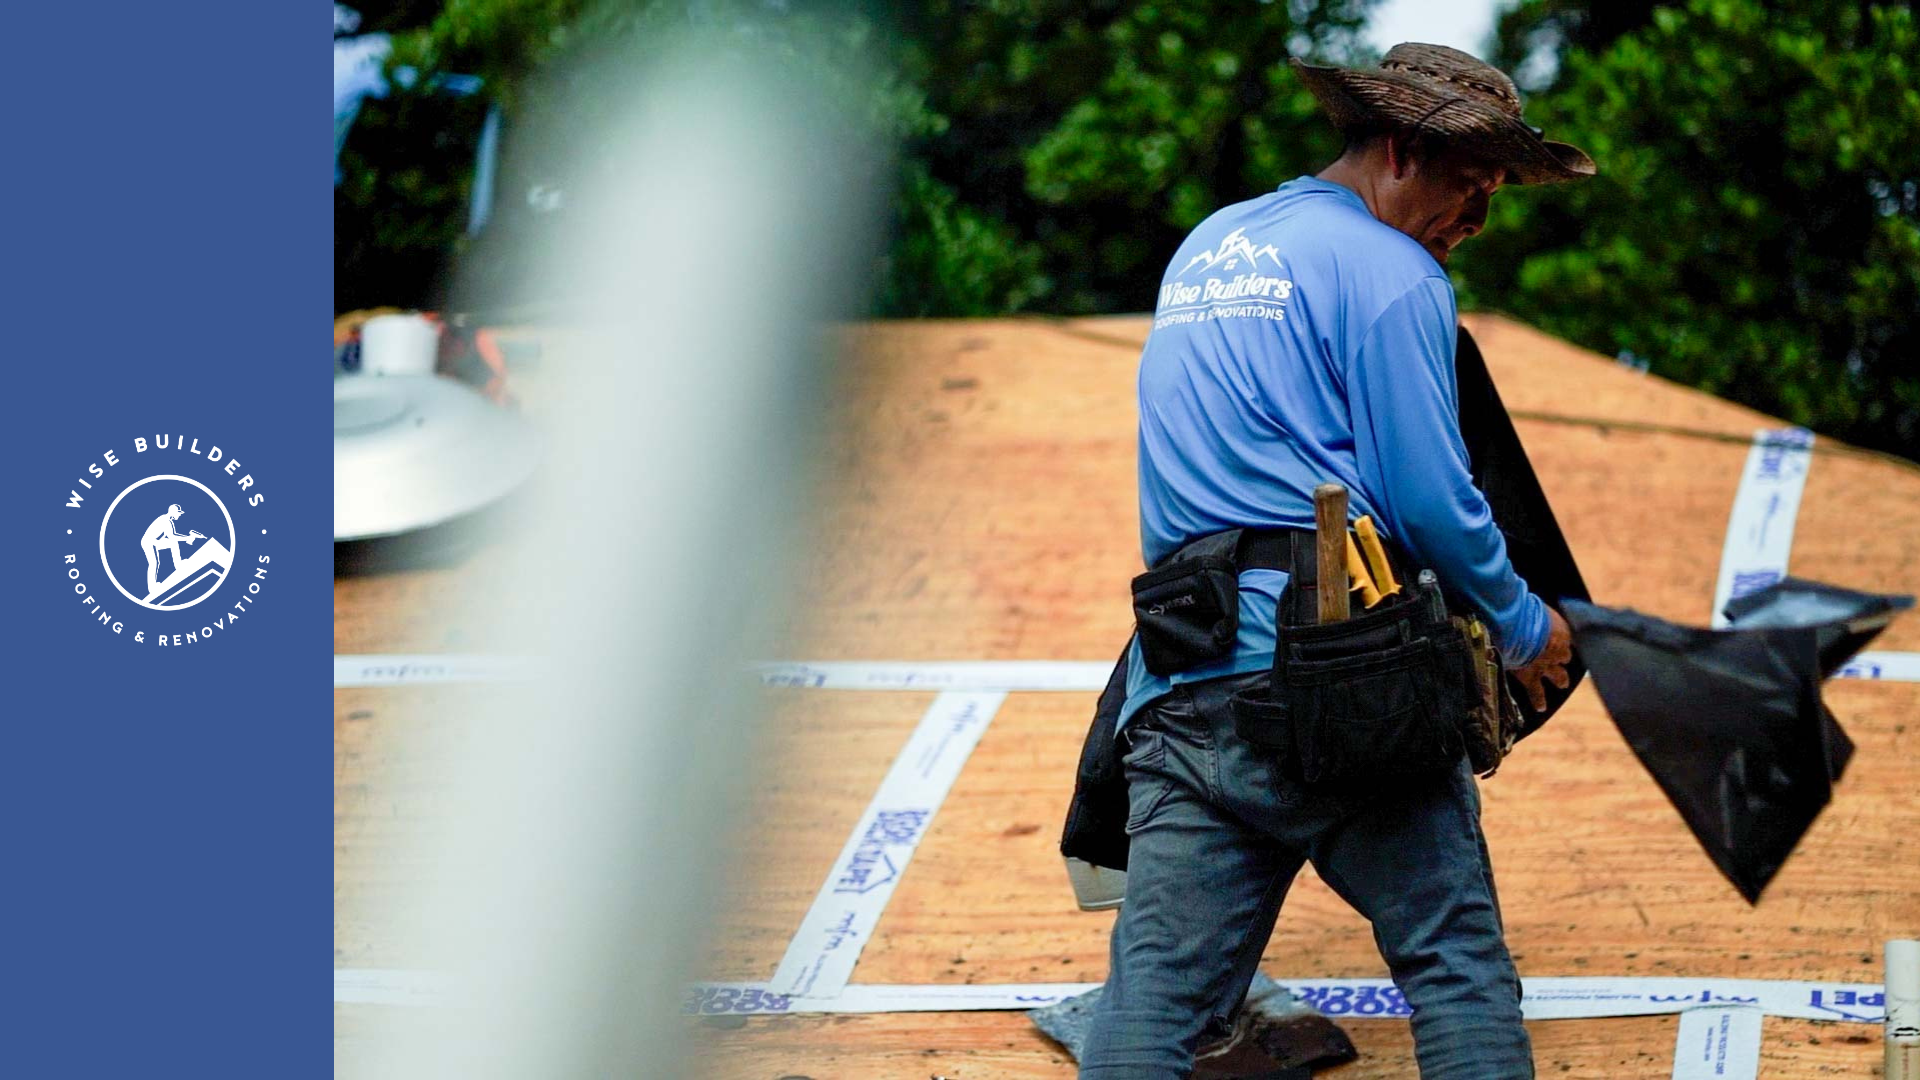
Step 3: Installing Underlayment and Drip Edges
After the roof deck is prepped, it’s time to install the underlayment. This layer of protection, typically made of felt paper or synthetic material, acts as a secondary water barrier, preventing leaks from penetrating the roof deck if the primary roofing material fails.
The underlayment is rolled out horizontally, starting from the bottom edge of the roof and overlapping each layer by several inches to prevent water seepage. It’s secured to the roof deck using nails or staples.
Following the underlayment, drip edges are installed along the edges of the roof. These metal strips help direct water away from the fascia board and into the gutters, preventing rot and water damage.
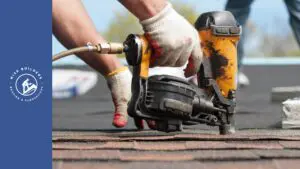
Step 4: Applying the New Roofing Material
Now comes the exciting part—installing the new roofing material. Depending on your chosen material, this process can vary significantly. For asphalt shingle roofs, starter shingles are installed along the edges, followed by overlapping rows of new shingles, working from the bottom up.
For metal roofing, large panels are carefully positioned and fastened to the roof deck using specialized screws. These panels interlock to create a seamless and durable roofing system.
Regardless of the material, proper installation is crucial. Your roofing contractor should ensure that the shingles or panels are aligned correctly, secured properly, and any necessary sealants are used to prevent leaks.
Step 5: Installing Flashing Around Roof Features
Flashing, typically made of metal, is installed around any roof penetrations, such as chimneys, vents, and skylights. It acts as a watertight seal, directing water away from these vulnerable areas and preventing leaks.
The flashing is carefully cut and shaped to fit snugly around the roof feature and is then secured using roofing nails or sealant. Proper flashing installation is critical for preventing future water damage to your roof and home’s interior.
In addition to the flashing around specific features, step flashing is installed along the roof edges where it meets a wall or vertical surface. This type of flashing provides additional protection against water intrusion at these critical junctions.
Step 6: Final Inspection and Cleanup
Once the new roofing material and flashing are installed, it’s time for a final inspection. Your roofing contractor will thoroughly examine the entire roof, ensuring that all materials are properly secured, seams are sealed, and flashing is installed correctly.
They will also inspect for any potential hazards, such as loose nails or debris, and ensure that the work area is clean and safe. A reputable contractor will leave your property with a nice finished look, clearing away any leftover materials.
After the final inspection, your contractor should provide you with a detailed overview of the work completed and any warranties provided on materials or labor. They should be readily available to address any questions or concerns you may have.
Post-Installation Tips
Congratulations on your new roof! While a well-installed roof should last for years to come, proper maintenance can help extend its lifespan and avoid costly repairs. Regularly inspect your roof for any signs of damage, such as missing or damaged shingles, cracks in the flashing, or signs of water intrusion.
Remove any debris that might accumulate on your roof, such as leaves, branches, or snow, as these can trap moisture and contribute to premature aging. Consider having your gutters cleaned regularly to ensure proper water drainage and prevent clogs that can lead to roof damage.
Maintaining Your New Roof
Roof maintenance goes beyond visual inspections. While it’s important to address any visible issues promptly, scheduling regular checkups with a qualified roofing professional can help identify potential problems before they escalate.
A professional roof inspection can detect hidden damage, assess the condition of your roof shingles, and identify areas that might require attention. This preventative approach can save you money in the long run by addressing minor issues before they turn into major repairs.
Additionally, be mindful of the potential impact of severe weather conditions on your roof. After a major storm or heavy winds, it’s wise to inspect your roof for any damage, such as loose shingles or damaged flashing, and contact a roofing professional for repairs if necessary.
When to Schedule Inspections
Knowing when to schedule professional roof inspections helps ensure that your roof remains in optimal condition. While the frequency of inspections can vary depending on your roof’s age, material, and local climate, a general guideline is to schedule them at least once every two to three years.
However, if your roof has experienced recent storm damage, significant wear and tear, or is nearing the end of its expected lifespan, it’s advisable to schedule an inspection more frequently. Consulting with your roofing contractor can help determine the appropriate inspection schedule for your specific needs.
Remember, catching potential problems early can save you money and headaches in the long run. Timely roof inspections are an investment in your home’s value and your peace of mind.
Conclusion
In conclusion, a well-executed roofing installation is crucial for the long-term protection and value of your home. Understanding the basics, choosing quality materials, and finding a reputable contractor are key steps. By following a structured installation process, from roof assessment to final inspection, you can ensure a successful outcome. Regular maintenance and timely inspections will help extend the lifespan of your new roof. Have more questions or need expert guidance? Reach out to us for personalized assistance in making informed decisions about your roofing needs.
At Wise Builders, We ensure our clients receive the best possible outcomes. Our commitment to quality workmanship and customer satisfaction is unwavering, making us the top choice for residential Roofing services in our community.
Frequently Asked Questions
What is the average lifespan of a roof?
The average lifespan of a new roof varies depending on the roofing material. A shingle roof typically lasts 15-30 years, while a metal roof can last upwards of 50 years with proper care. Factors such as climate and maintenance also influence a roof’s lifespan.
Can I install a new roof over an old one?
While it’s technically possible to install a new roof over an old one, it’s generally not recommended. An existing layer of roofing can hide underlying problems, add extra weight to the roof structure, and shorten the lifespan of your new roof. For a longer-lasting and more reliable roof replacement, it’s generally best to start with a clean slate by removing the old roof entirely. This allows your contractor to address any underlying issues with the roof deck and ensure proper installation of the new roofing system.
How do I choose the best roofing material for my home?
Consider your budget, desired curb appeal, and local climate when choosing roofing material. Consult with a professional roofing contractor to discuss factors like durability, energy efficiency, and suitability for your home’s structure. For instance, a metal roof might be ideal for coastal areas prone to harsh weather, while asphalt shingles could be suitable for milder climates.
What should I expect during the roofing installation process?
During the roof installation process, a roofing team will first remove your old roof. Then they’ll install a drip edge, underlayment, and flashing. The new roofing material will be installed, followed by step flashing. Lastly, they will perform a final cleanup and inspection.
How can I ensure my roof installation is successful?
Hire a licensed and insured professional roofing contractor with a solid reputation. Get everything in writing, including warranties, and maintain clear communication. Be present during the final inspection to address any concerns. Remember, a well-installed roof, whether it’s new shingles or another type of roofing work, enhances your home’s protection and curb appeal for years to come.