Key Highlights
- Chimney flashing is a crucial component of a roof, creating a waterproof seal to protect your home from water damage.
- Proper installation is key to preventing leaks and costly repairs.
- Different types of flashing materials are available, such as aluminum, copper, and vinyl, each with its pros and cons.
- Before installing new flashing, carefully assess your chimney and roof for any damage or deterioration.
- Consider hiring a professional roofing contractor for safe and efficient chimney flashing installation, especially if you’re uncomfortable working at heights.
Introduction
Protecting your home from the elements is a top priority, and ensuring your roof remains watertight is essential. Chimney flashing plays a critical role in maintaining roof health by providing a waterproof barrier between the chimney and the roofing materials. Proper flashing installation is paramount to prevent leaks, which can lead to costly repairs and compromise the structural integrity of your home.
Understanding Chimney Flashing

Chimney flashing is a crucial component of your roofing system that acts as a waterproof seal where the chimney meets the roof. It bridges the gap between these two structures, preventing water from seeping into the mortar joints and causing damage. This essential element is typically made from sheet metal, like aluminum or copper, or from more affordable materials like vinyl.
There are various types of chimney flashing, each serving a specific purpose to create a comprehensive waterproof barrier. Step flashing, for instance, is installed beneath the shingles to direct water away from the chimney’s sides. Counter flashing, on the other hand, covers the step flashing and is embedded into the chimney’s mortar joints for added protection.
The Role of Chimney Flashing in Roof Health
Chimney flashing is the unsung hero of a healthy roof, often overlooked but paramount to preventing extensive water damage. It acts as a shield, diverting water away from vulnerable areas where the chimney intersects with the roof. Without this crucial barrier, your home becomes susceptible to leaks, which can wreak havoc on your roof, ceiling, and walls.
A compromised chimney flashing system can lead to a cascade of issues, including rotting wood, mold growth, and even structural instability. The extent of the damage depends on the severity and duration of the leak. In severe cases, neglecting damaged flashing can jeopardize the entire roof structure, leading to expensive repairs.
Proper flashing installation is, therefore, non-negotiable. Investing in quality materials and ensuring correct techniques are used during installation is crucial to maintaining a watertight seal. It’s recommended to consult a professional roofing contractor for expert advice and installation, guaranteeing optimal protection for your home.
Common Types of Chimney Flashing Materials
Choosing the correct flashing material is crucial for its longevity and effectiveness. There are several options available, each boasting unique properties that suit different needs and budgets.
Copper is a premium choice, prized for its exceptional durability and corrosion resistance. It’s a naturally beautiful material that develops an attractive patina over time. Aluminum, being lighter and more affordable, is another popular choice. It offers decent resilience and can be coated to match various roofing aesthetics.
Here’s a comparison table of common chimney flashing materials:
| Material | Pros | Cons |
|---|---|---|
| Copper | Long-lasting, corrosion-resistant, aesthetically pleasing | Expensive |
| Aluminum | Lightweight, affordable, readily available | Less durable than copper, may corrode over time |
| Vinyl | Cost-effective, easy to install | Least durable, prone to cracking and fading |
Preparing for Chimney Flashing Installation
Before you begin the chimney flashing installation, careful preparation is essential. This includes thoroughly assessing your chimney and roof’s current condition and gathering the necessary tools and materials.
Proper planning ensures the job runs smoothly and the results are long-lasting. It’s crucial to address any existing damage before installing new flashing to avoid future leaks.
Assessing Your Chimney and Roof Condition
Prior to installing new flashing, it’s vital to thoroughly assess the condition of your chimney and roofing materials. Start by examining the chimney brickwork for cracks, missing mortar, or any signs of deterioration. These issues require attention before proceeding, as they can compromise the integrity of the new flashing.
Next, inspect the existing roof flashing for corrosion, rust, or damage. Pay close attention to the areas where the flashing meets the chimney and roof. If you notice any signs of wear and tear, replacing the flashing is crucial to prevent further damage.
Carefully evaluate the condition of the roofing materials surrounding the chimney. Look for damaged or missing shingles, as they can contribute to leaks. Repairing or replacing these elements before installing the new flashing is essential for a watertight seal.
Tools and Materials Needed for Installation
Once you’ve assessed your chimney and roof, it’s time to gather the necessary tools and materials. Having everything on hand simplifies the installation process. Here’s a list of essential items:
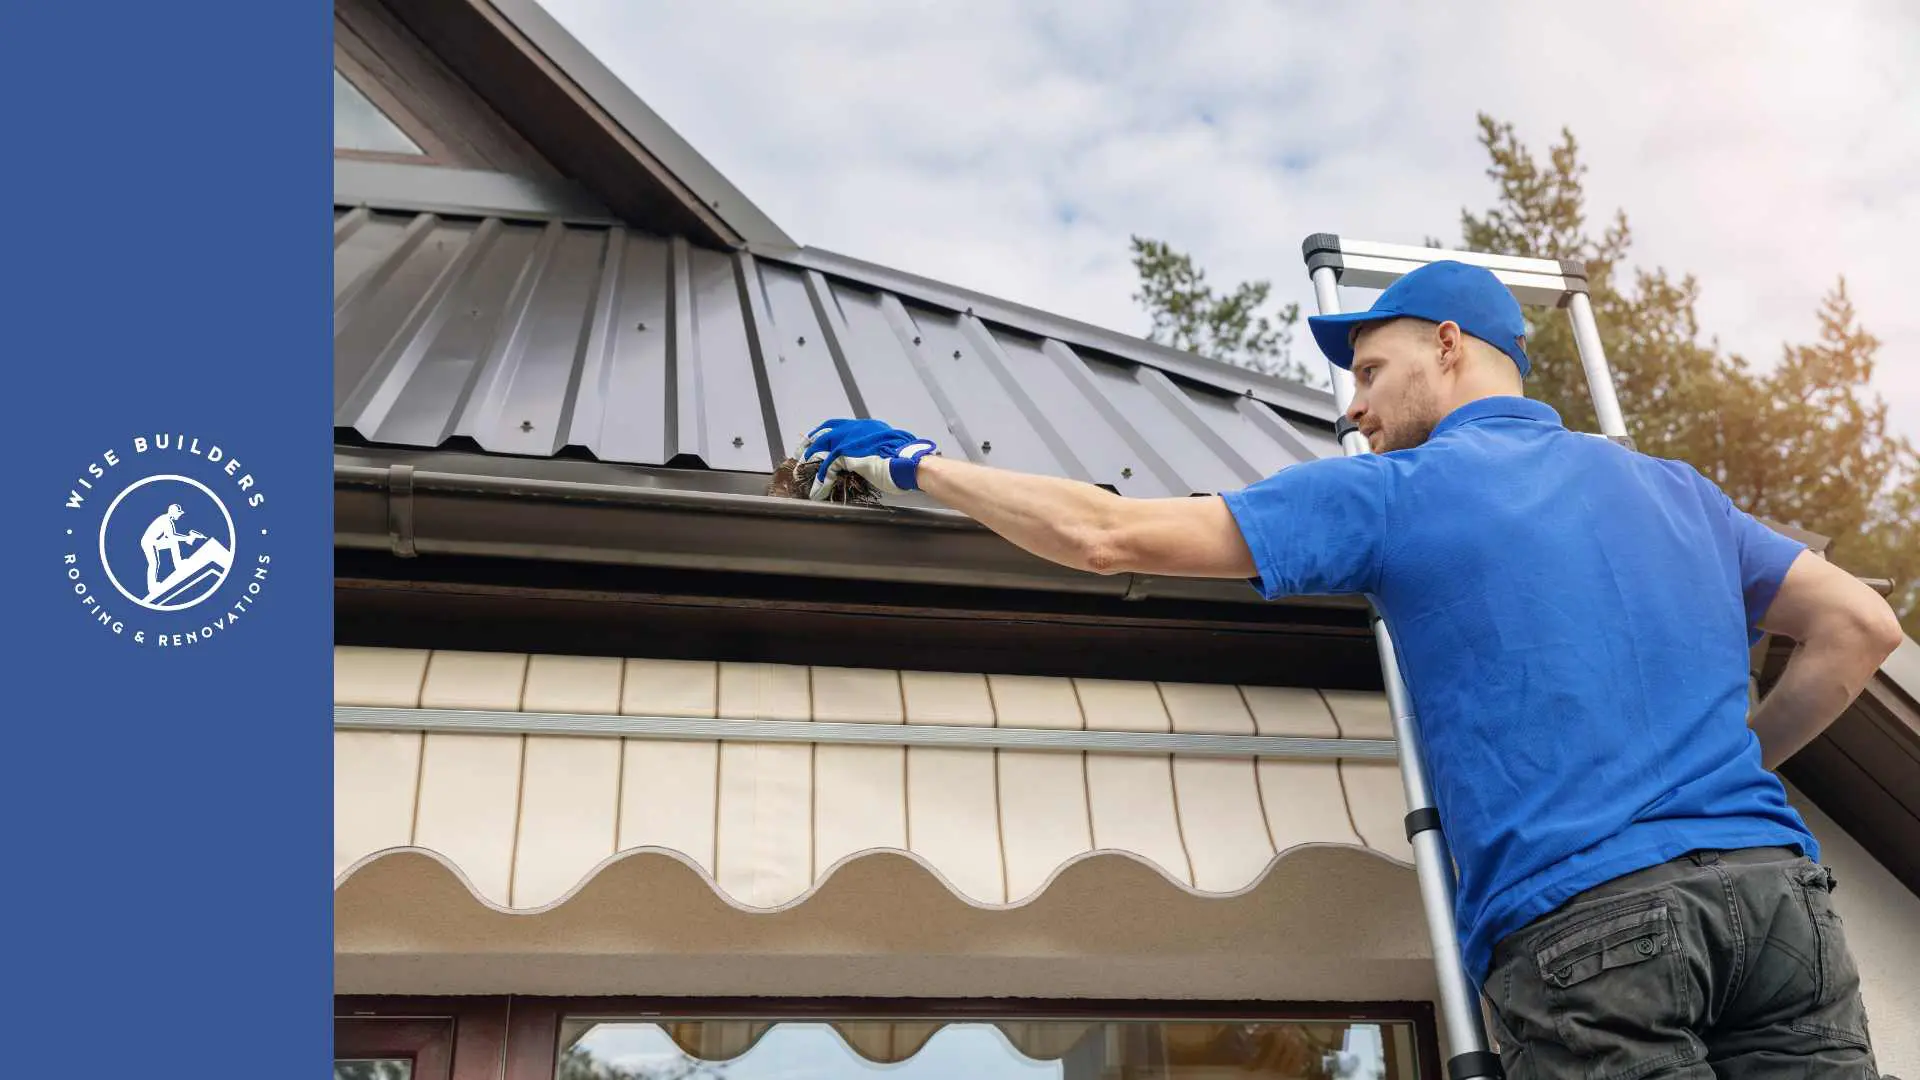
- Safety Gear: Safety glasses, gloves, and a secure ladder are crucial for working at heights.
- Tools: A hammer, tin snips, a utility knife, a chisel, a grinder, and a caulk gun are essential tools for flashing installation.
- Flashing Materials: Choose the appropriate type of flashing (aluminum, copper, etc.) and ensure you have enough to cover the entire chimney perimeter.
- Fasteners: Roofing nails or screws are used to secure the flashing to the roof.
- Sealants: Roofing cement and high-quality caulk are necessary for creating a watertight seal.
Having the right tools and materials ensures a successful and efficient installation. It’s recommended to invest in good-quality products for a long-lasting outcome.
Step-by-Step Guide to Installing Chimney Flashing
 While a professional roofing contractor is best equipped to handle chimney flashing installation, understanding the basic process can be beneficial. It involves a systematic approach to ensure a proper, watertight seal.
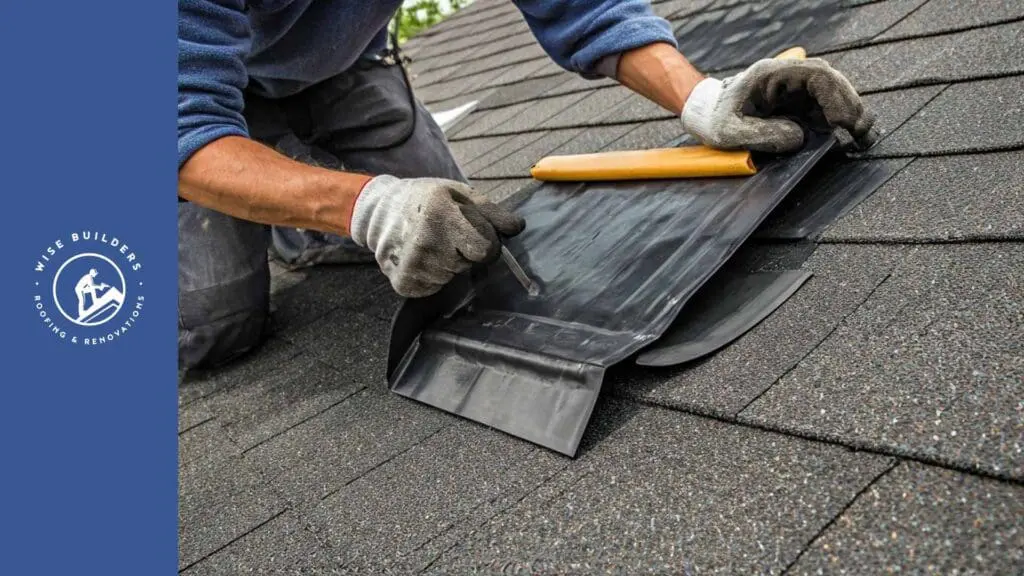
The installation begins with removing the old flashing and preparing the surface. Next, the base flashing, which forms the primary barrier against water, is installed at the base of the chimney where it meets the roof. Step flashing is then meticulously interwoven with the shingles, directing water away from the chimney’s sides. Finally, counter flashing is embedded into the chimney’s mortar joints, covering the step flashing and providing an additional layer of protection.
Removing Old Flashing and Cleaning the Area
The first step towards installing new flashing is removing the old, damaged material. Carefully pry up the existing flashing using a pry bar, ensuring minimal damage to the surrounding shingles or roofing materials. If the old caulk is still intact, score it with a utility knife to ease removal.
Once the old flashing is removed, thoroughly inspect the area for any remaining debris or old caulk. Use a stiff brush and a chisel to clear away any hardened materials, creating a clean, even surface for the new flashing.
A clean and properly prepared surface is paramount to ensure optimal adhesion of the new caulk and flashing. Any remaining debris can create gaps, leaving your roof vulnerable to leaks.
Installing Base and Step Flashing
Once the area is clean, install the base flashing first. Cut the flashing to size, ensuring it extends up the sides of the chimney at least 4 inches. Apply a thick bead of roofing cement to the back of the flashing and firmly press it into place. Secure it to the chimney using roofing nails or screws.
Next, install the step flashing. Begin at the bottom row of shingles, overlapping each piece by at least 2 inches. For each subsequent row, weave a piece of step flashing under the shingle and over the top edge of the base flashing. Repeat this process up the sides of the chimney, ensuring each piece overlaps the one below it.
Proper layering of the step flashing is crucial for directing water away from the chimney and roof. Ensure each piece is securely fastened to prevent it from being lifted by wind or debris.
Conclusion
Proper chimney flashing installation is vital for maintaining your roof’s health. Understanding the role of chimney flashing materials and how to assess your chimney and roof condition are crucial steps in this process. By following a step-by-step guide, you can ensure a successful installation, safeguarding your home from potential water damage. Regular maintenance and timely replacement of chimney flashing when needed will prolong the life of your roof. If you have any questions or need assistance with chimney flashing installation, feel free to reach out to our experts for guidance.
At Wise Builders, We ensure our clients receive the best possible outcomes. Our commitment to quality workmanship and customer satisfaction is unwavering, making us the top choice for residential Roofing services in our community.
Frequently Asked Questions
How often should chimney flashing be replaced?
The lifespan of chimney flashing depends on factors like the type of metal used and exposure to the elements. However, it’s recommended to inspect it annually and consider replacement every 10-20 years, or sooner if you notice signs of damage or leaks.