Key Highlights
- Roof flashing is a crucial component that prevents water damage by sealing the gaps and joints in your roof.
- This comprehensive guide will walk you through the installation process, different types of flashing, and essential maintenance tips.
- Learn about various flashing types, including step flashing, valley flashing, drip edge, and more.
- Discover the necessary tools and materials needed to tackle the installation process effectively.
- Gain valuable insights into extending the life of your roof flashing and protecting your home from water intrusion.
Introduction
Roof flashing is a crucial component of any new roof installation. It helps keep your home safe from roof leaks and water damage by creating a barrier that directs water away from weak spots where your roof connects to walls, chimneys, or other protrusions. While it is possible to install roof flashing yourself, we highly recommend hiring a professional roofer who understands safety standards and building codes. This will ensure a strong and leak-free roof for years to come.
Understanding Roof Flashing and Its Significance
Roof flashing is an important part of your roof that keeps your home safe from bad weather. It is made of thin, waterproof materials, usually metal, and is essential for proper roof to wall flashing. This flashing, also known as apron flashing, is placed at angles and joins on the roof to stop water from getting inside. Think of it as a shield that protects your home from leaks and water damage.
Building codes often require proper roof flashing installation to maintain the building’s strength and avoid damage later. Even though it might seem like a small detail, ignoring this important part can lead to expensive repairs. It can also make your home less safe and comfortable.
What Is Roof Flashing?
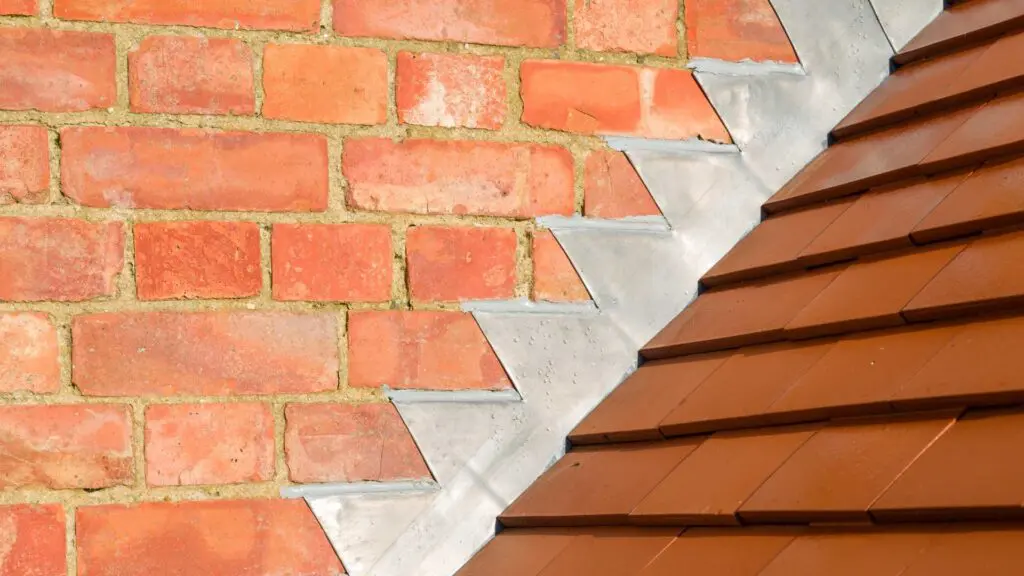
Roof flashing is a thin material. It helps seal and waterproof weak parts of a roof. This prevents water from getting in and causing damage. It acts like a barrier, directing water away from seams, joints, and spots where the roof meets walls, chimneys, skylights, and other roof features.
Most roof flashing is made from metal. Common materials include aluminum, galvanized steel, and copper. People choose roof flashing for its strong, rust-resistant nature and its ability to handle tough weather. The material is flexible, which allows it to fit well around different roof designs and angles.
If you do not have proper roof flashing, your home is at risk of leaks. This can lead to problems like rot, mold growth, insulation damage, and weak structural strength. Spending money on good building materials and proper installation is important. It helps your roof last longer and keeps your home safe from expensive water issues.
The Role of Roof Flashing in Weatherproofing Your Home
Roof flashing is very important to keep moisture out of your home. It is installed at spots where the roof shape changes or meets walls. This barrier helps move water away from areas where it could get in. A good seal keeps your home safe from leaks.
Whether it’s heavy rain, melting snow, or wind-driven rain, proper flashing stops water from getting into your house. It pushes water away from weak spots like roof valleys, dormers, chimneys, and skylights. Flashing is your first defense against water damage.
If you don’t pay attention to having roof flashing installed and maintained properly, it can cause big problems. Water can cause structural damage, mold, ruined insulation, and expensive repairs. So, it’s important to invest in good flashing and have it installed by professionals for a safe and secure home.
Preparing for Roof Flashing Installation
A good roof flashing installation starts with getting ready. First, collect all the tools and materials you need. This will help everything go smoothly. Next, check what your roof needs. Look at its design, any existing flashing, and the type of flashing needed in different spots.
Safety is the most important thing. Working on a roof can be risky. Always wear the right safety gear. Use secure ladders and harnesses to keep yourself safe. If you’re unsure about what to do, it’s best to ask for help from a qualified roofing professional.
Essential Tools and Materials for the Job
Before you start installing roof flashing, get the right tools and materials. This will make your work easier and help you get good results.
Here’s a list of important tools:
- Tin snips: Use these to cut the metal flashing to the right size and shape.
- Roofing nailer or hammer: Use this to attach the flashing to the roof deck with roofing nails.
- Utility knife: This is for trimming underlayment and making exact cuts.
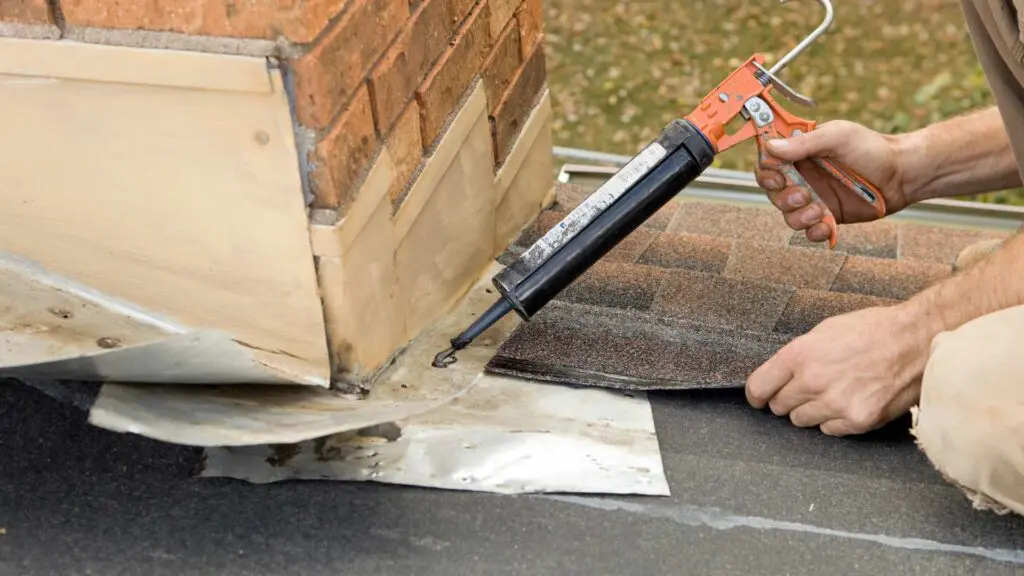
- Caulk gun: This will help you apply roofing cement or sealant to make sure there is no water leak.
- Tape measure: Use this to measure lengths of flashing and cuts accurately.
- Chalk line: This is for marking straight lines on the roof for proper flashing placement.
You also need these materials:
- Roof flashing: Pick the right type and material based on where you’re flashing.
- Roofing nails: Make sure the nails work with your flashing material and are long enough to go into the roof deck.
- Roofing cement: This is a waterproof sealant that sticks the flashing to the roof surface and makes a watertight connection.

Assessing Your Roof’s Needs
Before you start installing roof flashing, it’s important to check your roof’s condition and its specific needs. This check will help you gather the right materials, pick the best types of flashing, and prepare for any problems during installation.
First, look at the roof surface for any damage, like cracks, gaps, or wear. Focus especially on spots where the roof meets walls, chimneys, skylights, or other raised areas, as these are more likely to have leaks. Also, check any old flashing for signs of wear, like rust or loose parts.
Think about how old your roofing materials are, as this can affect the size and type of flashing you need. It’s a good idea to check local building codes to make sure you follow the rules for flashing installation and materials. Remember, a careful assessment of your roof’s needs is very important for a flashing installation that lasts.
Beginner’s Guide to Installing Roof Flashing
Installing roof flashing may look difficult, but it can be done easily with the right help. This guide offers simple steps to make the process clear and easy to follow. Paying attention to detail and getting accurate measurements is very important. It leads to an installation that keeps water out and lasts a long time.
Although you can try this on your own as a DIY project, safety should come first. Working on a roof can be risky, so always take the right precautions. If you’re unsure, think about asking a skilled roofing expert for help.
Step 1: Measure and Cut Your Flashing Material
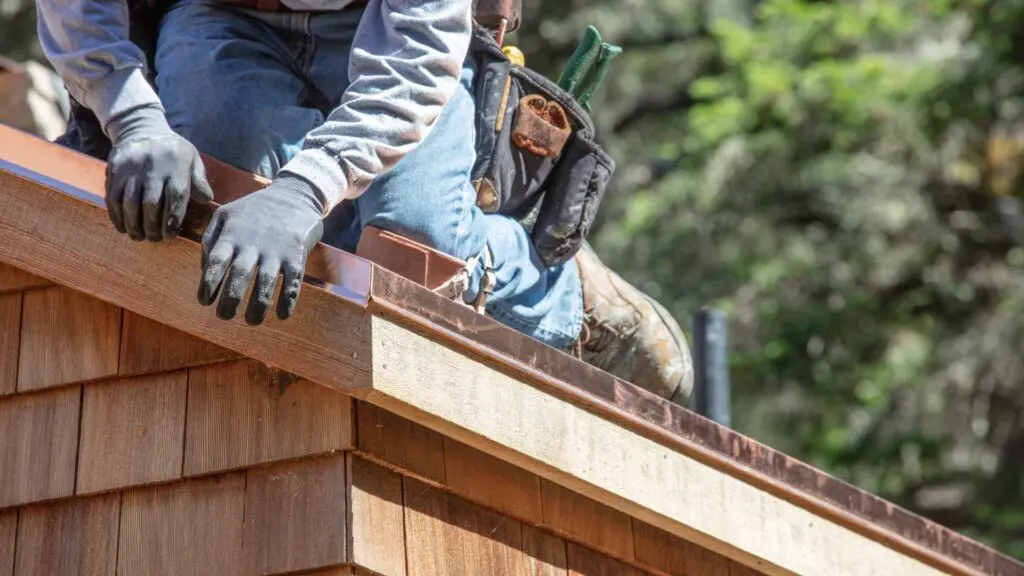
Accurate measurement is very important for a good roof flashing installation. First, use a tape measure to find the length and width of each area that needs flashing. Make sure your cuts are precise and that the flashing fits snugly. Don’t forget to add a few inches for overlaps where the flashing pieces will connect, as well as expansion joints to support the long lengths of flashing. This will help create a watertight seal with your new flashing pieces.
After measuring, mark the flashing material with a chalk line or straight edge and a pencil. Check your measurements again before cutting to stop wasting material or making pieces that don’t fit well. Use tin snips to cut along the marked lines carefully. This will help you get smooth, accurate edges on your metal flashing.
For tricky cuts around corners or curves, use aviation snips. They are better for moving and can help you cut cleanly. Always put on protective gloves when handling sharp metal flashing to keep safe from injuries.
Step 2: Secure the Underlayment
Before you install the flashing, make sure you have a strong and waterproof base. You can do this by securing the underlayment properly. The underlayment is important as it helps protect your roof deck from moisture if the flashing fails.
Start rolling out the underlayment from the eaves, moving upwards. Make sure it overlaps the last layer by at least six inches. Use roofing nails or staples to secure the underlayment to the roof deck. Follow the spacing instructions provided by the manufacturer.
Be careful around chimneys, dormers, or any other holes in the roof. These areas need special attention to make sure they are completely waterproof. Properly overlapping the underlayment creates a shingle effect. This helps stop water from getting under it and causing damage.
Step 3: Install Base and Step Flashing
Start by putting in the base flashing. This is the first layer that helps stop water from coming in. Use a thick line of roofing cement along the bottom edge of the vertical surface where you will attach the flashing.
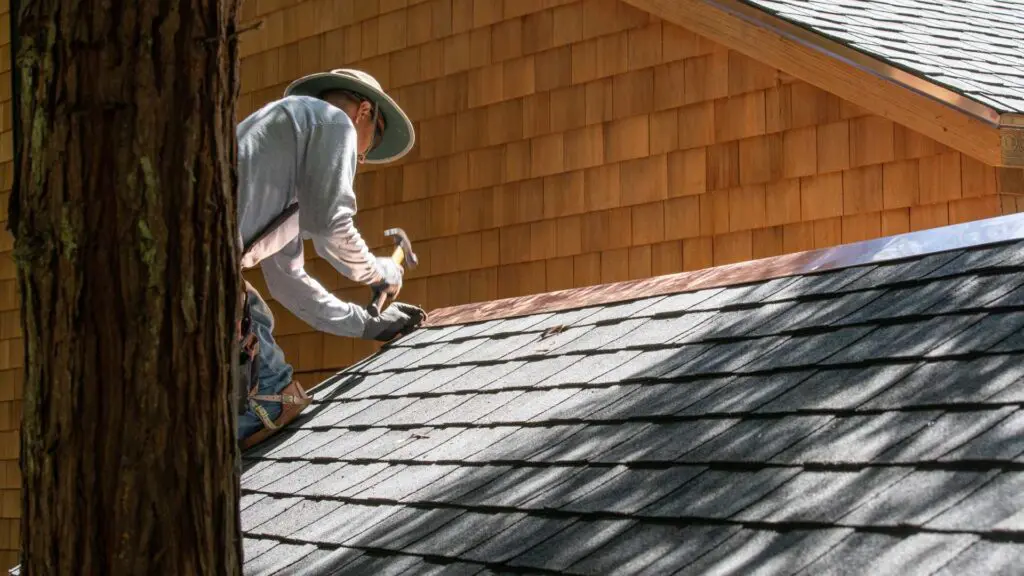
Next, carefully place the base flashing over the cement. Make sure it sits flat against the vertical surface. Use roofing nails to keep it secure. After that, install the first step of the step flashing. This consists of separate pieces that go over each asphalt shingle as you move up the roof. Slide each piece of step flashing under the shingle above and over the shingle below, making sure to also secure it to the vertical wall or structure. Make sure they overlap by at least an inch.
Check that each piece of step flashing is fastened well with roofing nails. The vertical edges should overlap the base flashing by a few inches. This overlapping helps create a watertight seal. It directs water away from the wall and onto the shingles.
Step 4: Apply Sealant and Secure Counter Flashing
- To make sure there is no water leakage, use a good sealant on all flashing joints and seams. This step is important to stop leaks and protect your home from water damage.
- Use a caulk gun to spread the sealant evenly. This will create a strong and lasting bond.
- After applying the sealant, install the counter flashing. This is the last layer of protection. Counter flashing goes over the base flashing and gets fixed into a vertical surface, like a wall or chimney.
- This design stops water from getting behind the flashing and causing leaks.
- Place the counter flashing so it overlaps the base flashing by at least one inch.
- Secure it using masonry anchors or screws, based on the surface material.
- The counter flashing adds extra protection and makes your roof look better.
Step 5: Inspect and Adjust as Necessary
After you finish installing the flashing, take some time to check it carefully. Make sure the flashing is done right and look for any problems. Check all seams, joints, and overlaps for gaps, tears, or loose pieces. Pay special attention to areas around the roof penetrations, as they are often prone to leaks.
While you inspect, use your hands to gently press the flashing. This will help you feel for movement or loose sections. Make adjustments as needed to make sure it is tight and secure. If you see any spots that need more sealant or nails, do that right away.
Finally, imitate rainfall by lightly spraying the flashed areas with a garden hose. Watch how the water flows over the flashing. Ensure it flows away from the roof and toward the gutters. This last check will help you relax, knowing your roof is ready to protect against leaks.
Types of Roof Flashing Every Homeowner Should Know
Roof flashing comes in different kinds. Each type is made for specific parts and features of a roof. It’s important to understand these types. This will help you choose the best flashing for your roof. Doing so ensures that you have good protection against water entering and causing damage.
Knowing which type of flashing to use is essential for situations like chimneys, valleys, or where the roof ends. This knowledge helps you make smart choices during building or fixing projects. Types like step flashing, valley flashing, and drip edge all help keep your roof watertight and protected.
Drip Edge Flashing
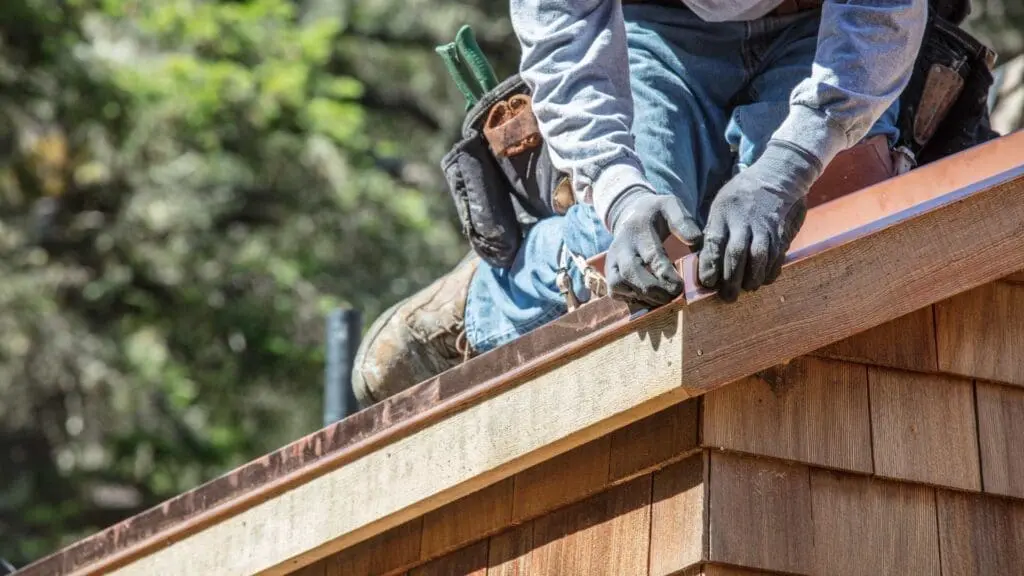
Drip edge flashing is an important part of your roof. It helps protect your home from water damage. Installed at the edges and slopes of the roof, its main job is to move rainwater away from the edge into the gutter system.
Even though it looks simple, this type of flashing keeps water from getting under the roof shingles and causing harm to the structure below. By making a clear edge, drip edge flashing helps rainwater flow smoothly into the gutters. This decreases the chances of water seeping in and causing issues like rot, mold, or damage to the fascia boards. It is important to note that there should be a gap of at least 2 inches between the bottom of the exterior wall and the top of the roofing shingles to prevent water damage. This gap can be achieved by installing both drip edge flashing and kickout flashing along the edge of the exterior wall.
It’s important to use strong materials like galvanized steel or aluminum for your drip edge flashing to make it last longer and work well. When installed properly, drip edge flashing helps keep your roof dry and protected. This can prolong the life of your roof and keep your home safe from water problems.
Valley Flashing
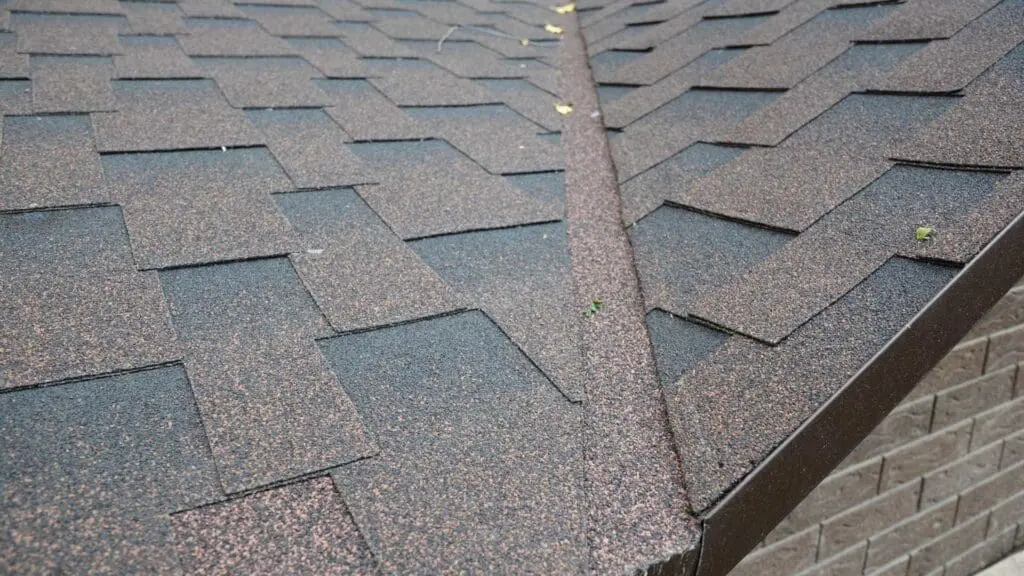
Valley flashing is an important part of roofing. It is placed where two sloping roof surfaces meet, which we call valleys. These spots can easily let water in because they carry a lot of water runoff from both sides of the roof.
To stop water damage, valley flashing collects and directs the water down to the gutters. This helps to make sure water doesn’t go under the shingles or get into the roof deck. If this happens, it can lead to expensive repairs and hurt the structure of your home.
Valley flashing is made from strong, water-resistant materials like galvanized steel, aluminum, or copper. It usually comes in long sheets that are cut and shaped to fit the specific valley. When installed correctly, it creates a tight barrier. This helps protect your home from leaks and water damage.
Chimney and Skylight Flashing
Chimneys and skylights are important parts of roofs. They need careful flashing to stop water from getting in. The places where the chimney or skylight meets the sloped roof have special waterproofing needs.
For chimneys, the flashing includes several parts. There is base flashing, step flashing, and counter flashing. First, the base flashing goes in place. Then, a rectangular piece of flashing known as step flashing goes on. It fits with the shingles as they go up the chimney. Lastly, counter flashing goes into the chimney’s mortar joints. It covers the step flashing for extra protection.
Skylights also need good flashing around them to keep water out. You can find pre-made skylight flashing kits that make the job easier. These kits usually have four pieces that fit together. They attach to the skylight frame and the roof, stopping water from leaking through the seams.
Maintenance Tips to Extend the Life of Your Roof Flashing
To make your roof flashing last longer, it is important to do more than just install it correctly. You need to take care of it regularly. If you ignore this, your roof can wear out too soon. This can cause leaks and lead to expensive repairs. Create a routine to check and maintain your flashing. This way, you can catch any issues early. It will save you time and money later.
Simple things like cleaning debris from your roof and gutters can help a lot. Also, check your flashing for damage after strong storms. Keep in mind that if you take good care of your roof, you will have a safer and more comfortable home.
Regular Inspection Schedules
As a homeowner, it is important to make roof inspections a regular part of your maintenance routine. Try to schedule at least two thorough inspections each year—one in spring and one in fall. These inspections help you check the condition of your roof flashing and spot any signs of wear, damage, or corrosion early on.
During these inspections, focus on the areas with flashing. Look for any rust, cracks, gaps, or loose sections. Pay attention to the sealant as well. If it is wearing down or if pieces are missing, the flashing might not keep water out properly. If you see any damage, fix it quickly to stop leaks and further problems.
Keep in mind that taking care of your roof with regular inspections is key to making it last longer. It also keeps your home safe from the weather. If you ignore these inspections, it may lead to expensive repairs later.

Dealing with Corrosion and Wear
Corrosion and wear are common problems that can harm your roof flashing over time. Things like moisture, extreme temperatures, and UV rays can slowly damage the flashing material, especially if it is metal. It is important to address corrosion and wear quickly. This helps prevent leaks and keeps your roof lasting longer.
If you see rust or corrosion on your flashing, first clean the damaged areas with a wire brush and a rust remover. After it is clean, apply a rust-inhibiting primer and then a sealant that works well with your flashing. This protective layer will stop more corrosion and help your flashing last longer.
If the damage is serious, it is better to replace the damaged parts of the flashing. This might need a professional’s help, but it is a smart choice compared to the possible costs of water damage from broken flashing.
Conclusion
In summary, knowing how to install roof flashing is very important to keep your home safe. By learning about the different types of flashing and using a clear step-by-step method to put it in place, you can make your home better protected from bad weather. Caring for your flashing regularly and checking it for problems on time can help it last much longer. Whether you choose to do it yourself or hire a pro, having your flashing in great shape is essential to protect your investment. For all your roofing needs, including installation and maintenance, contact Wise Builders Roofing and Renovations for great quotes. Your home needs the best safety, and we are here to assist you with that. We are highly rated by the Better Business Bureau and Nextdoor and we have 5 stars on, Google, Trust Index and Facebook.
Frequently Asked Questions
Can I Install Roof Flashing Myself?
While some homeowners may know how to install roof flashing and have the right tools, it’s better to hire roofing professionals. Roofing work can be risky, and if it’s not done correctly, it can cause leaks and other damage.
How Often Should Roof Flashing Be Replaced?
The life of roof flashing can change based on the type of material, the weather, and how well you take care of it. It is a good idea to check your flashing often. If you see any damage or wear, replace those parts quickly. This helps stop leaks from happening.
What Are the Signs of Failing Roof Flashing?
Common signs that your roof flashing may be failing are visible leaks, rust, or corrosion. You might also notice cracked or curled flashing, along with water stains on your ceilings or walls inside. To catch these issues early and avoid more damage, it’s a good idea to have regular roof inspections.
Can Roof Flashing Be Repaired, or Must It Be Replaced?
Minor flashing problems, like small cracks or loose parts, can often be fixed with roofing cement and sealant. But if there is bad damage, a lot of corrosion, or leaks that keep happening, it’s usually best to replace the flashing entirely. This way, you can make sure everything is properly protected.


