Key Highlights
- Roof flashing is a critical component that prevents water damage by acting as a waterproof seal around vulnerable areas like chimneys, skylights, and vents.
- Proper installation and maintenance of roof flashing ensure the longevity and structural integrity of your roof.
- Common flashing problems, like corrosion and cracks, can lead to extensive damage if neglected.
- Repairing roof flashing requires essential materials like roofing cement and step-by-step guidance for effective fixes.
- Knowing when to handle repairs yourself and when to call professionals is key to safeguarding your home from leaks and structural issues.
Introduction
Roof flashing plays a vital role in protecting your roof from water damage and maintaining the structural integrity of your home. As a homeowner, understanding what roof flashing is and why it’s essential can help you protect your roofing materials and avoid costly repairs. Damaged flashing can compromise vulnerable areas like chimneys, skylights, and vents, leading to severe water-related issues. This guide will provide you with the knowledge and tools for effective roof flashing repair and maintenance.
Understanding Roof Flashing and Its Importance
Roof flashing serves a crucial purpose in your home’s defense against water intrusion by sealing vulnerable areas where water can seep through. Installed around roof transitions like chimneys and skylights, it offers an added layer of protection to ensure your roofing system remains waterproof.
Properly installed flashing not only prevents leaks but also enhances the overall durability of your roof. Ignoring its upkeep can lead to compromised roof structure, costly water damage, and other long-term issues. Let’s explore this indispensable roofing element further.
Definition and Purpose of Roof Flashing
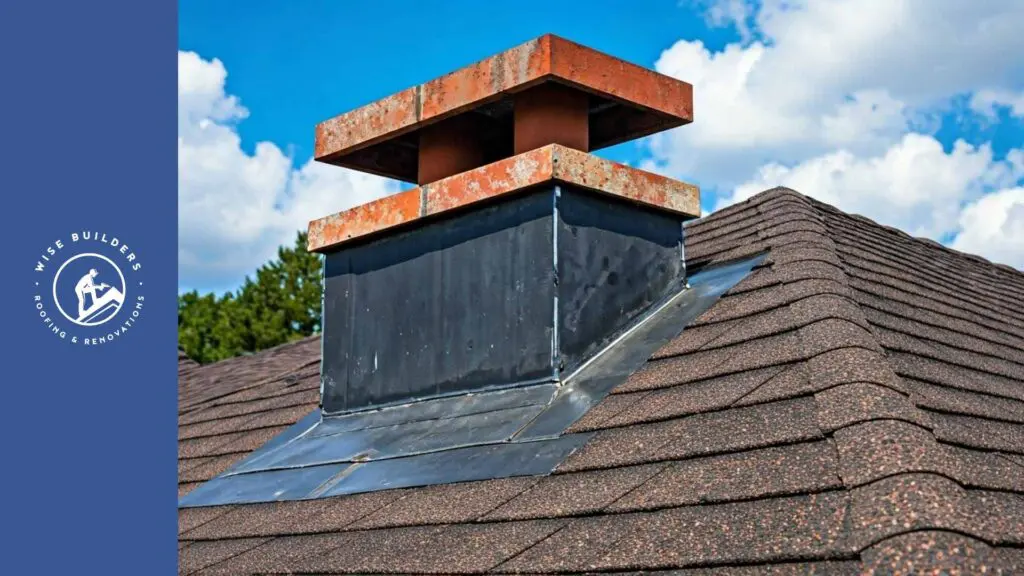
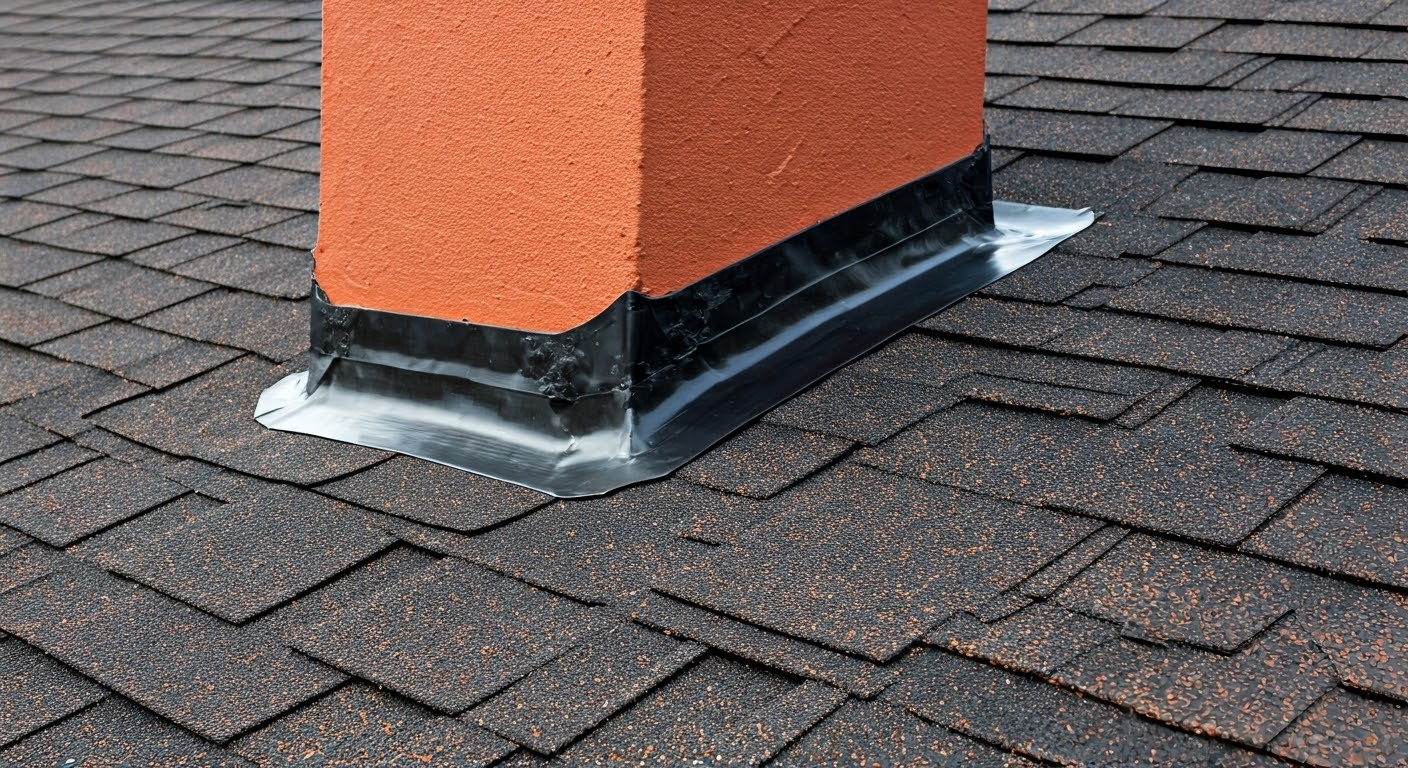
Roof flashing is a critical barrier made from durable materials like aluminum, copper, or galvanized steel. It is strategically placed in vulnerable areas of your roof, such as valleys, chimneys, skylights, and vents. By redirecting water away from these points, flashing provides additional protection against water damage that could otherwise seep into your roof’s underlayers.
Think of flashing as the backbone of your roof’s waterproofing system. It ensures water doesn’t accumulate in seams or corners, which can lead to leaks, mold growth, and structural deterioration. This small piece of metal plays a big role in safeguarding your home’s integrity.
Without flashing, your roof becomes a series of weak spots prone to moisture infiltration. Proper installation and quality flashing ensure a long-lasting shield against weather elements, preserving both your home’s comfort and value.
Why Proper Installation and Maintenance is Crucial
Correct installation and regular maintenance of roof flashing are critical to your roof’s longevity. Quality flashing ensures seamless waterproofing, safeguarding your roof’s underlayers from moisture. Improper installation can leave gaps, making your roof vulnerable to leaks and decay.
Routine inspections and repairs keep the integrity of your roof intact. If flashing becomes loose, corroded, or damaged, water can infiltrate, weakening your roof structure and potentially causing expensive repairs. Proactive care avoids these risks.
Additionally, proper flashing extends the overall life of your roofing materials. By preventing water from pooling or penetrating, it reduces wear and tear on shingles and other components. This protects your investment and ensures a comfortable, secure home for years to come.
Identifying Common Roof Flashing Problems
Even the sturdiest roof flashing can show wear over time, with problems stemming from factors such as corrosion, improper installation, or adverse weather. Understanding the signs of faulty flashing is essential for protecting the integrity of your roof.
Issues like rust, damaged sealant, or loose flashing can quickly escalate to costly water damage if left unchecked. By recognizing flashing problems early, homeowners can take timely action to prevent further complications. Let’s look into the specific signs and repercussions of flashing damage.
Signs that Your Roof Flashing Needs Attention
Visible indicators of flashing problems require immediate action. Keep an eye out for signs of damage such as rust, which can compromise the structural integrity of metal flashing. Corrosion weakens its waterproofing abilities, making your roof susceptible to leaks.
Loose or missing flashing is another red flag. It can expose vulnerable areas, allowing water to infiltrate your roof. You might also notice water stains on ceilings or walls—these often signal breaches in roof flashing.
Additionally, check the sealant used around flashing. If it appears cracked or deteriorated, it can no longer provide the necessary waterproofing protection. Swift attention to these issues helps safeguard your home and prevents widespread damage.
Potential Consequences of Neglected Flashing Issues
Ignoring flashing problems can invite a cascade of issues. Minor corrosion or loose flashing may escalate into extensive damage within your roof structure. Water damage doesn’t just compromise roofing materials—it can jeopardize interior spaces like ceilings and walls.
Unaddressed flashing issues can make your roof’s most vulnerable areas susceptible to leaks. Prolonged exposure to moisture can also lead to mold growth, wood rot, or even foundation disturbances. Here’s a breakdown in table format:
| Potential Issue | Long-Term Impact |
|---|---|
| Corroded flashing | Water infiltration leading to wood decay |
| Loose/missing pieces | Escalation to internal water stains |
| Cracked sealant | Compromised waterproofing in key areas |
Timely repair and maintenance help avoid these costly consequences, ensuring lasting protection for your home.
Step-by-Step Guide to Repairing Roof Flashing
Repairing roof flashing doesn’t have to be overwhelming. With the right tools and clear guidance, you can address minor flashing issues yourself and add years to your roof’s longevity. Whether it’s step flashing, counter flashing, or continuous flashing, understanding the repair process ensures effective results.
For serious damage or hard-to-reach areas, however, consulting a professional ensures repairs are done safely and to high standards. Let’s explore the essential tools and steps for DIY flashing repair.
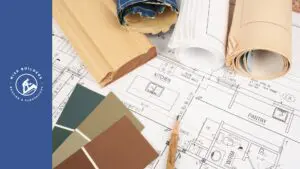
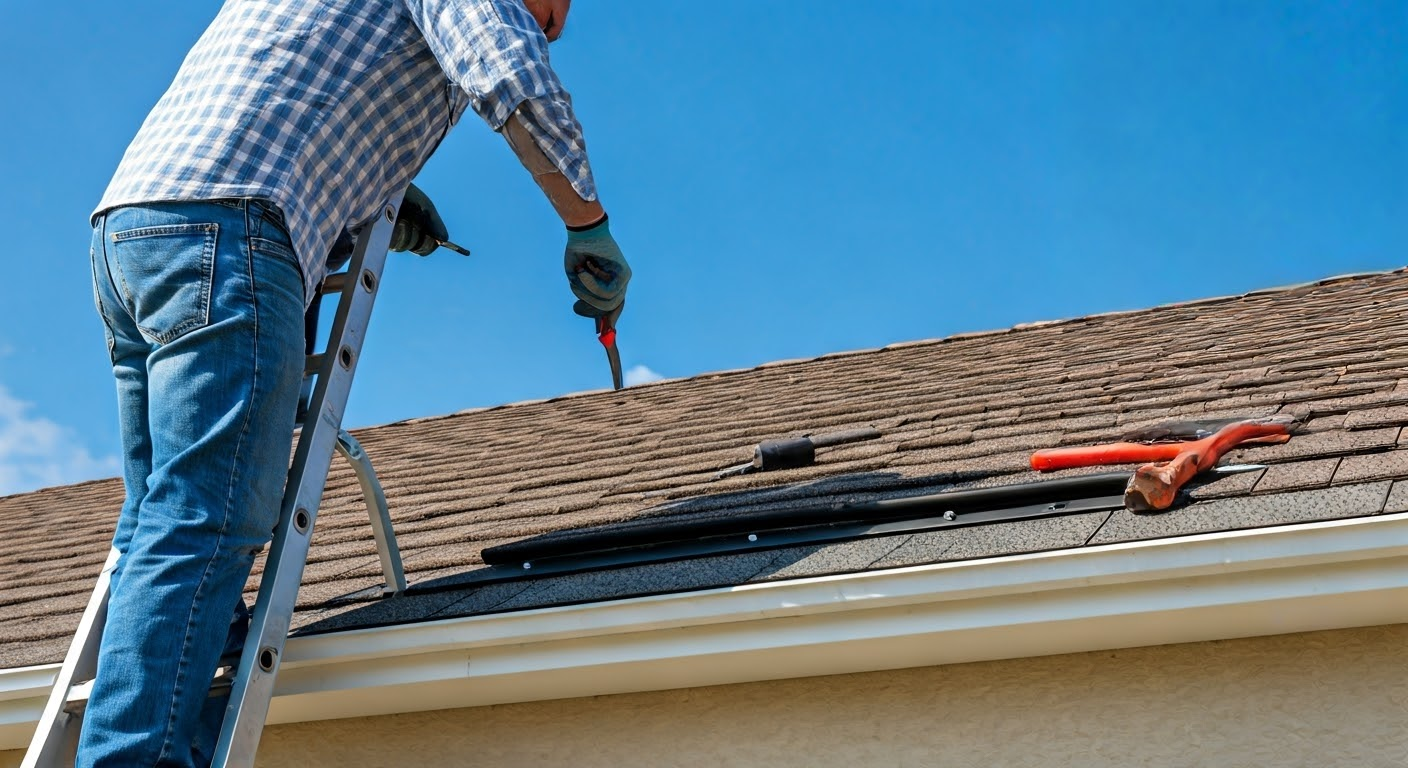
Tools and Materials Needed for Effective Repair
To fix flashing efficiently, you’ll need the right materials on hand. Essential items include roofing cement, new flashing sheets to replace damaged sections, and roofing nails or screws for secure installation. A caulking gun is necessary to apply additional sealant.
You’ll also need safety equipment like gloves, a sturdy ladder, and protective eyewear for safe handling. A pry bar is handy for removing old flashing, while metal snips allow custom cutting of replacement flashing to fit specific areas.
Keep additional roofing materials like shingles or adhesive tape nearby, as some flashing repairs may require patching adjacent sections. Having these tools ready will make the repair process smoother and more efficient.
Detailed Instructions for DIY Flashing Repair
Repairing roof flashing requires careful steps. Follow these instructions for effective results:
- Collect Materials: Make sure you have all necessary items, including roofing cement, new flashing, and safety gear.
- Start with Safety: Position a stable ladder and wear protective equipment.
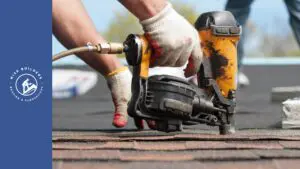
- Remove Old Flashing: Use a pry bar to remove any damaged or loose flashing sections carefully.
- Clean the Surface: Eliminate debris and ensure a smooth, dry surface for better adhesion.
- Replace Flashing: Install new flashing, fixing it securely with nails or screws.
- Seal with Roofing Cement: Apply cement to seal edges and create a watertight barrier.
Inspect your work and test for leaks after repairs. For more complex issues, consider reaching out to a roofing professional.
Conclusion
In conclusion, understanding the importance of roof flashing repair is crucial for every homeowner. Properly installed and well-maintained flashing not only protects your home from water damage but also ensures the longevity of your roofing system. By recognizing the common signs of flashing issues and following our step-by-step guide, you can take proactive measures to safeguard your property. Remember, while DIY repairs can be effective, it’s essential to know when to reach out for professional help. At Wise Builders, we prioritize quality workmanship and customer satisfaction. If you need assistance with your roof flashing or have any concerns, don’t hesitate to contact us for expert guidance and service.
Frequently Asked Questions
When should I call a professional for roof flashing repairs?
Call a professional when issues like extensive damage, flashing around steep roofs, or hard-to-reach areas arise. These require expertise to address without risking the integrity of your roof. Always prioritize professional help for repairs involving complex flashing problems.