Key Highlights
- Installing a new roof is a significant undertaking that requires careful planning, preparation, and execution.
- Proper roof installation involves multiple steps, from removing the old roofing to installing drip edges, underlayment, flashing, and the new roofing material itself.
- Understanding the basics of roofing, such as the different types of materials available and the tools and equipment needed, is essential for a successful roof installation.
- Regular inspection and maintenance are crucial for prolonging the life of your new roof and avoiding costly repairs.
- While DIY roof installation is possible, it’s generally recommended to hire a qualified roofing contractor for safety and optimal results.
Introduction
Embarking on a new roof installation is a major decision for any homeowner. It’s a multi-faceted project that can feel daunting if you’re not familiar with the roofing process. This comprehensive guide will take you through each step of installing a new roof, from understanding the basics to maintaining your investment for years to come. Whether you’re considering a DIY approach or hiring a professional roofing contractor, the first step is equipping yourself with the knowledge and insights to make informed decisions.
Understanding Roof Installation Basics

At its core, roof installation is the process of covering and weatherproofing the top of a building to protect it from rain, snow, wind, and other elements. It involves a series of well-defined steps, starting with the removal of existing roofing materials and culminating in the installation of new, durable layers that shield your home from the elements.
Each layer plays a vital role in ensuring your roof’s overall performance and longevity. Understanding these fundamental elements will provide you with a solid foundation as we delve deeper into the specifics of each step.
The Importance of a Quality Roof
A well-installed roof is much more than just an aesthetic element of your home; it’s your first line of defense against the elements and plays a crucial role in protecting your biggest investment. A compromised roof can lead to various problems, from minor leaks to severe water damage that can compromise the structural integrity of your roof and home.
Investing in a quality roof installation ensures that your home remains safe, dry, and energy-efficient. A properly installed roof acts as a barrier against water intrusion, preventing costly damage to your ceilings, walls, insulation, and belongings.
Furthermore, a durable roof provides additional protection against extreme weather events, such as heavy rain, snowfall, and high winds, offering you peace of mind and safeguarding your family’s well-being.
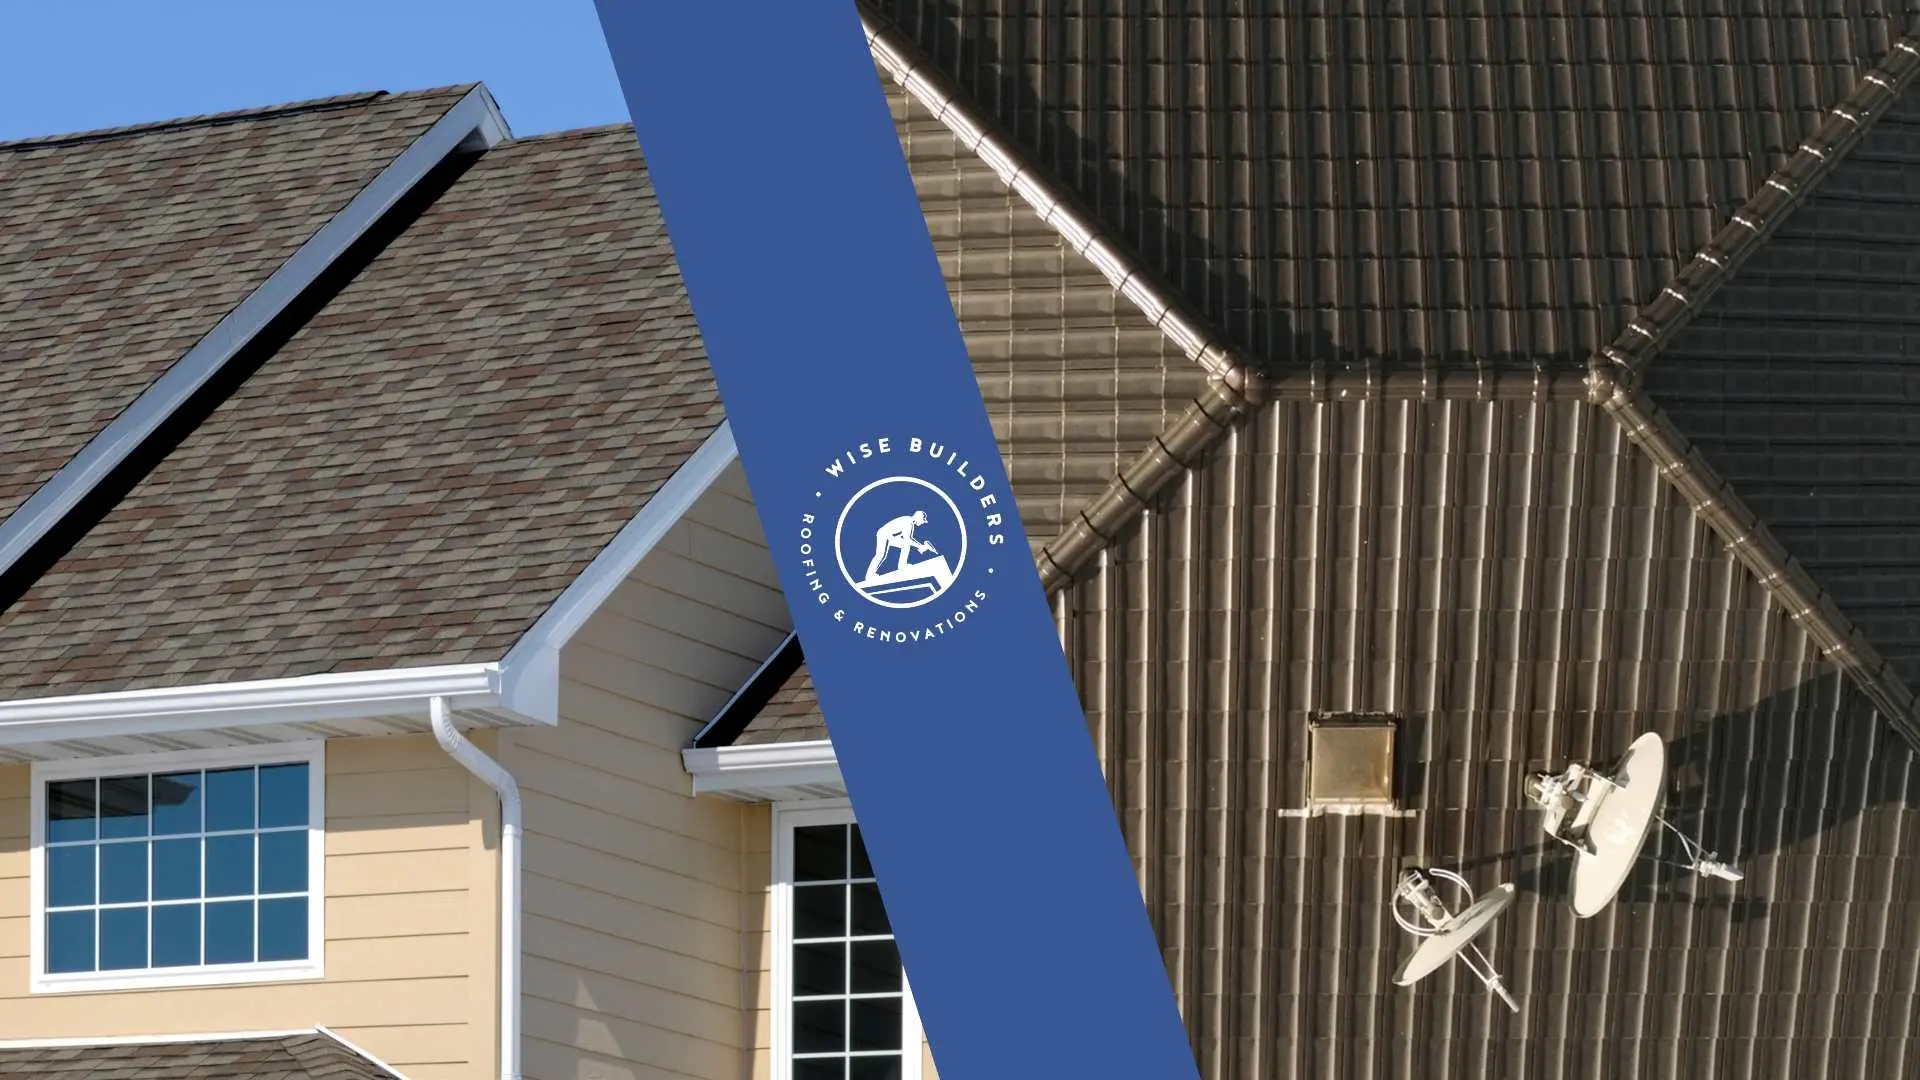
Types of Roofing Materials Available
Choosing the suitable roofing material is a crucial decision that impacts your roof’s longevity, aesthetics, and overall cost. Each type of roofing material comes with its pros and cons, and your choice should align with your budget, climate, and desired look.
Asphalt shingles are the most popular option due to their affordability and ease of installation. Metal roofs offer exceptional durability and energy efficiency, while wood shingles provide a classic, natural look. Other options include slate, tile, and synthetic roofing materials.
To simplify your decision-making, consider the following table highlighting the most common roofing materials:
| Material | Durability | Cost | Maintenance |
|---|---|---|---|
| Asphalt Shingles | Moderate | Affordable | Moderate |
| Metal Roofs | High | Expensive | Low |
| Wood Shingles | Moderate | Moderate | High |
Preparing for Your Roof Installation
A successful roof installation begins long before the first shingle is removed. Proper preparation is key to ensuring a smooth and hassle-free experience. This includes thoroughly evaluating your existing roof’s condition, selecting a suitable roofing material, gathering the necessary tools and equipment, and obtaining any required permits.
By taking the time to plan and address any potential issues upfront, you can minimize unexpected delays, avoid costly surprises, and set the stage for a smooth and efficient roof installation process.
Evaluating Your Current Roof Condition
Before starting any roofing project, it’s crucial to assess the current state of your old roof. This step helps determine the extent of work required and whether a simple repair will suffice or a complete roof replacement is necessary. Begin by inspecting your roof for any signs of damage, such as missing or damaged shingles, curling or cracked shingles, or signs of leaking or water damage inside your home.
Pay close attention to the condition of the flashing around chimneys, vents, and skylights, as these areas are prone to leaks. If you notice widespread damage or your roof has reached the end of its lifespan, a roof replacement is likely the best course of action.
Keep in mind that climbing onto your roof can be dangerous, especially if it’s steeply pitched or damaged. If you’re uncomfortable with this aspect of the evaluation, consider hiring a qualified roofing contractor to perform a professional roof inspection.
Choosing the Right Roofing Material for Your Home
With numerous roofing material options available today, choosing the best fit for your home can feel overwhelming. Consider factors like your budget, the architectural style of your house, the climate you live in, and the expected lifespan of the roofing material.
Asphalt shingles offer the most affordable option while providing good durability and a variety of color options. Metal roofs, while more expensive, provide exceptional longevity and energy efficiency. Wood shingles offer a classic look, but require more upkeep.
Calculate your roof’s square footage to get accurate material estimates. Most roofing materials are sold by the square, which covers 100 square feet. Consult a roofing professional for guidance on selecting the type of roofing most suitable for your needs and budget.
Essential Tools and Equipment for Roof Installation
Having the right tools and equipment on hand is essential for a safe and efficient roof installation. While some homeowners may choose to rent larger equipment, others are essential for personal safety and accurate work.
Here’s a list of tools you’ll need:
- Pry bar
- Roofing nailer
- Ladder
- Felt paper
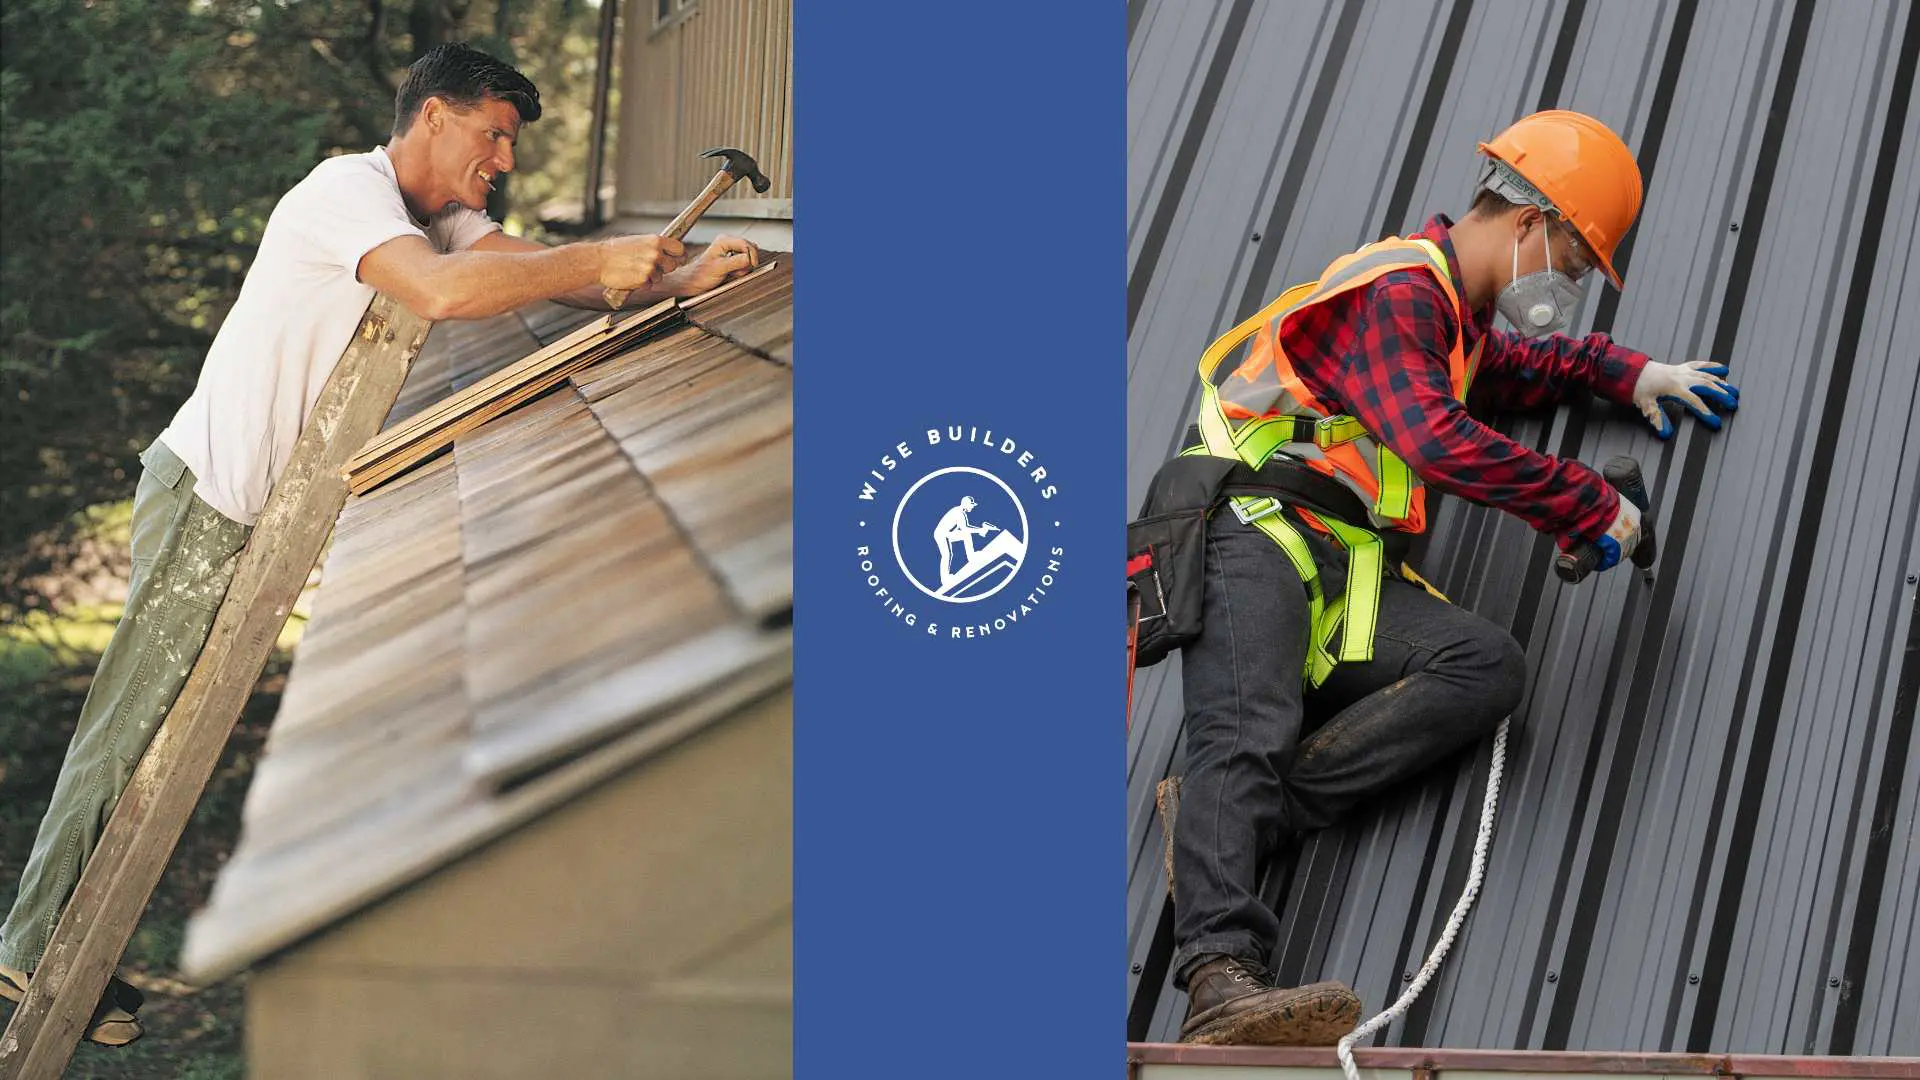
It’s also crucial to have appropriate safety equipment readily available, including a sturdy ladder, safety harness, work gloves, and eye protection. Consider using scaffolding for larger roofs or steeper pitches to provide a secure and stable work platform. Always prioritize your safety and equip yourself with the necessary tools and protective gear before commencing any roof work.
Step-by-Step Guide to Roof Installation

Now that you have a good understanding of the preparation and materials involved, let’s break down the roof installation process. While every roof is unique, the basic steps remain relatively consistent. It’s important to follow these steps meticulously to ensure a watertight and long-lasting roof system.
Remember, safety should always be your top priority. If you’re uncomfortable with any aspect of the installation process, don’t hesitate to seek assistance from a qualified roofing contractor.
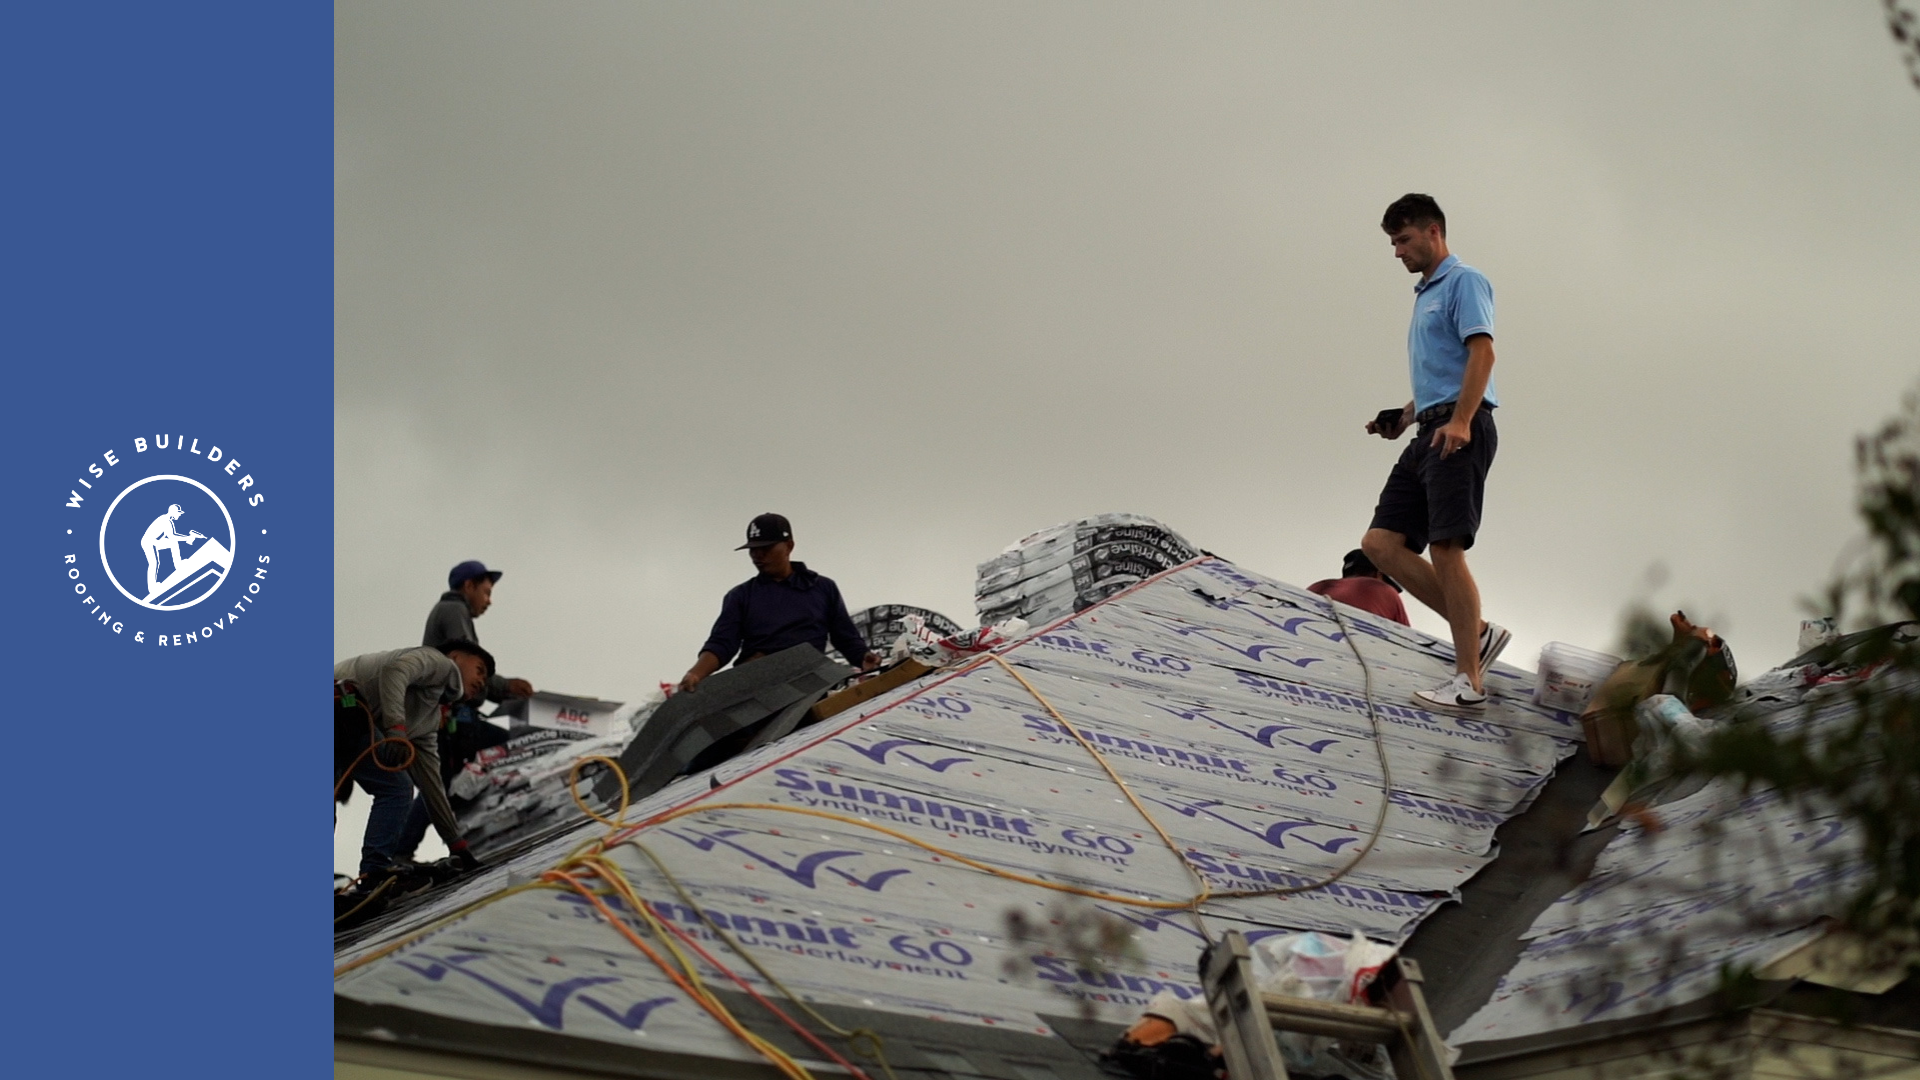
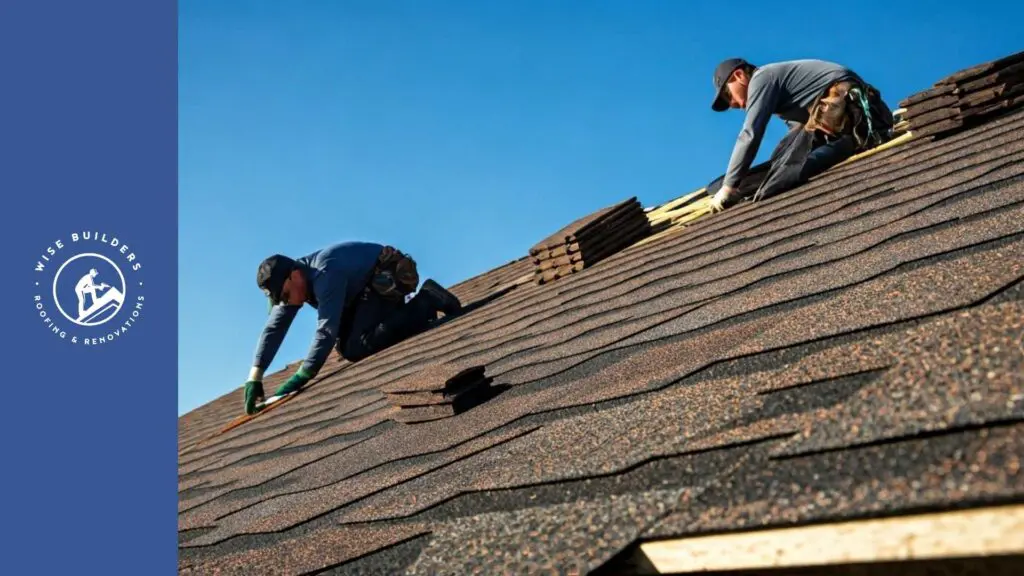
Step 1: Removing the Old Roofing
The first step in any roof replacement project is removing the old roofing material. This involves carefully tearing off the existing shingles, underlayment, and any flashing that needs replacing. It’s crucial to start at the top of the roof and work your way down, removing all nails and debris as you go.
A pry bar and a shingle shovel are helpful for this task. Rent a dumpster to dispose of the old roofing materials efficiently. Before you begin, protect your landscaping and surrounding areas by laying down tarps or plywood to catch falling debris. If you encounter any rotten or damaged wood during this step, address it before proceeding.
Step 2: Inspecting and Repairing the Roof Deck
Once the old roofing is removed, you’ll have a clear view of the roof deck. This layer forms the foundation of your new roof, so it’s essential to ensure it’s in good condition. Inspect the roof deck for any signs of water damage, rot, or mold. Replace any damaged or weakened sections of the decking.
Use plywood or oriented strand board (OSB) that’s at least as thick as the existing decking. Next, ensure the roof deck is properly secured to the rafters with nails or screws. This step is critical for providing a solid and level surface for your new roofing material.
Step 3: Installing Underlayment and Flashings
Underlayment acts as a secondary barrier against water intrusion and helps protect your roof deck. Roll out the underlayment horizontally, starting from the bottom edge of the roof and overlapping each row by a few inches. Secure it with roofing nails or staples.
Next, install the drip edge along the eaves and rakes of your roof. The drip edge helps direct water away from the fascia and into the gutters. Now, install flashing around any roof penetrations, such as chimneys, vents, and skylights. Metal flashing is essential for preventing water from seeping into these vulnerable areas.
Step 4: Laying the New Roofing Material
With the underlayment and flashing in place, you can begin installing your new roofing material. Start by installing a starter strip along the eaves, overlapping it with the drip edge. This starter strip provides a clean, finished edge for your first row of shingles.
For asphalt shingles, install them in a staggered pattern, working from the bottom up. Nail each shingle securely in place using roofing nails. If installing metal roofing or other types of roofing materials, follow the manufacturer’s instructions carefully for proper installation techniques. Remember to install ridge cap shingles along the peak of your roof to cover the exposed edges where the roof slopes meet.
Step 5: Final Inspection and Cleanup
Once the new roofing material is installed, it’s crucial to conduct a final roof inspection to ensure everything is in order. Walk around the perimeter of your house and carefully inspect the roof for any loose shingles, missing flashing, or exposed nails. Replace or repair any deficiencies you find to maintain the integrity of your new roof.
Clean up any debris left behind from the installation process, including loose nails, shingle scraps, or pieces of flashing. A magnetic sweeper can be helpful for picking up stray nails. Once the cleanup is complete, take pride in your newly installed roof, knowing that it will provide years of protection for your home.
Maintaining Your New Roof

Congratulations on your new roof! To ensure it continues providing excellent protection for years to come, establish a regular maintenance routine. This includes periodic inspections and promptly addressing any issues that arise. Simple steps like keeping the gutters clear of debris and removing moss or algae buildup can go a long way in prolonging your roof’s lifespan.
By being proactive in maintaining your roof, you can identify and address minor problems before they escalate into major headaches. Remember, a little upkeep goes a long way in safeguarding your investment and ensuring your roof performs optimally for years to come.
Regular Inspection and Maintenance Tips
Regular inspection and maintenance are key to maximizing your roof’s lifespan and avoiding costly repairs in the future. It’s recommended to inspect your roof at least twice a year, in the spring and fall, and more frequently after severe weather events like hailstorms or high winds. Look for missing or damaged shingles, cracked or blistering paint, and signs of moss or algae growth.
Keep your gutters and downspouts clean and free of debris to prevent water from backing up and causing damage to your roof or fascia. Trim back overhanging branches that could potentially rub against your roof or drop leaves and debris. Maintaining proper attic ventilation is also crucial.
By following these simple maintenance tips, you can proactively identify and address potential problems, ensuring your roof stays in top condition and provides you with years of worry-free performance.
Addressing Common Roofing Issues
Despite regular maintenance, roofing issues can arise due to various factors, such as weather damage, age, or improper installation. Addressing these issues promptly is crucial to prevent further damage and costly repairs.
Leaking is a common roofing problem, often caused by damaged shingles, flashing, or clogged gutters. Other common issues include missing or damaged shingles, flashing problems around vents or chimneys, and ponding water on the roof. In extreme cases, structural damage can occur due to severe weather events or prolonged neglect.
If you notice any signs of roofing problems, contact a qualified roofing contractor to diagnose the issue and recommend the best course of action. Early detection and repair can save you a lot of money and hassle in the long run.
Conclusion
In conclusion, mastering the roof installation process is crucial for the longevity and safety of your home. From understanding the importance of quality roofing materials to following a step-by-step guide for installation, each aspect plays a vital role. Regular maintenance is key to preserving your new roof’s integrity. By staying proactive with inspections and addressing any issues promptly, you can extend the lifespan of your investment. Remember, a well-maintained roof ensures the protection of your home and loved ones. If you have any questions or need assistance with your roof installation, feel free to reach out to our expert team for guidance and support.
At Wise Builders, We ensure our clients receive the best possible outcomes. Our commitment to quality workmanship and customer satisfaction is unwavering, making us the top choice for residential Roofing services in our community.
Frequently Asked Questions
How Long Does Roof Installation Take?
The roof installation process for a typical home can take anywhere from one to five days, depending on the size and complexity of the roof and the weather conditions. The best way to determine an accurate timeline for your specific project is to consult with a qualified roofing contractor who can assess the scope of work.
Can I Install a Roof Myself?
While DIY roof installation is technically possible, it’s not recommended unless you have extensive experience in roofing work. Roofing involves inherent safety concerns and requires specialized knowledge and the right tools and equipment. It’s generally safer and more efficient to hire a reputable roofing company.
What Is the Best Season for Roof Installation?
The best season for roofing projects is during the fall or spring when the weather conditions are typically mild and predictable. However, it’s essential to consider factors like precipitation and extreme temperatures. Planning ahead and scheduling your installation during a period of favorable weather is crucial for a smooth installation process.
How Do I Choose the Right Roofing Contractor?
Choosing the right roofing contractor is crucial for a successful project. Do your due diligence by researching potential contractors in your area. Look for those with proper licensing, insurance, and a proven track record of quality workmanship. Request and verify professional references and compare multiple quotes before making your decision.