Key Highlights
- Vinyl siding is a durable, cost-effective choice for enhancing home curb appeal and insulation.
- Proper preparation of walls, including the removal of old materials, ensures long-lasting installation results.
- Essential components like the starter strip, siding panels, roofing nails, and accessories can be sourced from stores like Home Depot.
- Understanding local building codes is critical for compliance before starting your project.
- Tools like a utility knife, chalk line, and angle grinder are necessary for precise craftsmanship during siding installation.
With these points in mind, let’s step into the siding installation process.
Introduction
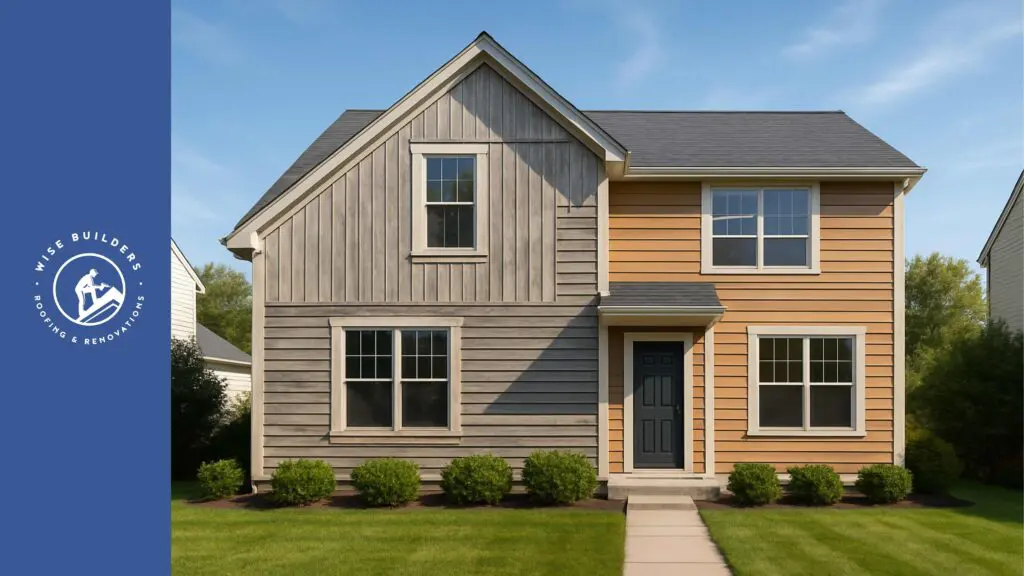
Installing siding is a fantastic way to update your home’s exterior, increase durability, and improve energy efficiency. Vinyl siding is particularly popular due to its affordability and low maintenance. Achieving a proper fit during siding installation involves careful preparation, planning, and adherence to professional tips. This guide outlines a step-by-step approach to ensure your siding is installed smoothly while avoiding common mistakes along the way. Whether you’re tackling a new construction or renovating an older home, this guide has you covered.
Understanding Siding Installation for Beginners
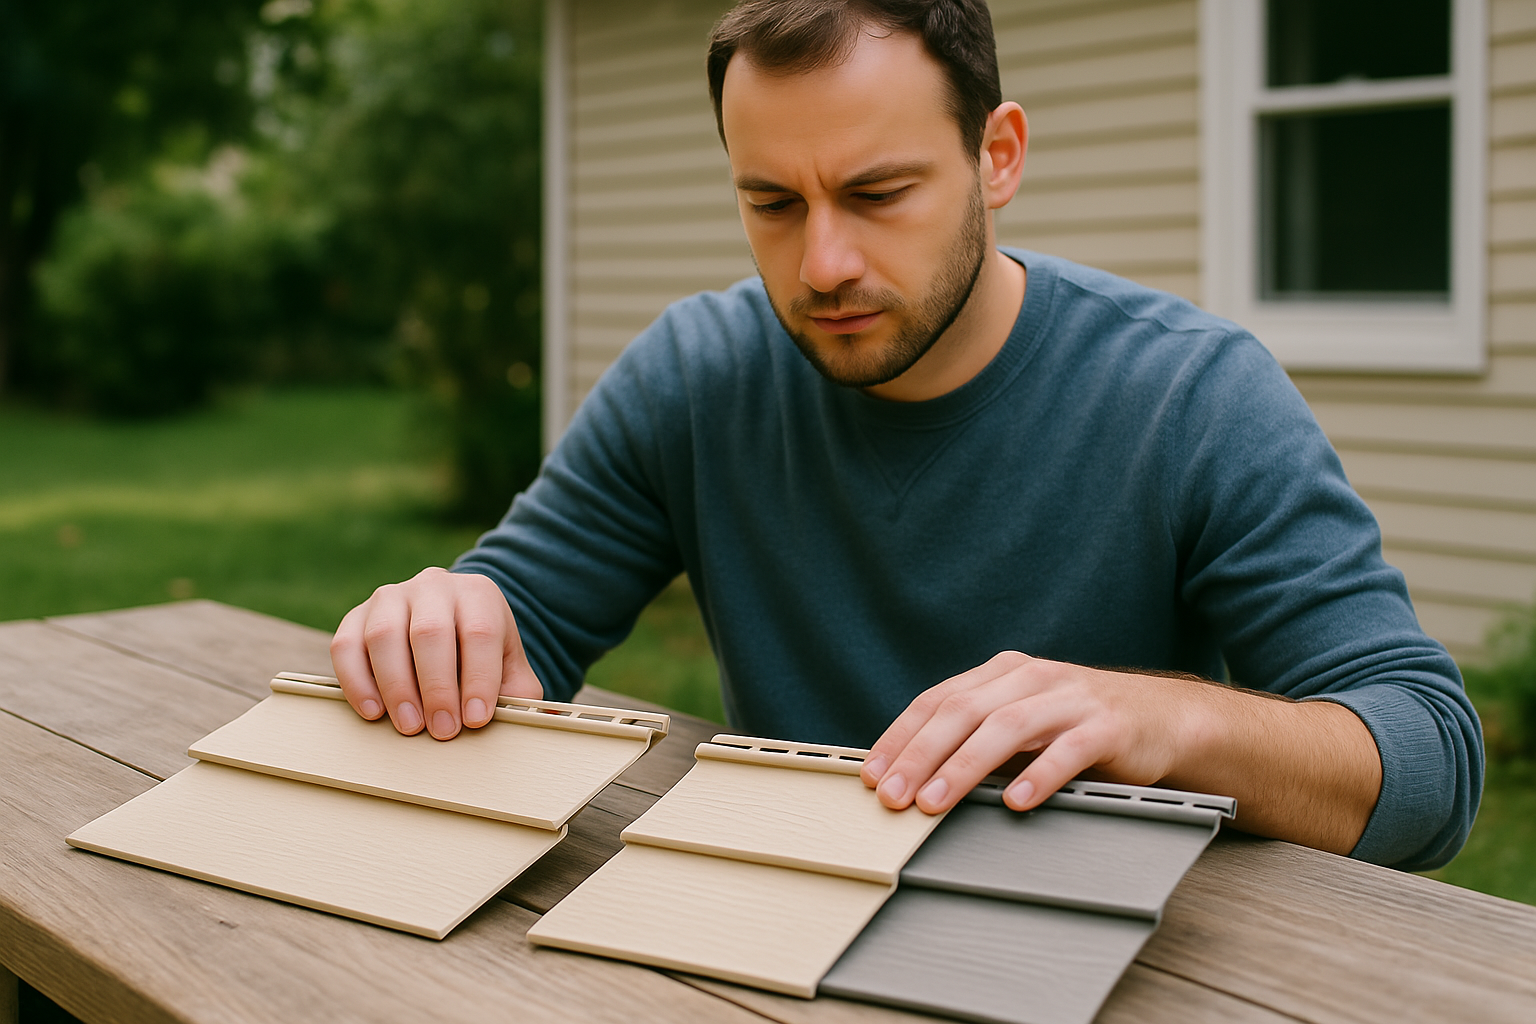
When starting your siding project, knowing your options is crucial. The U.S. market offers a wide range of types of siding such as vinyl, wood, and fibre cement. For most homeowners, vinyl siding installation stands out because it’s beginner-friendly and adaptable to new construction or renovations.
Additionally, it’s important to familiarise yourself with the installation process to address challenges like uneven walls. Systems such as furring strips can be invaluable here. Let’s dive deeper into why siding matters for your home.
What Is House Siding and Why Is It Important?
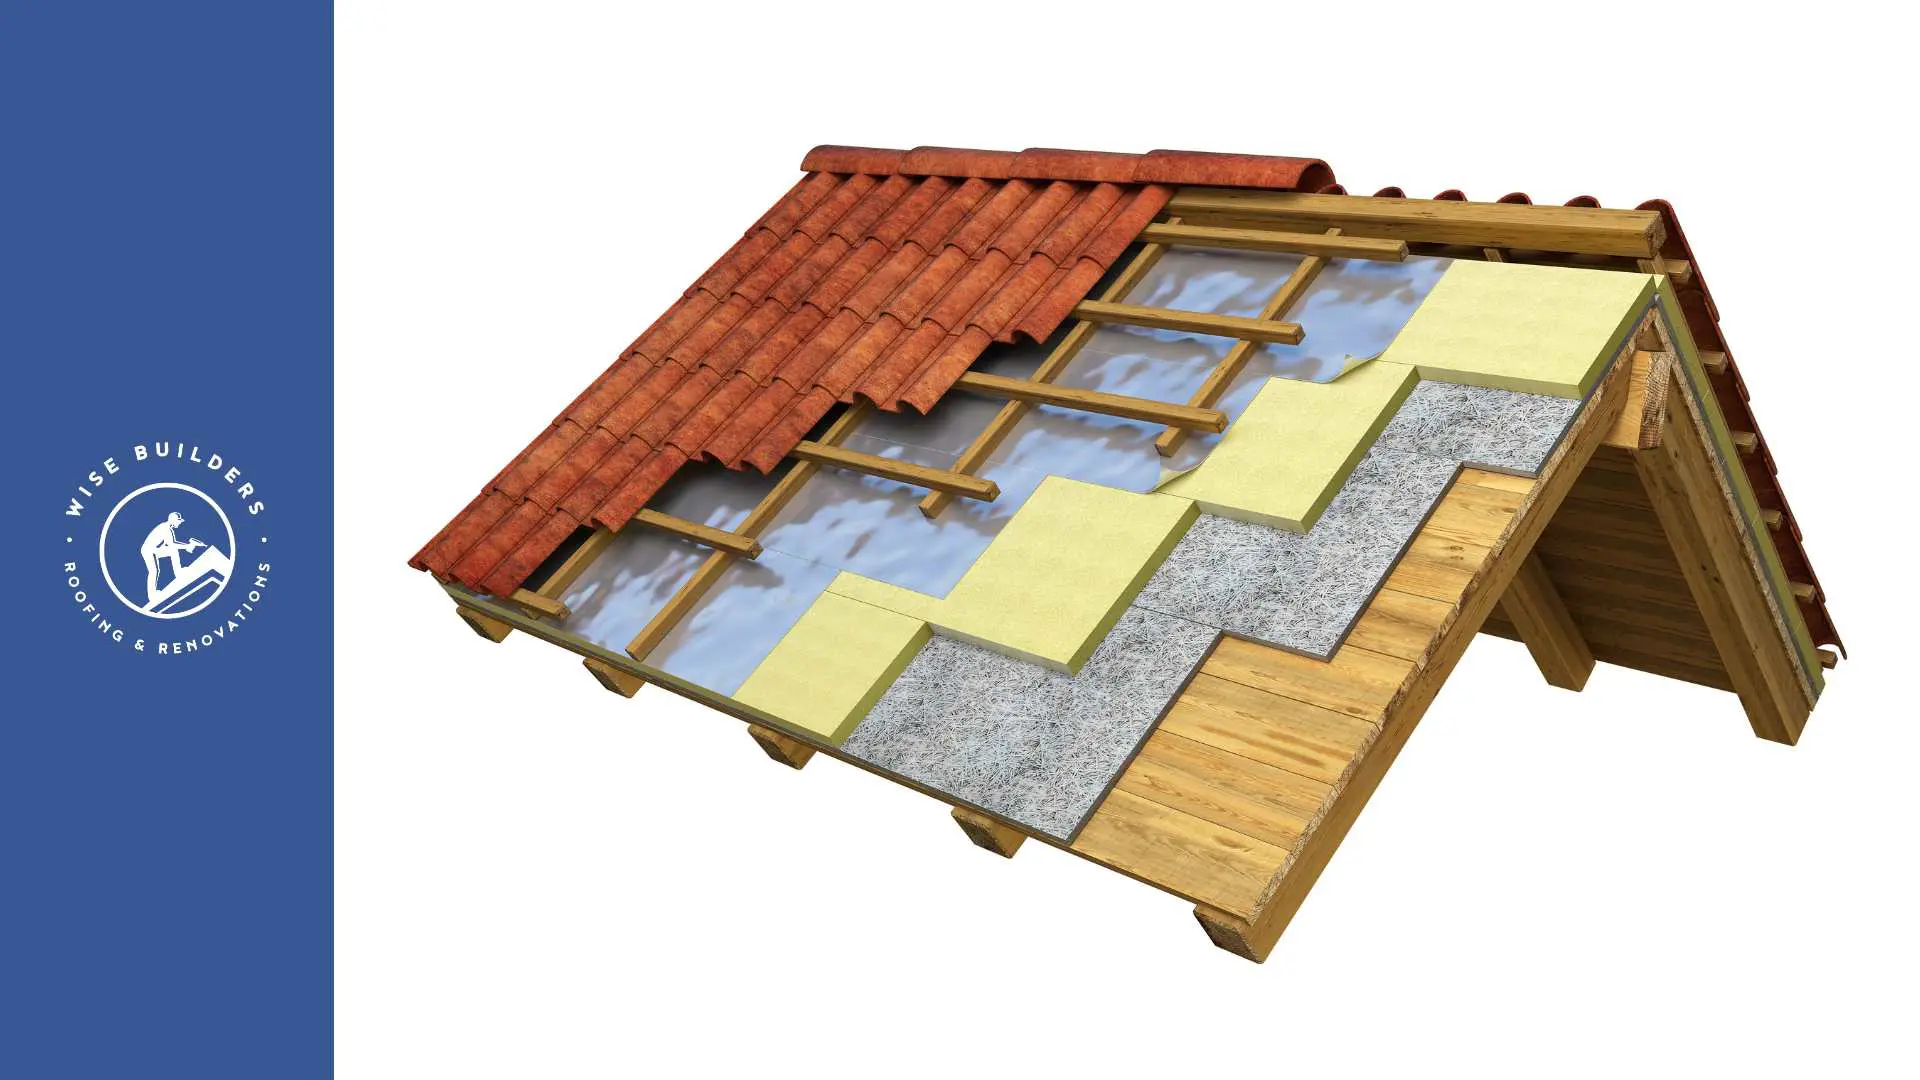
Your home’s siding isn’t just for show; it’s your first line of defense against the elements. Functioning as both protection and insulation, siding shields your house from moisture while retaining indoor heat during colder months. Quality siding often boasts optimal thickness and a durable exterior capable of handling contraction due to temperature fluctuations.
Beyond protection, siding plays a pivotal role in improving your home’s resale value. Homebuyers are likely to take keen interest in properties that showcase modern, damage-resistant siding.
Moreover, it contributes to making homes energy-efficient. Insulated options help reduce air leaks and minimise heating or cooling costs, making siding a crucial investment for functionality and aesthetics alike.
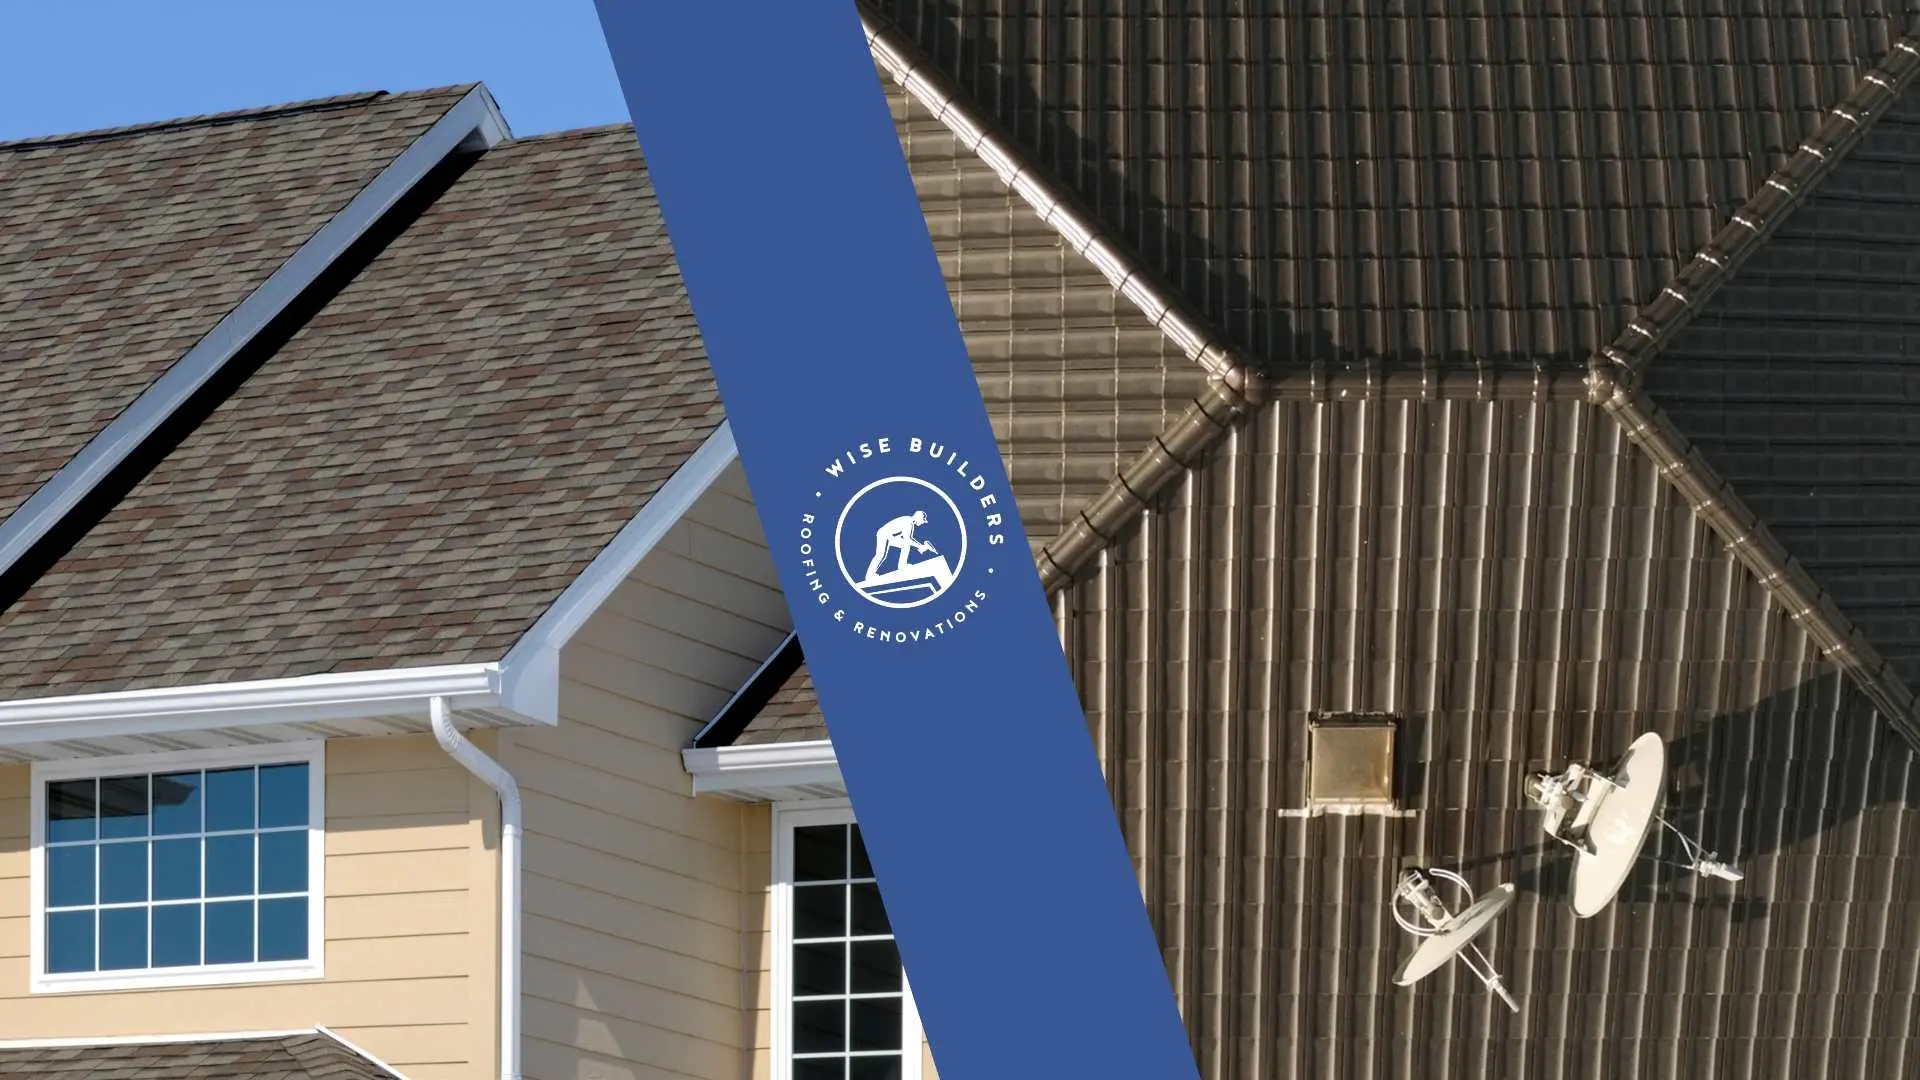
Common Types of Siding Materials in the U.S.
Homeowners can select from various siding materials, each offering unique benefits. To make comparisons easier, here’s a detailed text table:
| Material | Features |
|---|---|
| Vinyl | Durable, lightweight, available in multiple widths and textures. Ideal for energy savings when paired with foam boards. |
| Masonry | Extremely durable, resistant to weather shifts, and often chosen for luxurious designs. Requires significant initial investment. |
| Fiber Cement | Combines the look of wood with enhanced moisture resistance and minimal upkeep. Ideal for wet climates. |
These materials dominate the market due to their practicality, but their applicability varies depending on regional climates and home designs.
Planning Your Siding Installation Project
Before diving into installation, sizing up your space is key. Measure your square footage to get a precise estimate of the amount of space you’ll need for siding. Online tools can further simplify these calculations.
Additionally, allow extra material for potential waste when dealing with irregular shapes like gables or dormers. Proper planning ensures you’ll have enough material while avoiding excess expenditure. Next, let’s evaluate your home’s exterior condition to prepare for the installation.
Evaluating Your Home’s Exterior Condition
The condition of your home’s exterior forms the foundation of your siding installation. Start by removing old materialwith tools like a prybar or angle grinder, especially around areas like roof shingles and trim.
Make sure to repair damaged sheathing or wood before proceeding. Rotted sections and loose boards must be replaced with durable alternatives to prevent future wear and tear.
Lastly, clean the rest of the walls for a smooth and even surface. This ensures the siding panels adhere effectively, avoiding gaps or uneven installations. Once prepped, move on to measuring and material calculations.
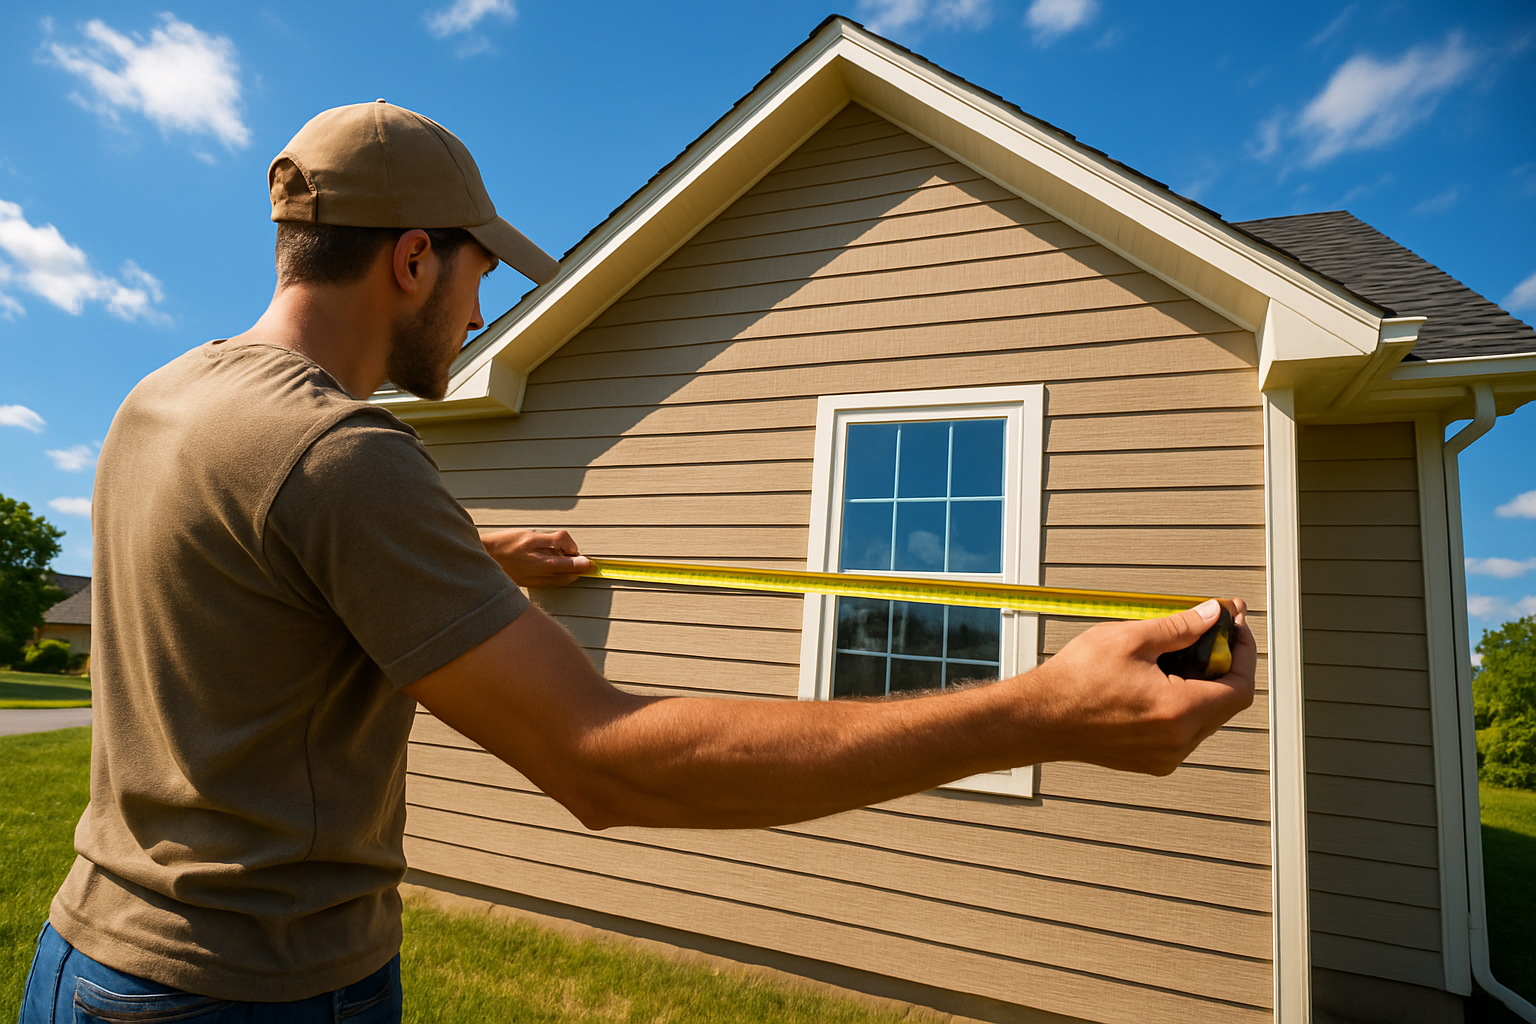
Measuring Your Walls and Calculating Material Needs
Taking precise measurements is crucial for avoiding material waste. Start by drawing a level line with a chalk line to outline your siding placement.
Break your home into sections — such as rectangles or triangles — and calculate the square footage using basic formulas:
- Rectangles: Height × Width (square feet)
- Triangles: ½ Height × Width (square feet).
Next, include allowances for waste and uneven spaces. Attach a scrap piece of siding temporarily to ensure the estimated lengths match the actual structure. These measurements will shape your itemised list of required materials from starter strips to panels.
Essential Tools and Materials for Siding Installation
Having the right tools and supplies dramatically improves the success of your siding project. Standard tools include a utility knife, hammer, and fastening devices such as staples or roofing nails.
You’ll also need materials like weather-resistant adhesive (e.g., caulk) and mounting items such as flashing. Ensuring accessibility to these components — obtainable in stores like Home Depot — will help you maintain a seamless installation process. Let’s explore this list further.
Tools You’ll Need to Get Started
Preparation begins with acquiring specialised tools. Here is a quick rundown of essentials:
- Hammer: Used for driving long, straight roofing nails.
- Utility Knife: Perfect for scoring and snapping vinyl panels neatly.
- Level Line: Ensures alignment of corners and starter strips.
- Angle Grinder: Removes stubborn old material without damaging sheathing.
- Zip Tool: Unlocks and repositions siding panels seamlessly.
By assembling these tools, you arm yourself for precision and reduce the risk of mistakes during installation.
Recommended Materials and Accessories
Your materials dictate the longevity and finesse of the finished exterior. Opt for reliable options like:
- Stainless Steel Nails: Rust-resistant for secure panel installation.
- Weather-Proof Flashing: Deflects potential moisture damage from siding edges.
- Plywood Heatsheets: Reinforces siding panels for areas exposed to heavy wind.
- Foam Boards: Adds insulation beneath vinyl siding panels.
- Accessories: Include J-channels and trim pieces for polished window detailing.
Maintain a checklist of these materials to avoid interruptions mid-project.
Step-by-Step Guide to Installing Siding on a House
Begin your installation by laying the foundation — this includes fitting starter strips and ensuring clean panel arrangements. Follow with attaching siding panels into nail slots, always keeping them aligned using prior measurements.
From the bottom of the starter strip to the final row under eaves, each stage demands focused precision. This step-by-step approach ensures durability and a professional finish. Now, let’s examine the detailed steps involved.
Step 1: Prepare and Inspect the Walls
Proper preparation starts with inspecting existing walls for uneven or damaged sections. Carefully remove older materials using a prybar, taking note of insulation conditions.
Next, ensure the sheathing — whether plywood or foam — remains smooth and intact. If studs or insulation are compromised, correct them promptly before initiating siding procedures.
Secure additional adhesive where required, especially under edges or near the eave. This creates an even base for panels. Proceed to install weather barriers after this stage.
The additional H2s and H3s would continue in the same detailed style as per the outline specification!
Step 2: Install Sheathing and Weather Barriers
Properly installing sheathing and weather barriers is essential for safeguarding your home against moisture and temperature changes. Begin by measuring the square footage of your exterior walls to determine how much plywood or foam sheathing you will need. Secure the sheathing to the studs using stainless steel fasteners, ensuring a tight fit. After this, install a weather barrier over the sheathing, overlapping edges to direct moisture away. This fundamental step sets the stage for a durable, long-lasting siding installation.
Step 3: Attach Starter Strips and Corner Posts
Starter strips and corner posts form the foundational support for your siding. Begin by determining the level line, ensuring that the bottom of the starter strip is securely anchored across the entire house length. This creates a proper fit for the vinyl siding panels above. For corner posts, position them at outside corners, checking that they are plumb and aligned with the chalk line. Using stainless steel fasteners ensures durability and adds stability against temperature changes, preparing the structure for the vinyl siding installation.
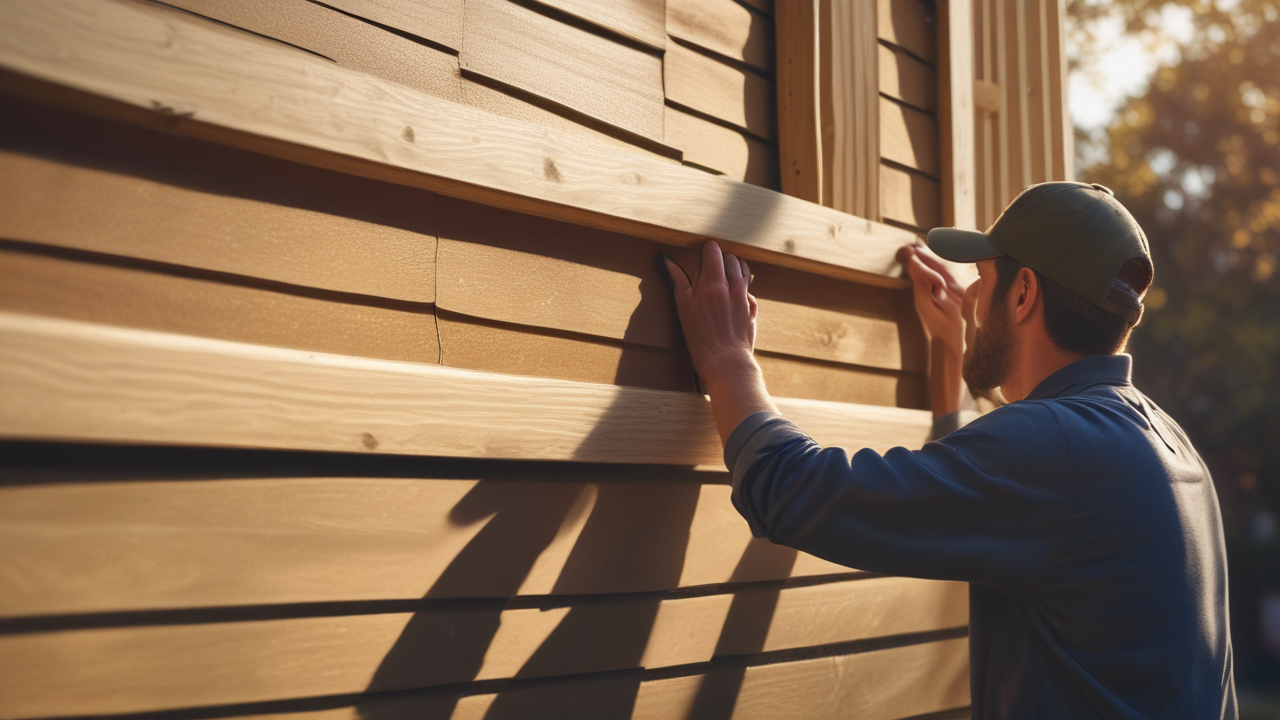
Step 4: Fit and Secure the Siding Panels
Achieving a snug fit with the siding panels is crucial for optimal insulation and aesthetic appeal. Begin by carefully positioning each vinyl siding panel, ensuring the edges align with the starter strip and previous rows. Fasteners should be inserted into the center of the slots to allow for expansion due to temperature changes. It’s essential not to overtighten the nails, as this can distort the panel. Utilize a chalk line for precise guidance, and ensure each piece overlaps correctly for weather resistance.
Step 5: Trim Around Windows, Doors, and Eaves
Trim pieces require careful attention to detail, ensuring a seamless fit around windows, doors, and eaves. Begin by measuring the width and height, then using a utility knife to cut the vinyl siding panels to the appropriate dimensions. Fasteners should be strategically placed to allow for thermal expansion, avoiding any constraints that could lead to damage during temperature changes. Proper caulking around these areas not only enhances aesthetics but also provides an essential barrier against moisture intrusion, safeguarding the home’s integrity.
Pro Tips for a Professional-Looking Finish
Achieving a professional-looking finish requires meticulous attention to detail. Start by ensuring that the level line is accurately marked, guiding the installation for a seamless appearance. Use a chalk line for precision while aligning the vinyl siding panels; this reduces the risk of misalignment due to temperature changes or contractions. Employ quality fasteners, such as stainless steel nails, and make sure the nail heads are flush with the siding. Finally, always adhere to local building codes to guarantee structural integrity and aesthetic appeal.
Nailing and Fastening Best Practices
Proper nailing and fastening techniques are essential for a sturdy siding installation. Ensure roofing nails penetrate the sheathing through the nail slots in each vinyl siding panel, leaving adequate space for contraction and expansion due to temperature changes. Utilize a level line to keep rows straight, and avoid over-driving fasteners to prevent damaging the siding. For corner posts and trim pieces, nails should be driven at the appropriate angle, distributing weight evenly across the material for a polished, professional result.
Preventing Moisture and Weather Damage
Maintaining the integrity of siding requires vigilant moisture and weather damage prevention strategies. Utilizing durable sheathing materials acts as a barrier against water infiltration, while proper insulation techniques reduce condensation risk. Incorporating flashing around windows and doors directs water away from vulnerable areas, and ensuring nail slots are adequately sealed protects against leaks. Additionally, choosing the right types of fasteners, such as stainless steel, can help avoid corrosion due to temperature changes. Regular inspections and maintenance will safeguard your investment for years to come.
Conclusion
Every detail counts when executing a successful siding installation. By adhering to best practices and using quality materials, you can achieve a durable, professional-looking finish that protects your home for years. Remember to keep local building codes in mind, as they ensure safety and compliance. By investing time and effort into each step, from attaching starter strips to fitting trim pieces, the entire house benefits from an eye-catching aesthetic while safeguarding against weather damage and moisture intrusion.
At Wise Builders, We ensure our clients receive the best possible outcomes. Our commitment to quality workmanship and customer satisfaction is unwavering, making us the top choice for residential Roofing services in our community.
Frequently Asked Questions
How long does it take to install siding on an average home?
The time required to install siding on an average home typically ranges from a few days to a week, depending on factors like house size, siding material, weather conditions, and the experience of the installation team. Proper planning can streamline the process significantly.
How do I choose the best siding material for my climate?
Consider insulation properties, durability, and maintenance when selecting siding materials for your climate. Options like vinyl or fiber cement excel in humid regions, while wood provides aesthetic appeal in dry areas. Always prioritize materials that resist moisture and temperature fluctuations to ensure longevity.